Posted February 7th, 2020 at 6:10 pm by Dan Musick
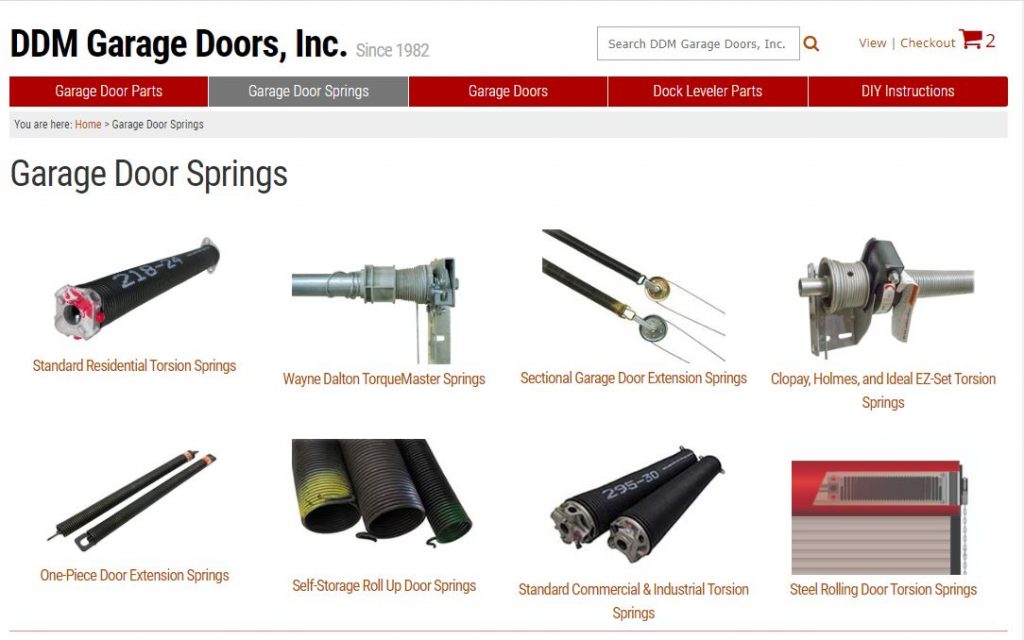
Garage door springs counterbalance the weight of the door, making it easy to lift. In this blog, you will find links for how to replace garage door springs on any of the standard systems.
First, you will need to identify the type of spring you have. The image above taken from our Garage Door Springs page should help you identify your spring system. Below you will find links to tutorials for replacing the different types of springs. We also have a YouTube video that should be helpful.
How to Replace Standard Torsion Springs
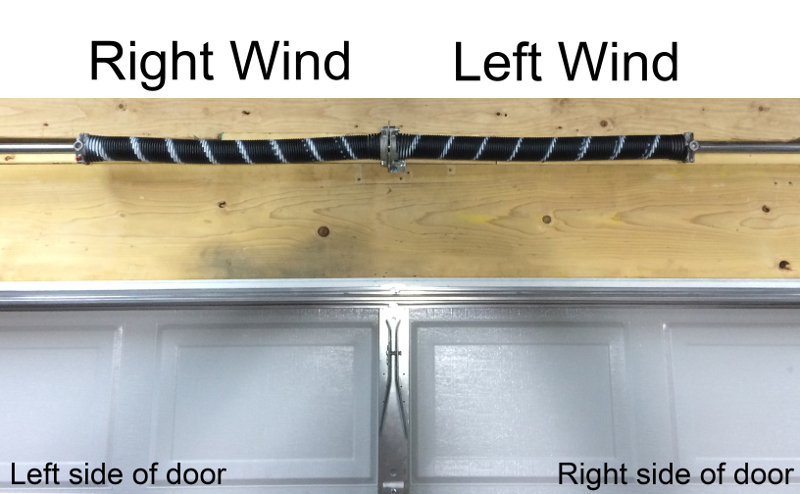
This is the most common type of system on residential doors. On our “How to Replace Garage Door Torsion Springs” page, we show the steps to follow in order to replace torsion springs on your door. First, make sure that you have the hardware assembly contained in this tutorial before you follow these instructions. We also have a printable version if you prefer paper to digital.
Some of the steps contained in this tutorial may prove helpful. However, other parts may give dangerous, inaccurate directions, which could cost you a lot of time and money should you attempt to replace the springs. As always, one needs to exercise caution with this process. Many parts could cause damage or injury if the proper amount of caution is not used.
If you have a single torsion spring setup and not the two spring setup, please follow our Single Torsion Spring Replacement tutorial instead. If winding your springs with winding bars is a cause for concern for you, you may also want to check out our “How to Install an S3 Winder and Torsion Springs” video for a safer way to install the springs. We also have a blog post on safe torsion spring winding systems.
How to Replace Commercial Torsion Springs
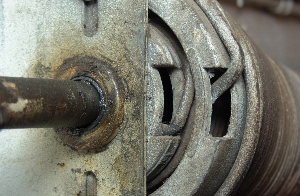
In a residential setup, commercial and industrial torsion springs located over the door and anchored to spring anchor brackets in the middle are very similar to standard torsion springs. The main difference is that these springs often have a much bigger inside diameter, allowing them to lift heavier doors.
However, some of these springs will be duplex or triplex systems. These systems have a spring inside of another spring that helps to lift the weight of the door. These setups enable the spring to fit within the width of the door. This can be a problem with heavier doors, which typically need longer springs due to their torque rating. If you have duplex springs on your door, follow our Commercial Overhead Door Duplex Torsion Spring Replacement tutorial.
We also have some PDF instructions for large springs that provide useful diagrams to help you during replacement and installment. You’ll find these near the bottom of our DIY Instructions page.
How to Replace TorqueMaster Springs
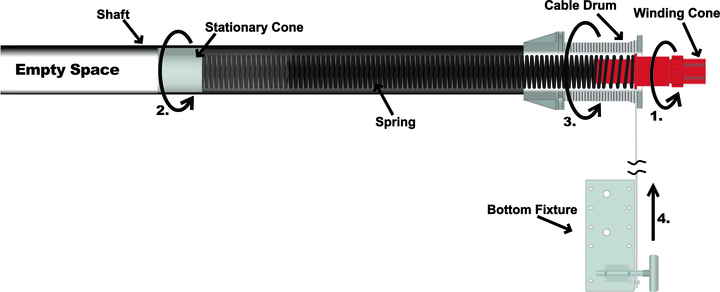
Wayne Dalton’s TorqueMaster springs provide a system that is much easier to work with, and provides more safety than standard torsion springs. They further eliminate some of the risks by enclosing the springs in a tube over the door. There are two types TorqueMaster springs: TorqueMaster I springs, which are wound with an electric drill with a 7/16″ socket. These have round winding cones. TorqueMaster Plus springs have hexagonal cones, and they are wound with a 5/8″ socket and socket wrench. At our Wayne Dalton TorqueMaster Torsion Spring Replacement tutorial, you will find written instructions along with some GIFs and videos to help you replace springs.
How to Replace EZ-SET Torsion Springs
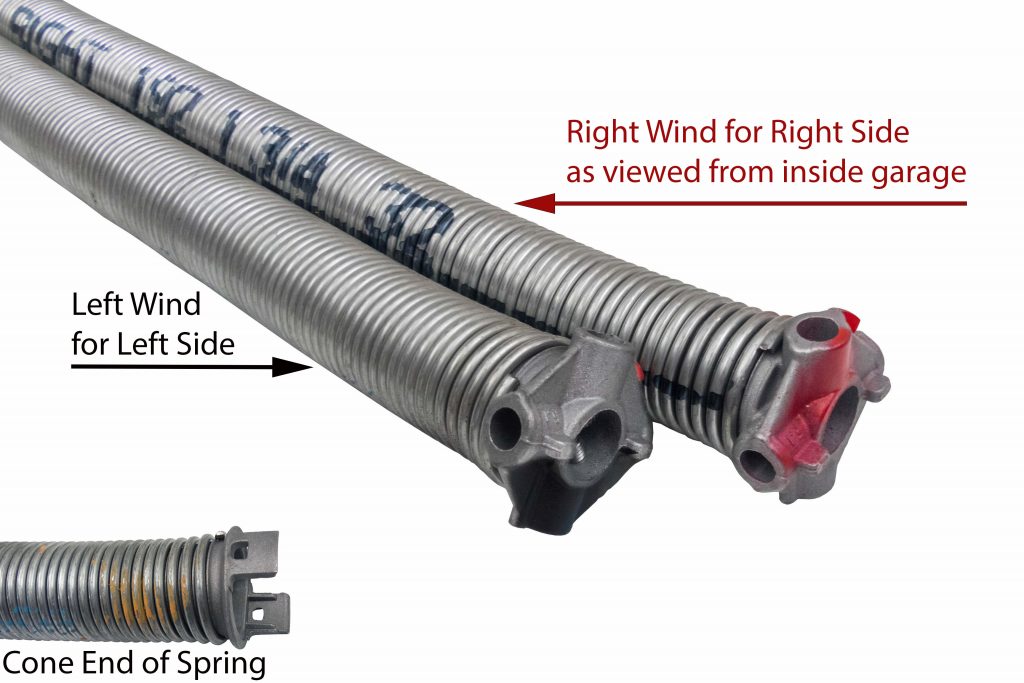
EZ-SET Torsion springs have been supplied by three different manufacturers, depending on the age of the spring. Clopay, Holmes, and Ideal Door have all made EZ-SET springs over the years. Now, Clopay manufactures and distributes all the EZ- SET springs. These springs look similar to the standard torsion springs, but their set up is different. If you’re looking for instructions on how to replace these springs, follow our Single EZ-Set Torsion Spring Replacement tutorial, which you can use on both single spring and two spring setups.
How to Replace Standard Extension Springs
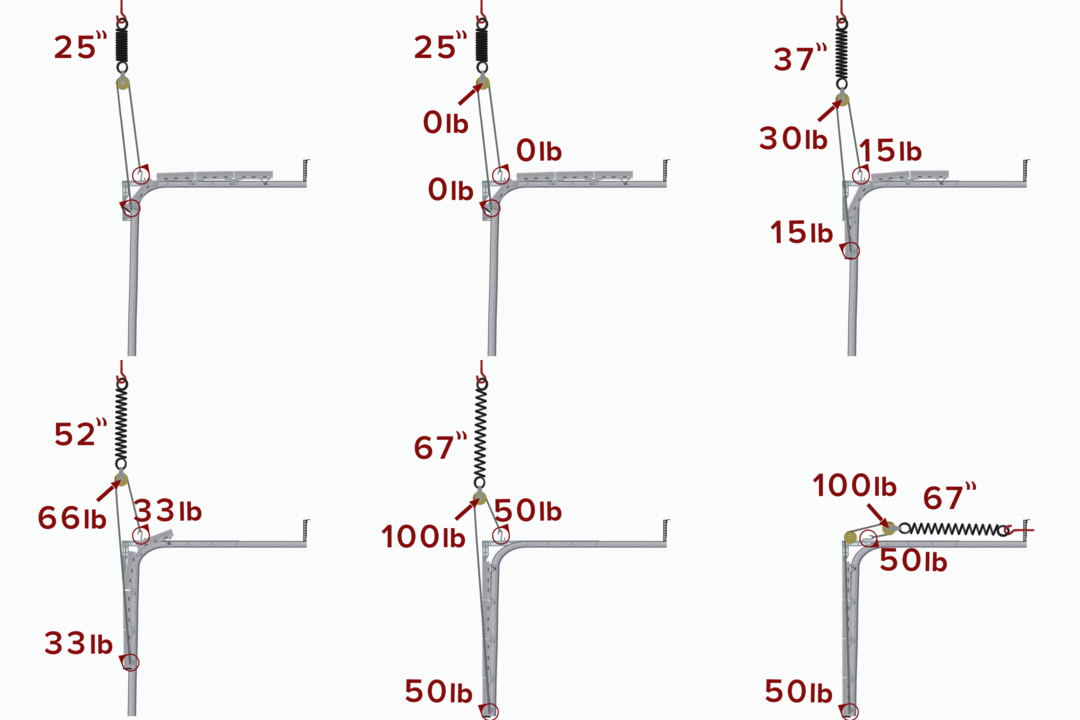
Extension springs are a fairly straightforward system to use on a garage door. They hook up to a pulley system with cables so that they can lift the weight of the door as it is going up, providing a good counterbalance system.
Extension springs can also be one of the most dangerous setups for springs if one should break. For your safety, read our How to Replace Garage Door Extension Springs tutorial. When the garage door is operating or closed, always stay out of the path of the extension springs. Assume the cable or spring could break at any moment and the spring fly off and hit you.
How to Replace One-Piece Garage Door Extension Springs
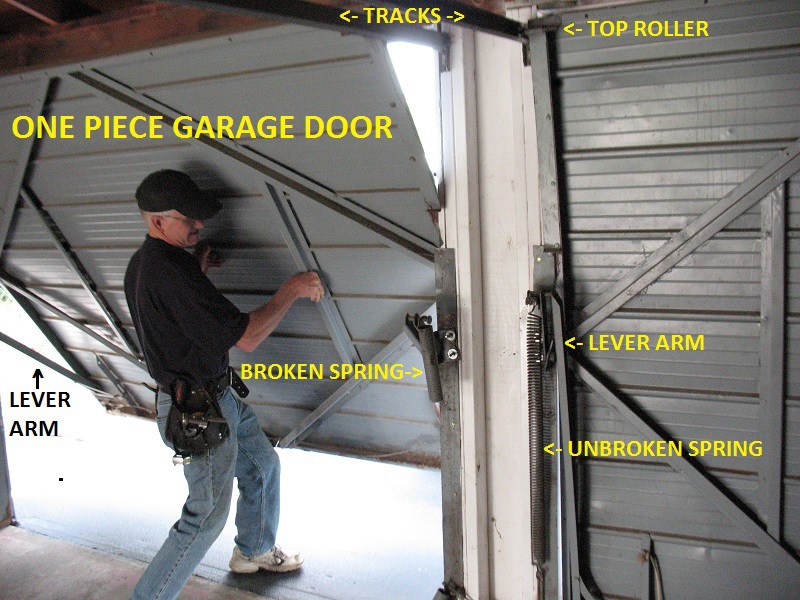
One-piece garage doors have a different system than sectional garage doors, and they do not work the same. While on sectional doors the springs are mounted above the door, one-piece doors have the springs on the sides, with a lever arm helping the spring lift the weight of the door. To replace these springs, follow our One Piece Garage Door Extension Spring Replacement. You should find that it is a fairly quick fix.
How to Replace Self-Storage Door Springs
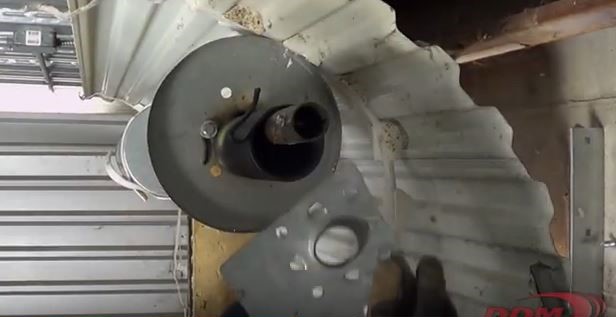
Self-storage door springs look somewhat like standard torsion springs. They are normally shorter, often as short as six inches, but they have bigger inside diameters. On these doors, the curtain wraps around the springs on the drums. If you check out our “How to Replace Torsion Springs on a Self-Storage Roll-up Door” tutorial, you’ll discover how to replace these springs on one of these smaller doors. For a video version of the tutorial, check out our How To Replace Self-Storage Roll-Up Door Springs video.
If we can ever help with parts or technical support, just contact us.
This entry was filed under Technical Support. You can follow any responses to this entry through the RSS 2.0 feed.

