Posted January 11th, 2019 at 6:02 pm by Dan Musick
Garage door cables are an essential part of any garage door assembly. The cables wrap around cable drums, which fasten to the shaft with set screws. When the shaft turns, the cables lift the door open. In this blog post, we will provide the basics of how garage door cables work, as well as how to assemble usable cables from lengths of raw cable, and troubleshooting procedures for when cables go wrong. We sell both assembled and raw cables on our cable and fittings page, and we also have free tutorial videos on how to install or replace your garage door cables.
Garage Door Cables
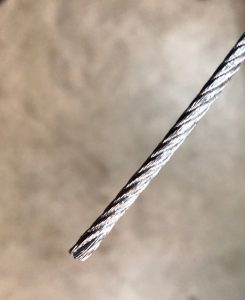
A straight cable with no fittings installed is considered raw cable. When a contractor or maintenance worker is cutting cables for garage doors with various heights and types of lifts, they normally use raw cables on rolls. On standard lift doors, the simplest way to determine the cable length is to add 18″ or 1.5′ to the height of the door. This is assuming a standard 4″ diameter cable drum.
For example, you would cut 9’6″ of raw cable to equip an 8′ high door (8’+1.5’= 9’6″). Doors that are over 8′ high also require different cable drums. Installers working in a subdivision, or in commercial applications, will carry precut cables for residential doors. They will cut several lengths from one spool for the higher doors.
Assembling a Cable
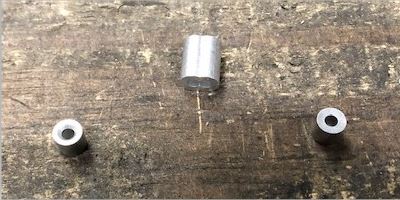
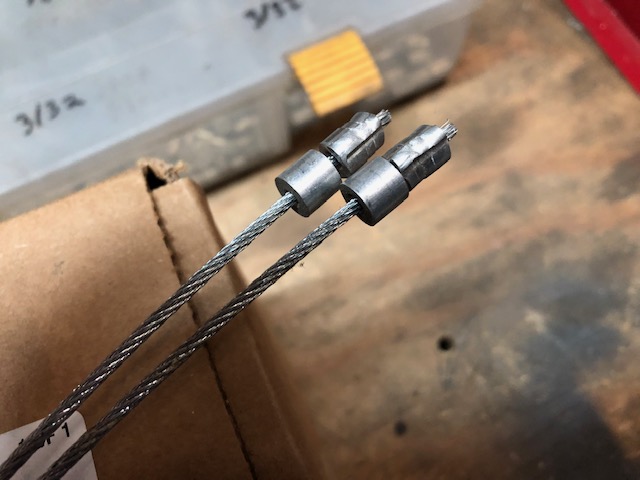
To assemble a cable for a commercial door, you will normally need an oval sleeve and two cable stops for each length of cable. On residential garage doors, there is usually only one stop on each cable.
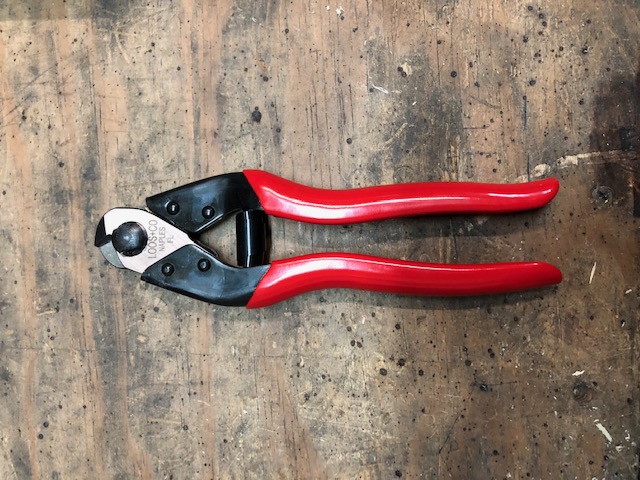
To assemble cables, installers also use cable crimpers and cable cutters. Cable cutters cut cables to the desired length. Cable crimpers swage the sleeves and stops onto the cables. Once the cable has been pushed through the sleeve or stop, the crimper tightens the metal around the cable to hold it in place.
Cable Assembly Instructions
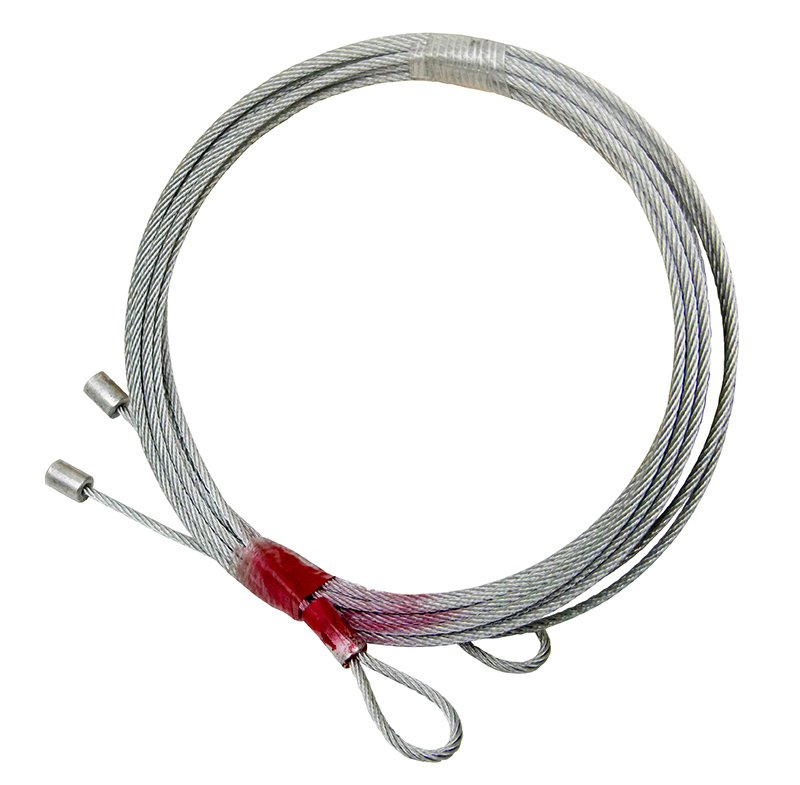
Assembled garage door cables have two ends: one with a loop and one with stops. To form the looped end, pass the cable through one side of the oval sleeve. Then, send it back through the other side. Once a little bit of the end of the cable is visible on the other side of the sleeve, crimp the oval sleeve to secure the cable loop in that position.
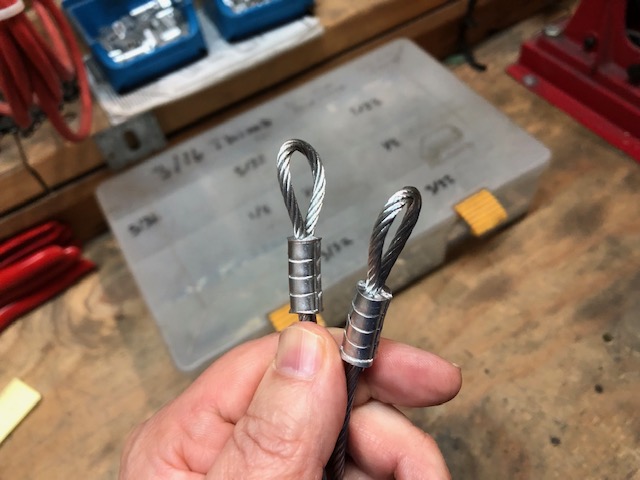
Once you have made sure your cable is the desired length, push the other end of the cable through one of the stops. Crimp the stop to hold it in place. This is the end of the cable that will wrap around the cable drum. The inside stop acts as a washer on the inside of the drum. The looped end of the cable loops around the Milford pins on the bottom fixture of the garage door.
For instructions on how to properly install garage door cables, please visit our cable installation tutorial. Similar instructions are also located in step nine of our torsion spring replacement tutorial.
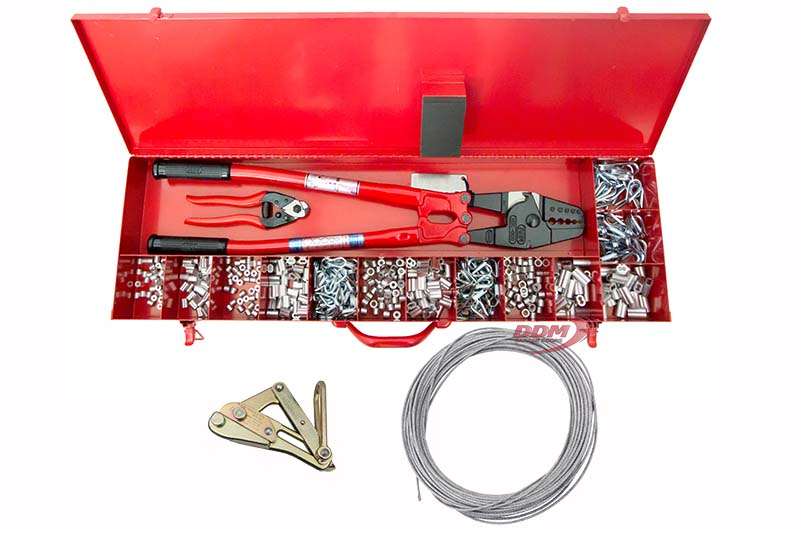
We offer two crimper/swaging kits with all the equipment necessary to assemble your own cables. The first kit includes a crimper, a cable cutter, and hundreds of different thimbles, sleeves and stops. The second kit includes everything the first kit does. However, it also comes with a cable puller and a roll of raw cable.
Other Uses for Garage Door Cables
The primary use of garage door cables is to support the weight of the door. However, there are other uses for garage door cables as well.
Extension spring safety cables are lengths of cable that run through the middle of garage door extension springs. Breaking extension springs are unusually dangerous. As a result, installers use safety cables to make sure the spring does not fly off and hit something or someone. If your door uses extension springs, and if they are not equipped with safety cables, we recommend that you install some as soon as possible.
Some garage door locks use cables to connect the latch to the handle and locking mechanism. When the handle turns, it pulls the cable and disengages the latch. When the handle releases, the latch springs back into place, keeping the garage door from opening. You can learn more on our post about how to install garage door locks.
People use garage door cables for many other purposes as well. After all, a raw garage door cable is no different from any other type of cable.

When Cables Go Wrong
Like everything else on a garage door, the cables can wear out and break. When this happens, you will need to replace your garage door cables. When done properly, cable repair can be one of the quickest and easiest garage door repair jobs.
The most important thing to remember is that the cables are under tension. Therefore, be sure that you do not try to remove your garage door cables unless you have secured the door in the open position and you have followed all the other safety instructions in our cable replacement video below.
We have a blog post on how to replace garage door cables. If you have a commercial garage door, we also provide instructions for how to replace cables on doors with operators and doors without operators.
Other Cable Systems
There are two garage door systems where replacing the cables will be a somewhat different procedure than with standard torsion spring assemblies. The first is replacing cables on a Wayne Dalton TorqueMaster system. More instructions are located our cable installation tutorial.
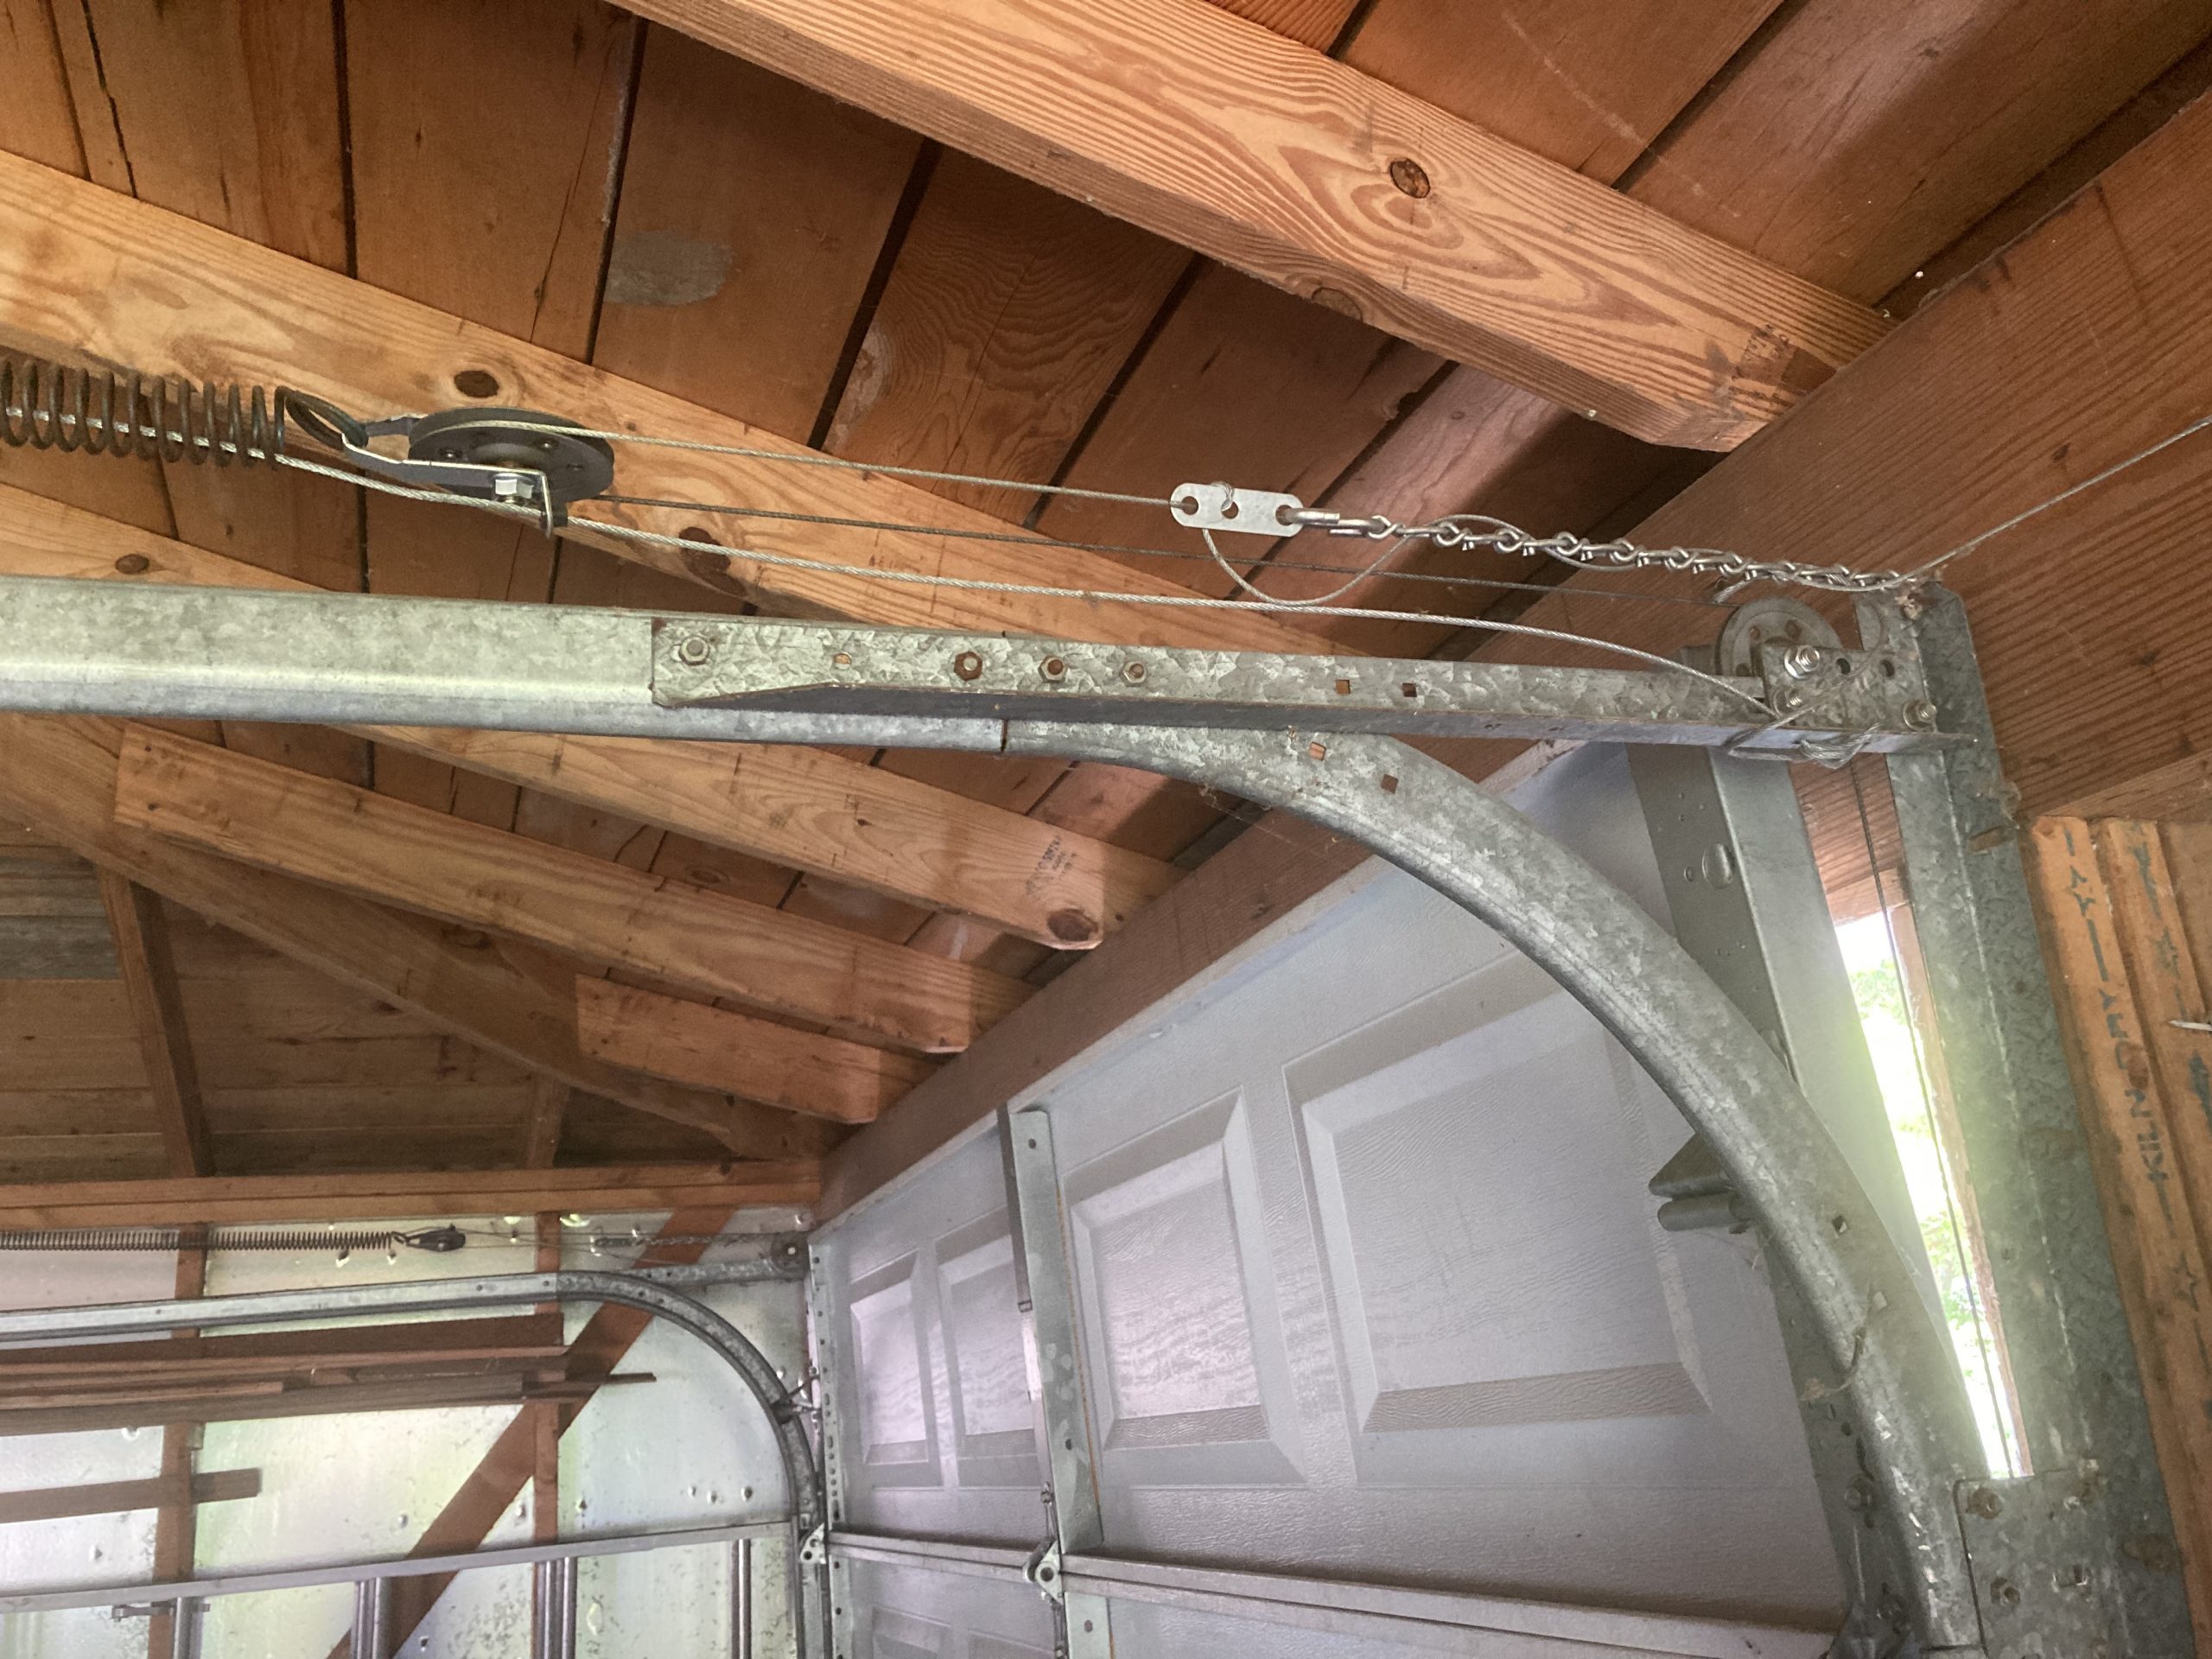
The second is replacing cables on extension spring doors. Although the loop for the bottom of the door is identical, extension spring doors use pulleys instead of cable drums.

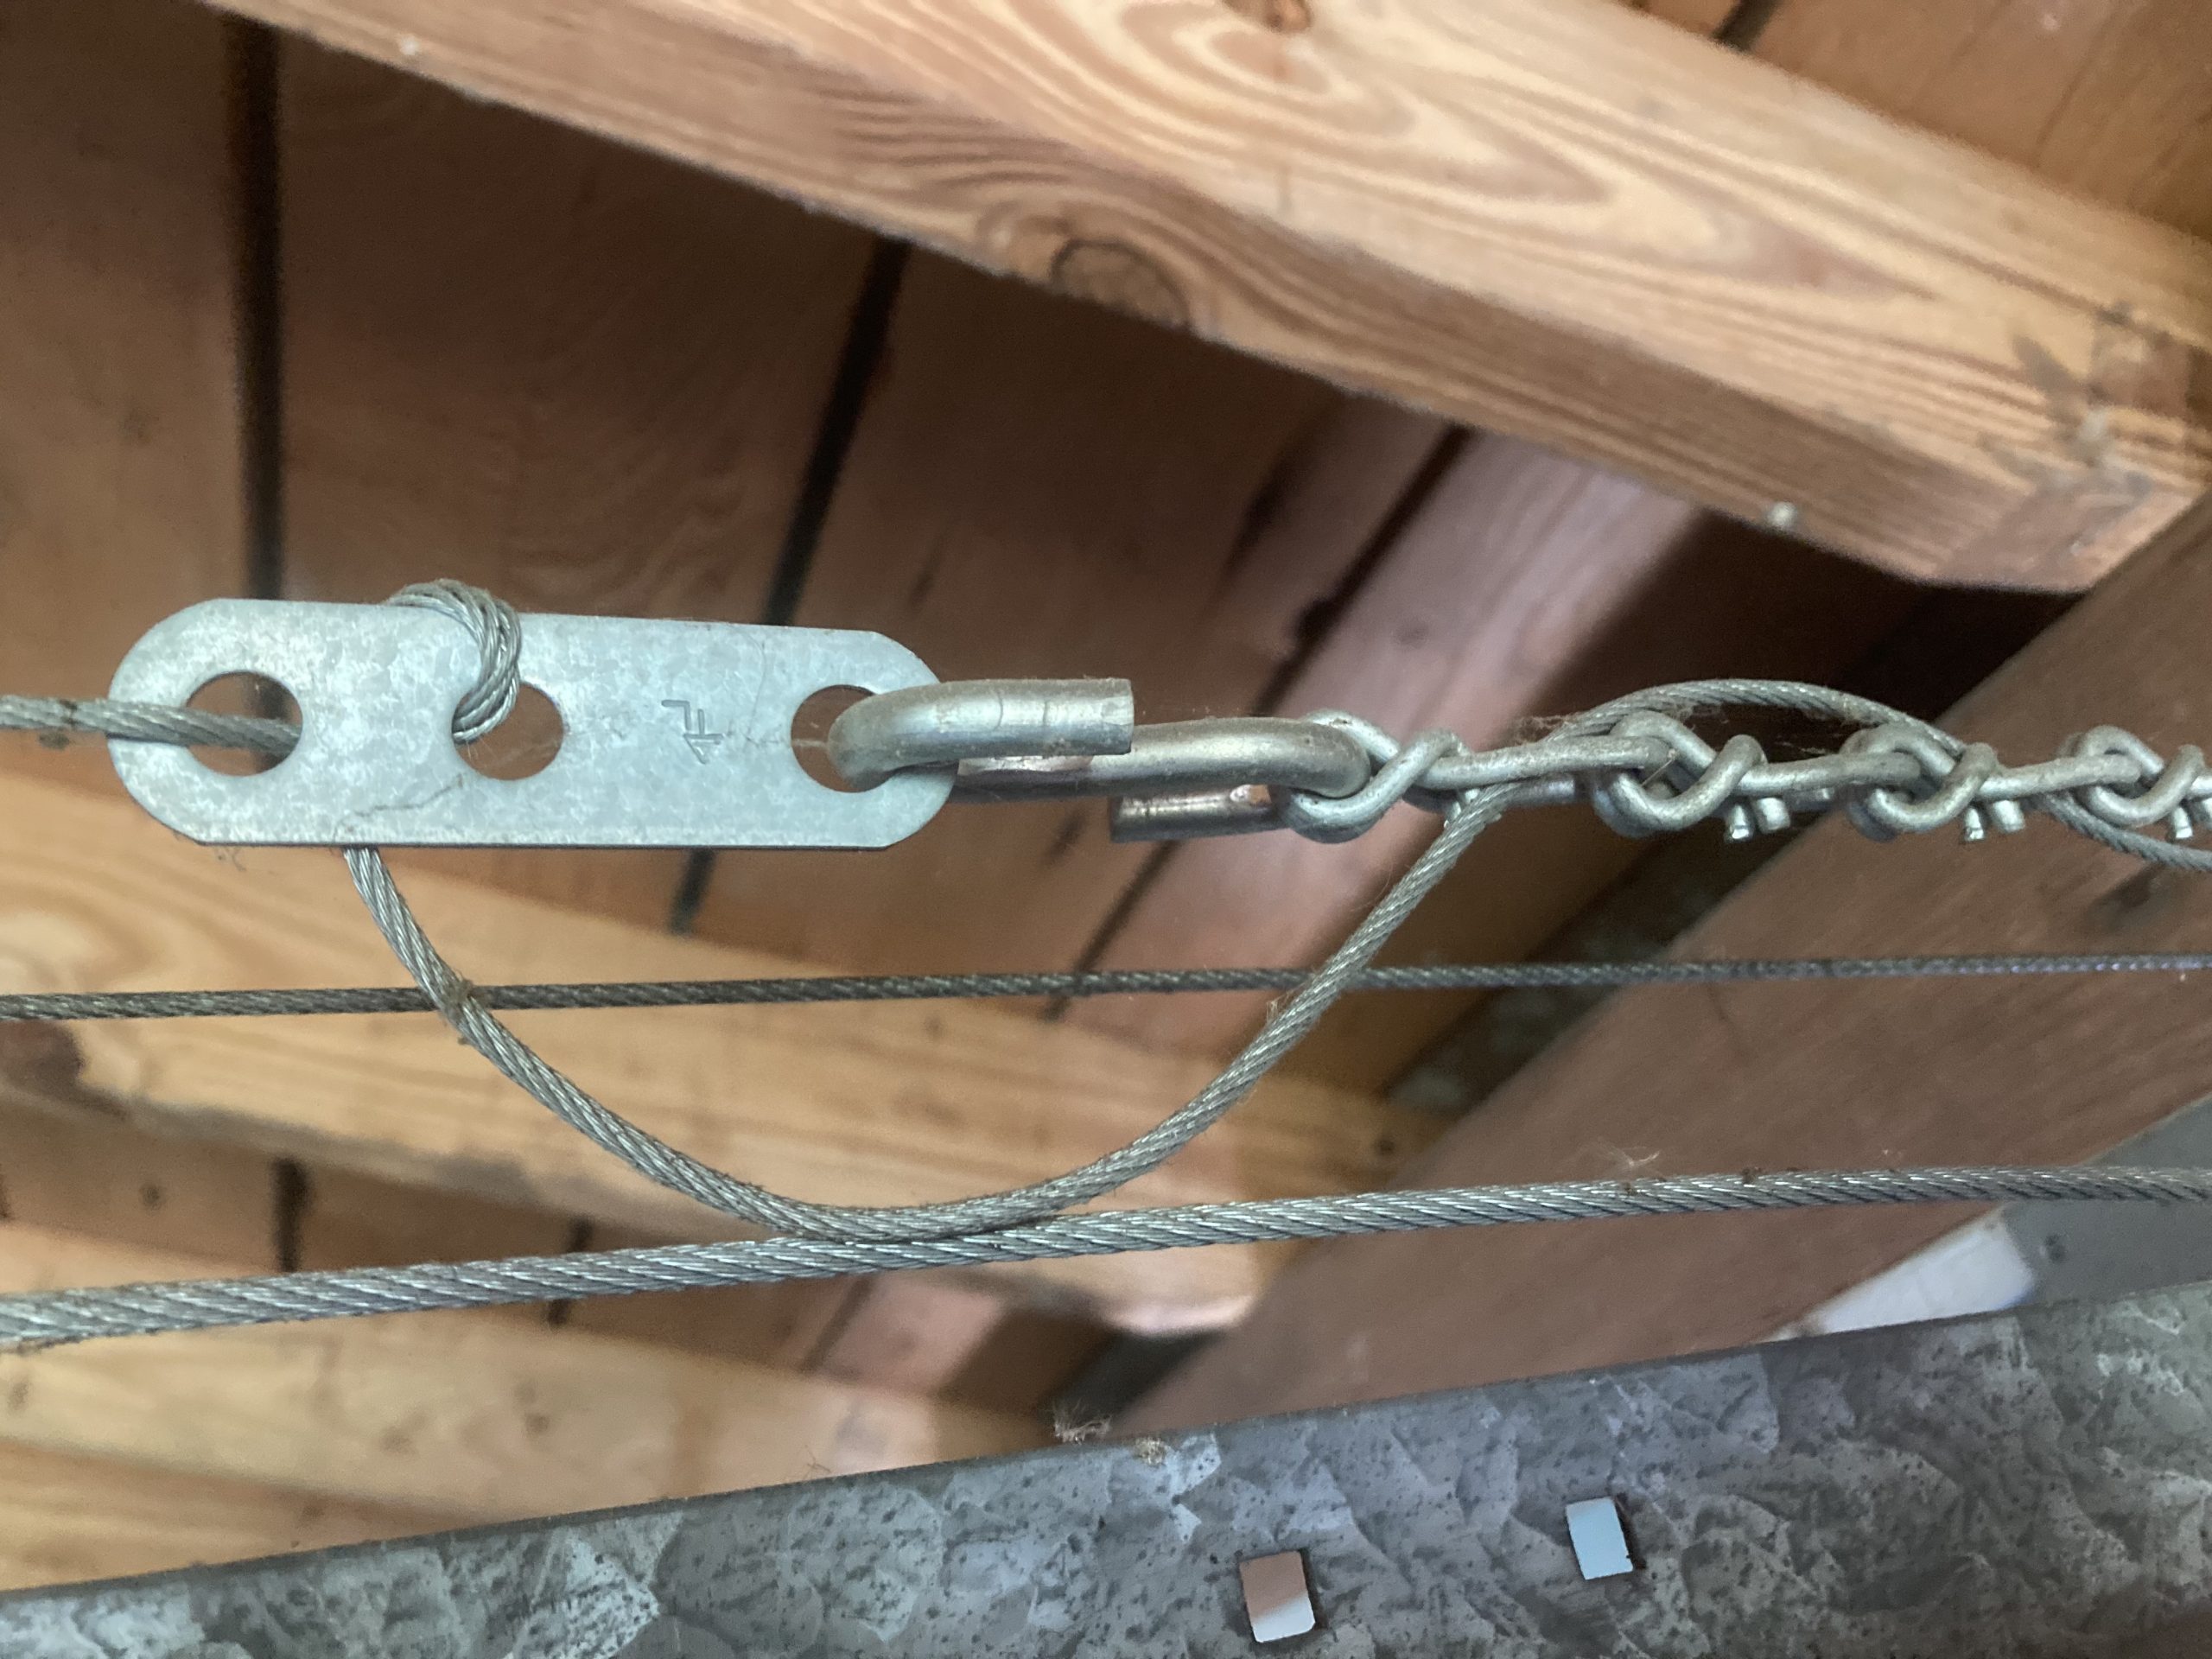
The non-looped end of the cable is secured using an adjustment clip and wound through the chain connecting the S-hook to the wall.
You can find detailed instructions for reinstalling extension spring cables starting on step 56 of our extension spring replacement tutorial.
More instructions for replacing garage door cables can be found on our DIY instructions page. We sell cables assembled for regular torsion spring doors, as well as for extension spring doors on our cable and fittings page.
As always, if you have any questions, feel free to contact us.
This entry was filed under How Garage Doors Work, Products. You can follow any responses to this entry through the RSS 2.0 feed.
