Posted January 3rd, 2020 at 5:59 pm by Dan Musick
For the professional replacing torsion springs can take anywhere from 20 minutes on a residential garage door to an entire day on a commercial or industrial sectional overhead type door. My job was far more complicated than the basic residential garage door since it was replacing springs on a sectional high lift overhead door, making it the toughest torsion spring replacement.
Bigger jobs can require several people. When we replaced springs on a steel rolling door, we needed three: one man to operate the crane and two to set the strap and maneuver the barrel assembly and endplates.
Replacing Torsion Springs
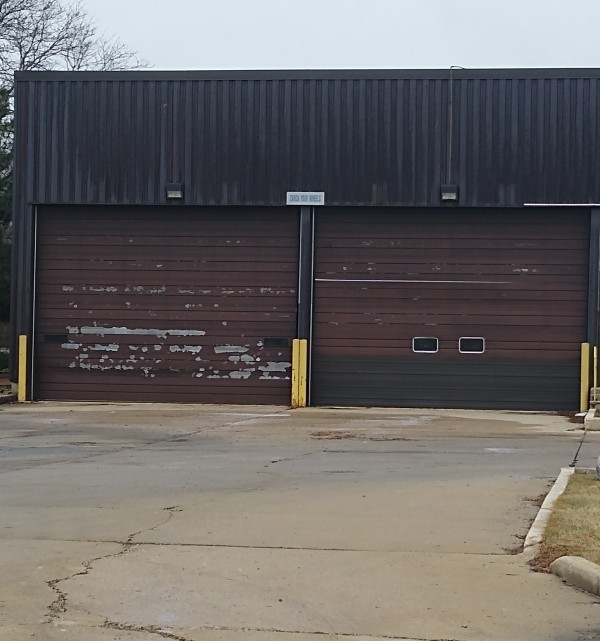
My biggest challenge of replacing springs occurred about 35 years ago. It was at Handicup, now known as Wincup here in West Chicago, where they make cups for the major fast-food franchises. Here I worked alone with no one to help. That happens sometimes. The challenge of seeing how much I could bite off also piqued my curiosity.
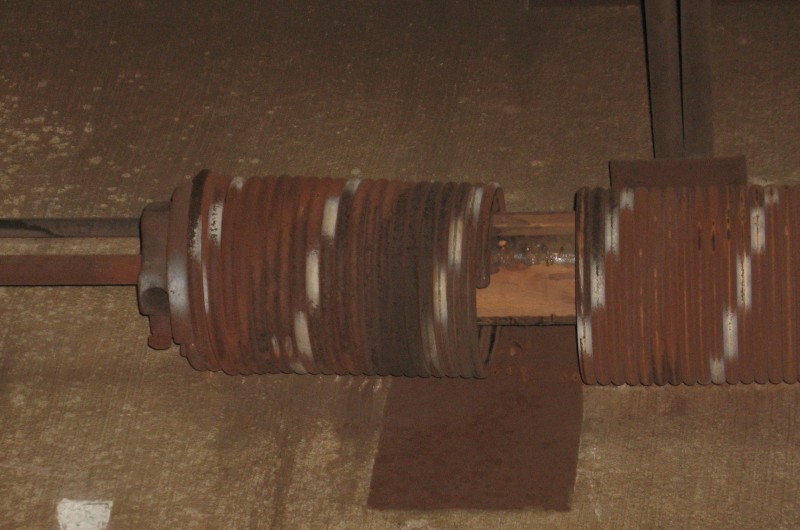
The door was a 22 X 16 sectional high lift overhead door. The spring assembly had four torsion springs with two on each side of the center shaft coupler. Often we recommend replacing all four springs, but for budgeting reasons, companies often prefer replacing the springs on only one side, as this customer had decided for this door.
Preparation
Back in the early 1980’s I drew several sketches and wrote detailed instructions for replacing commercial springs. Those were the days when I literally drew, copied, cut, and pasted my work. My job at Handicup follows those instructions.
The springs weighed probably 75 pounds each and they were huge, with 7 5/8″ inside diameters. Each had the cast iron Overhead Door cones.
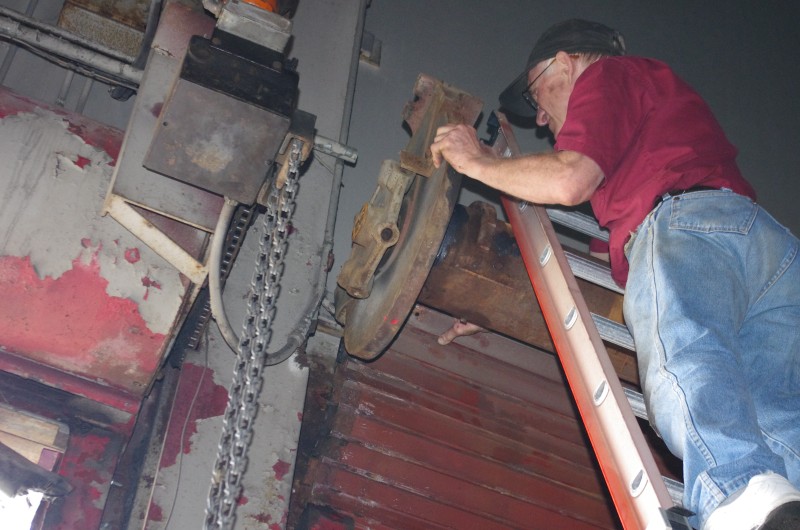
That was also back in the day when we used three-piece wooden ladders that weighed about 100 pounds. Since it was a high lift door, the springs were up 20 to 25 feet, and I had to use all three ladder sections. I had earlier clamped and rewound the broken spring.
Getting Started
After killing the power, I vise-gripped the tracks above the rollers, extended the ladder, marked the coupler, and removed the bolts. Then I unwound both springs on the left side and removed the stationary cones from both spring anchor brackets.
After that, I used come-a-longs to support the torsion springs and hardware as I lowered them to the floor. On the floor, I swapped out the two springs. Without a helping hand, this made the job the toughest torsion spring replacement by far.
Replacing springs on large industrial doors requires calories. My favorite snack was the large Snickers bar and a can of diet Dr. Pepper. If my memory is correct, I ate three of those bars that day, and I drank three cans of pop. I can still remember that heavy feeling in my stomach.
After I had swapped the springs, I reversed the process with two 14 foot come-a-longs connected in sequence. I raised the springs by cranking one come-a-long up all the way and then cranking the second. Cranking was easy; moving the ladder around was work!
Finishing Up
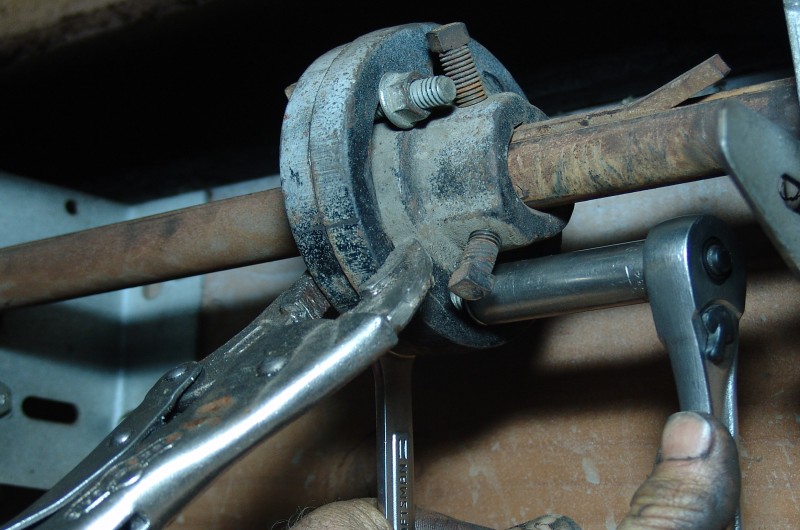
I finally raised the spring assembly to the correct height. Then, I slid the end of the shaft into the end bearing plate and aligned the stationary cones with the spring anchor brackets. Next, I wrapped the cable on the drum and vise-gripped the shaft to keep the cable on the drum. I then secured the stationary cones to the brackets and rewound the springs with about 18 turns on each spring. That was work. With 36″ bars, the tension is only about 30 pounds as the spring is almost wound, but it’s the 18 X 4 quarter turns or 72 “reps” that depletes the energy.
To complete the job, I reset the shaft coupler in the middle, reinstalled and secured the three bolts and nuts, and removed the vise-grips. Then I checked the door manually and tested the door electrically, making any necessary adjustments.
This entry was filed under About DDM, Technical Support. You can follow any responses to this entry through the RSS 2.0 feed.
