Posted January 7th, 2023 at 7:06 pm by Philip Kendall
In this video, we explain how to wind Spring King spring systems, also known as Simple Set spring systems. These winders are no longer in stock, since they have been discontinued by the manufacturer. For alternatives, see our post on torsion spring winding systems.
Spring King systems work by stretching the torsion spring before winding. How much the spring is stretched is determined by the distance between the winder and the stationary cone of the spring. The distance for stretching the spring is calculated based on the wire size and the door height.
There are two ways to determine stretching distance. One is to use the spacers that normally come with the winding kit, while the other is to measure the spring yourself.
Using the spacers
The colors of the lines on the spacers designate the wire sizes. There are usually four sizes of spacer.
- White
- on a 7′ door: wire sizes of .218 or less
- on an 8′ door: wire sizes of .200 or less
- Yellow
- 7′ door: wire sizes from .225 to .234
- 8′ door: wire sizes from .207 to .225
- Green
- 7′ door: wire sizes from .243 to .283
- 8′ door: wire sizes from .234 to .250
- Blue
- 7′ door: wire sizes of .295
- 8′ door: wire sizes from .262 to .295
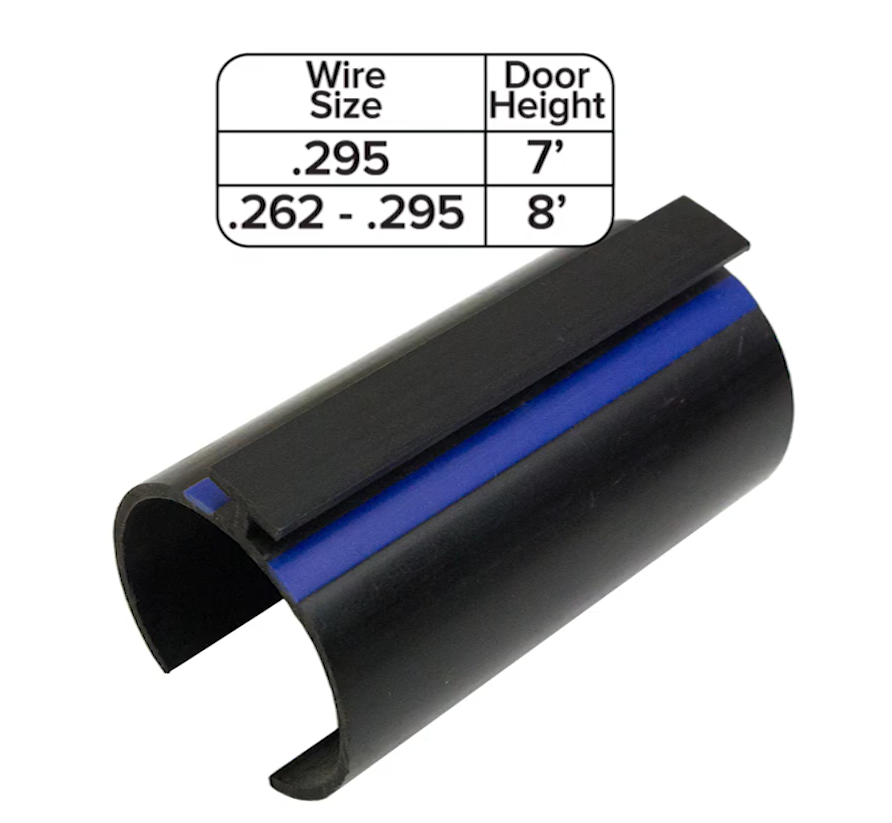
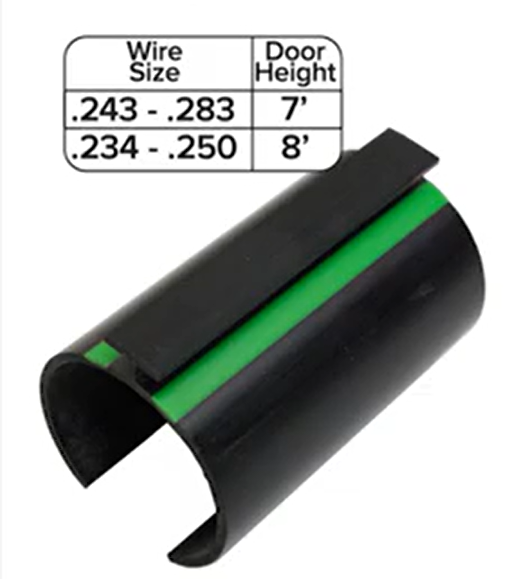
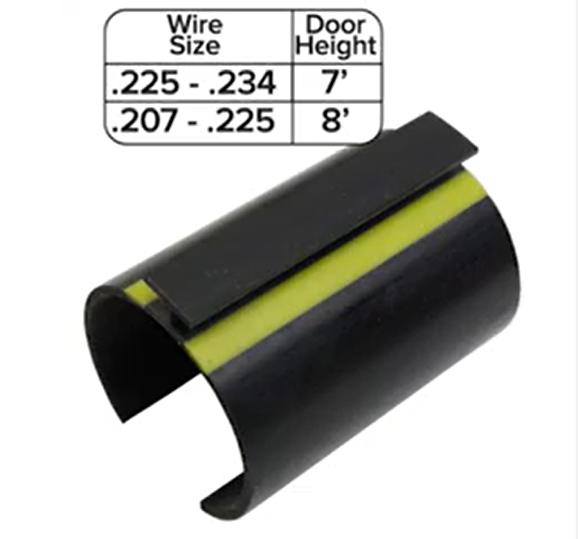
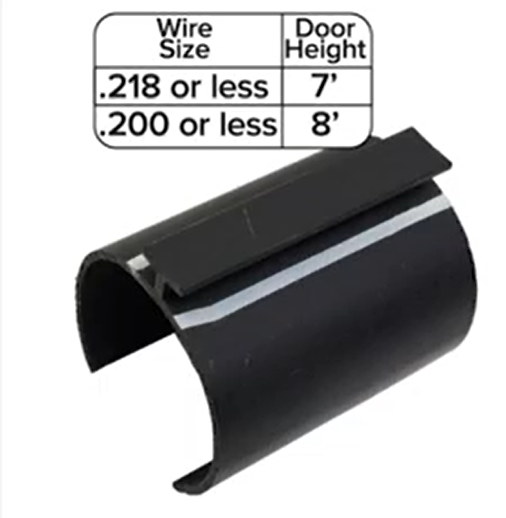
A spring’s wire size can usually be found printed on it as a three-digit number.
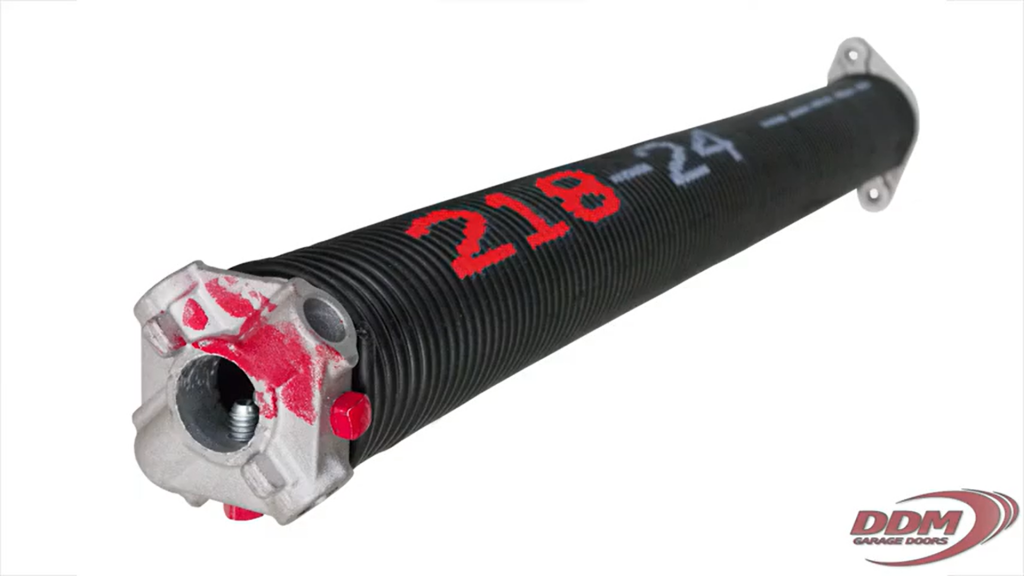
First, find the spacer that corresponds to your garage door’s wire size and door height. Then, insert the spacer into the space between the winder and the spring. Turn the stationary cone to stretch the spring out until it is adjacent to the spacer. Lastly, remove the spacer and start winding the spring.
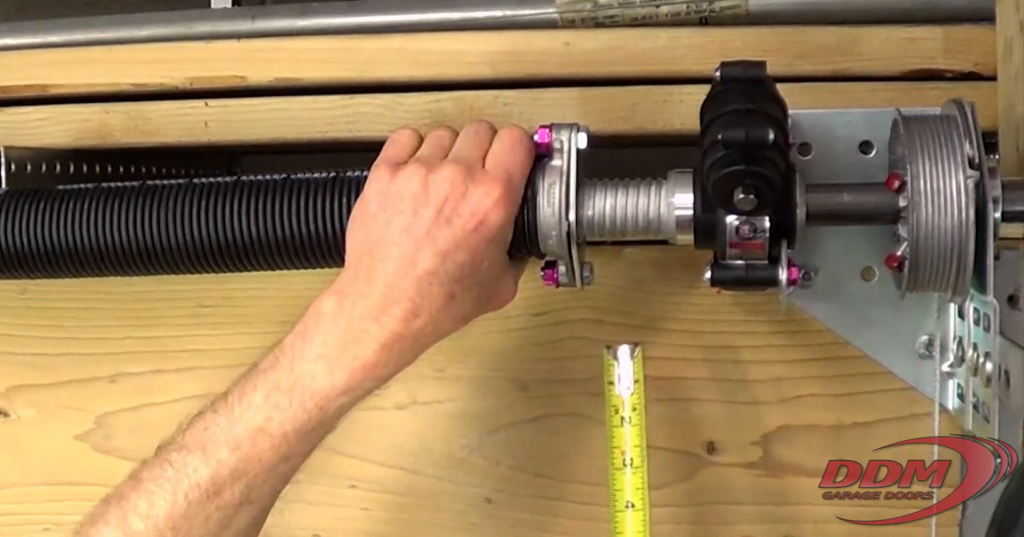
Without the spacers
For a 7-foot-high door, measure the width of 8 coils and add ¼ inch. On an 8-foot-high door, measure the width of 9 coils and add ¼ inch.
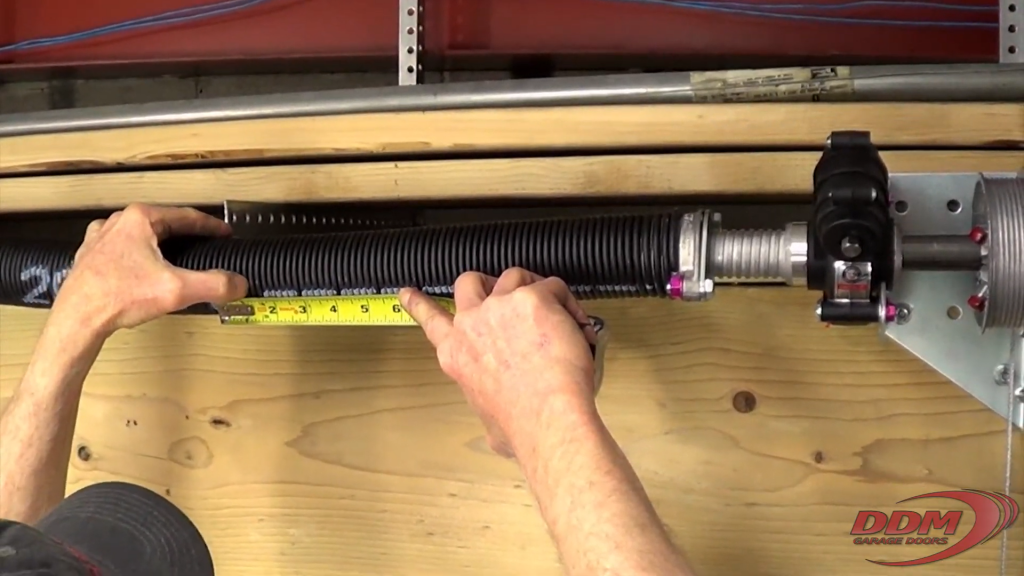
For example, in our tutorial video, we used a 7-foot-high door. After measuring the coils, we found the width of 8 coils to be roughly 1¾ of an inch. Based on this measurement, we stretched the spring until it was 2 inches (1¾ + ¼) from the winder.
Winding Spring King and Simple Set Systems
Once the stationary cone is the right distance from the winder, secure the winding cone on the opposite end of the spring. Finger-tighten the set screws on the winding cone, so it does not move around on the shaft. Then, add one half to three quarters of a turn to the set screws with a wrench, so they are firmly in place.
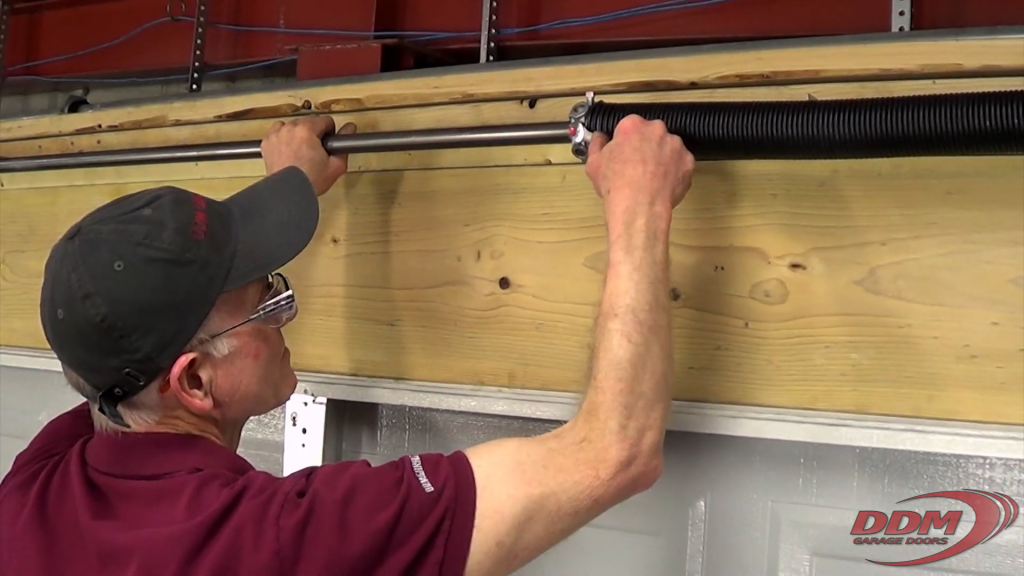
As soon as the winding cone has been secured, you can start winding the spring. Mark the spring so that you know how many turns are on it. Make sure your power drill is rotating clockwise. Connect the drill to the socket on the winder, and start winding.
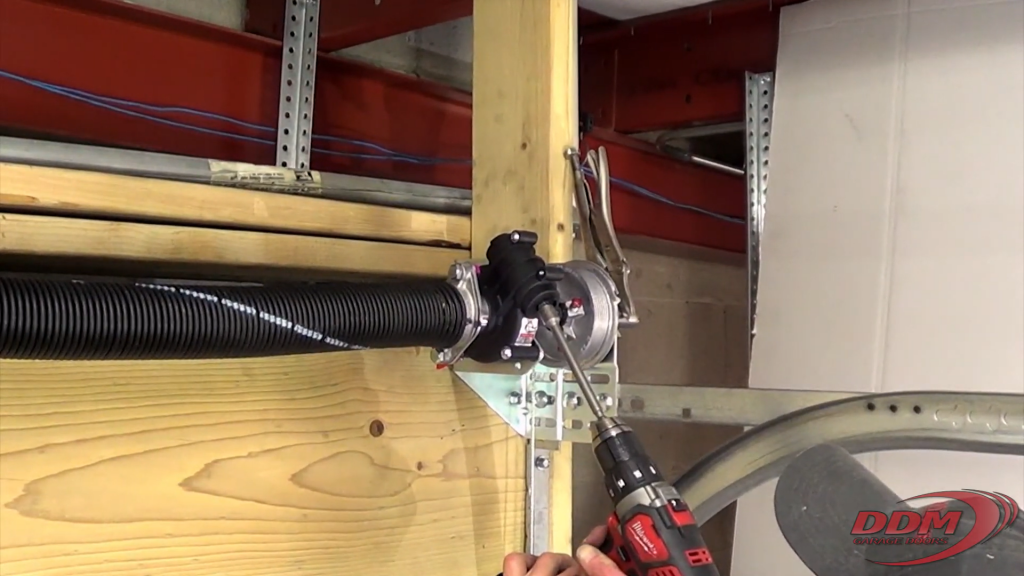
The spring will first stretch along the shaft until it reaches the winder, at which point it will start to wind. Use the mark you made on the spring to count the number of turns.
We hope this has been helpful! For other methods of winding garage door springs, see our blog post on the different types of Torsion Spring Winding Systems. If you would like a simple, safe way to wind torsion springs, see our post on the DDM Torsion Spring Safe-T-Winder™.
This entry was filed under Technical Support. You can follow any responses to this entry through the RSS 2.0 feed.


November 2nd, 2024 at 7:39 pm
Where can you purchase the different colored spacers?