Posted January 7th, 2023 at 7:20 pm by Philip Kendall
Replacing damaged garage door tracks is important because the tracks hold the door in the opening and keep it from falling. Failure to replace the tracks can also cause premature wear to rollers, hinges, and cables.
In this video, we explain how to replace the vertical tracks on a garage door.
Preparation
In order to replace your vertical tracks, you will need a power drill, a screwdriver, and replacement track parts.
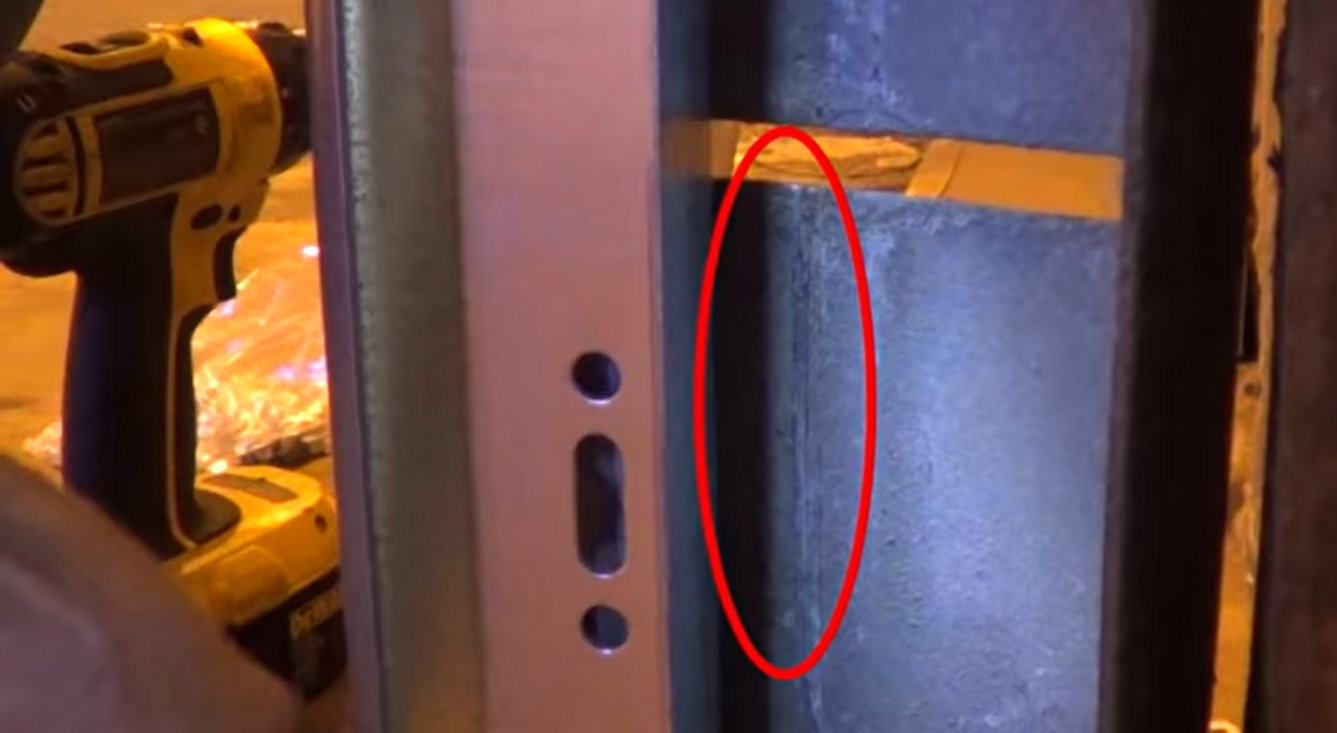
- Before removing the old track, raise the door above the junction where the vertical section meets the upper section.
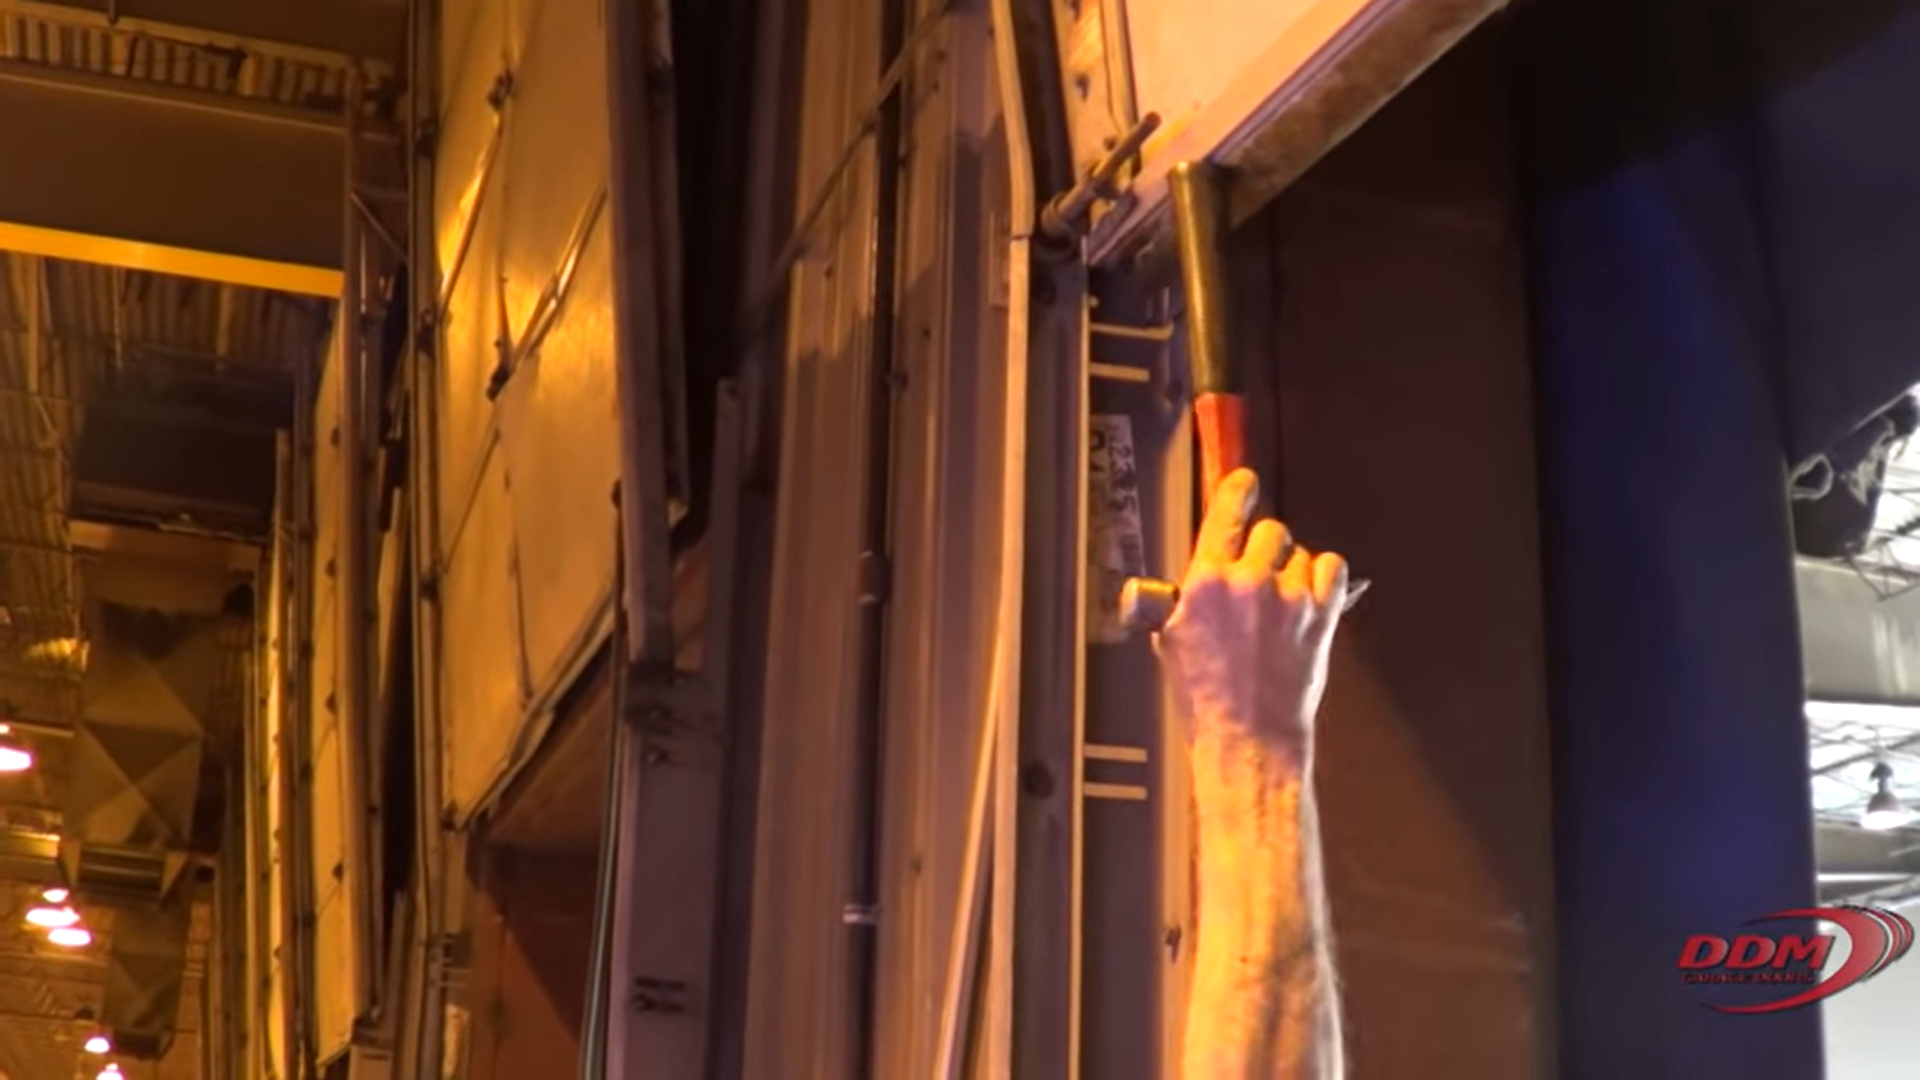
- Mark the position of the track on the track angle using a permanent marker or a screwdriver.
Take Down the Old Track
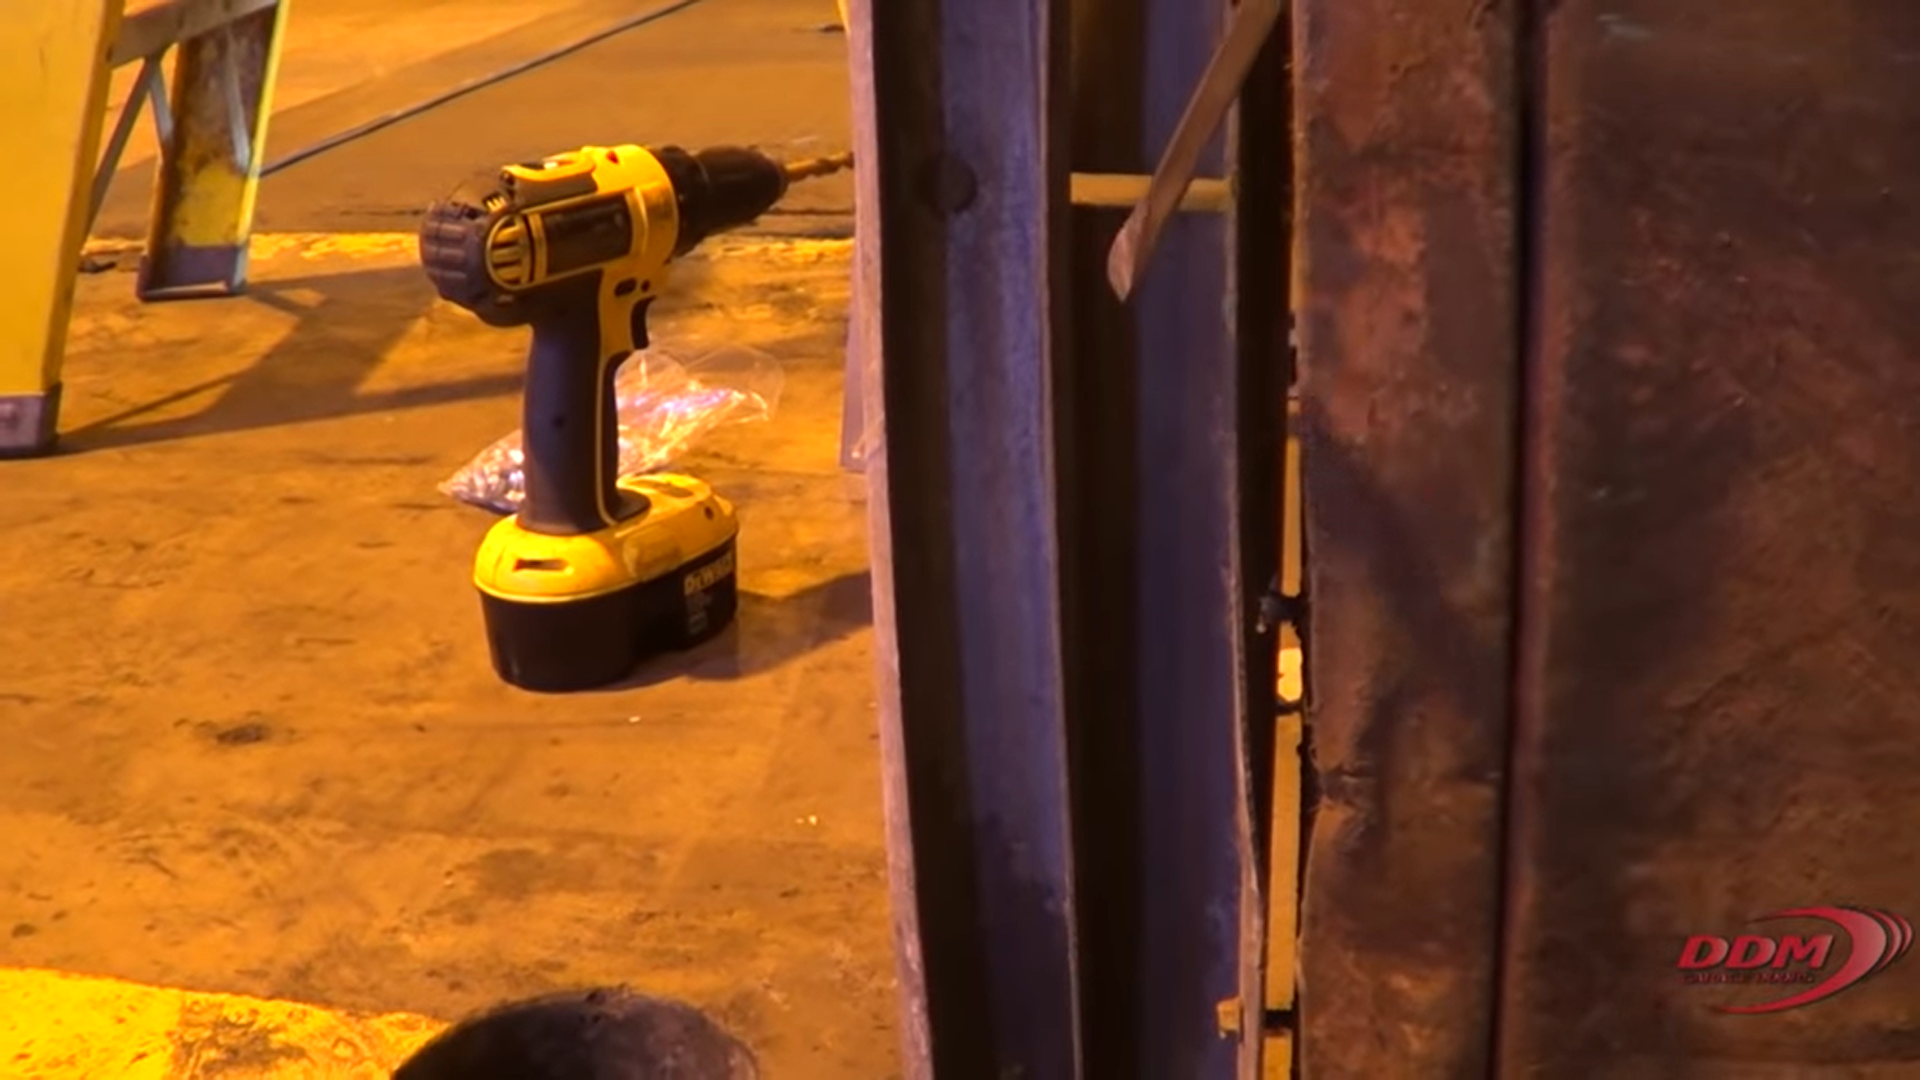
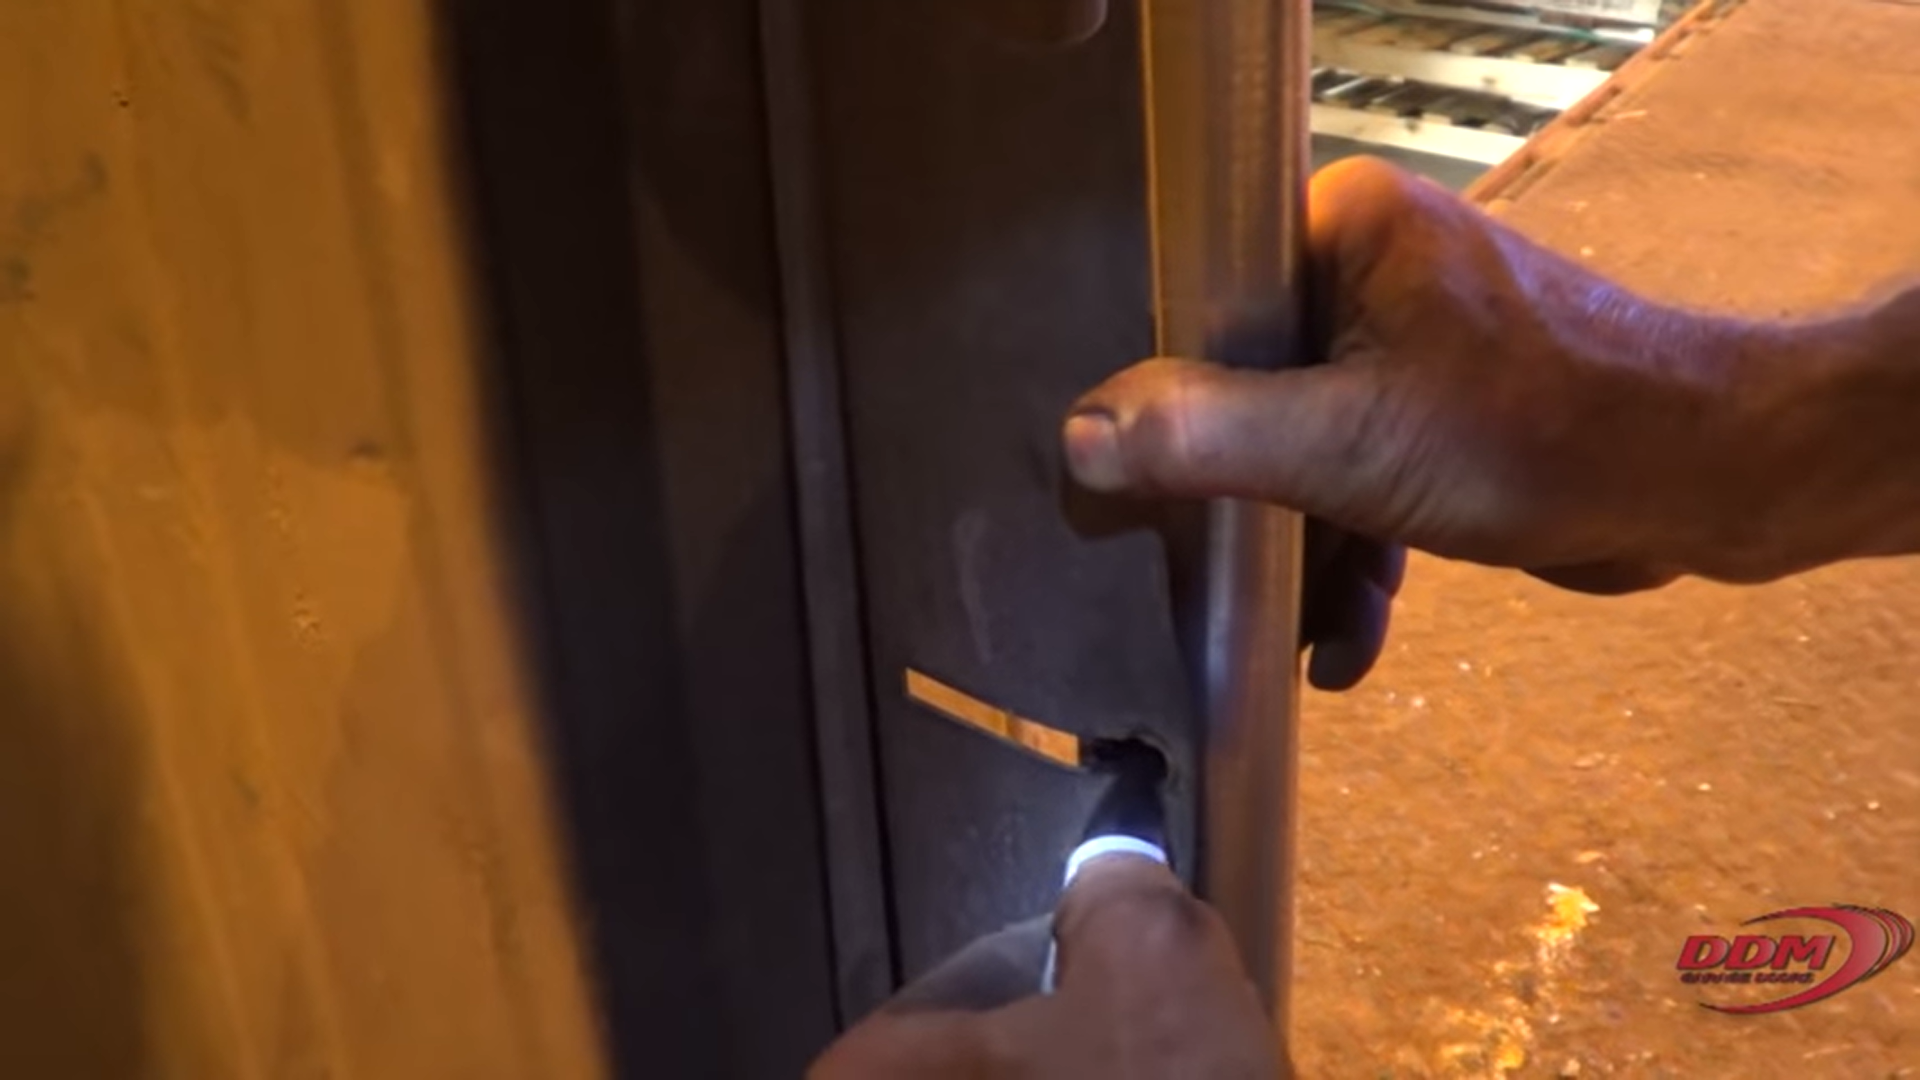
- After that, remove the bolts that connect the track to the angle.
- Once you have removed the bolts, take down the old track.
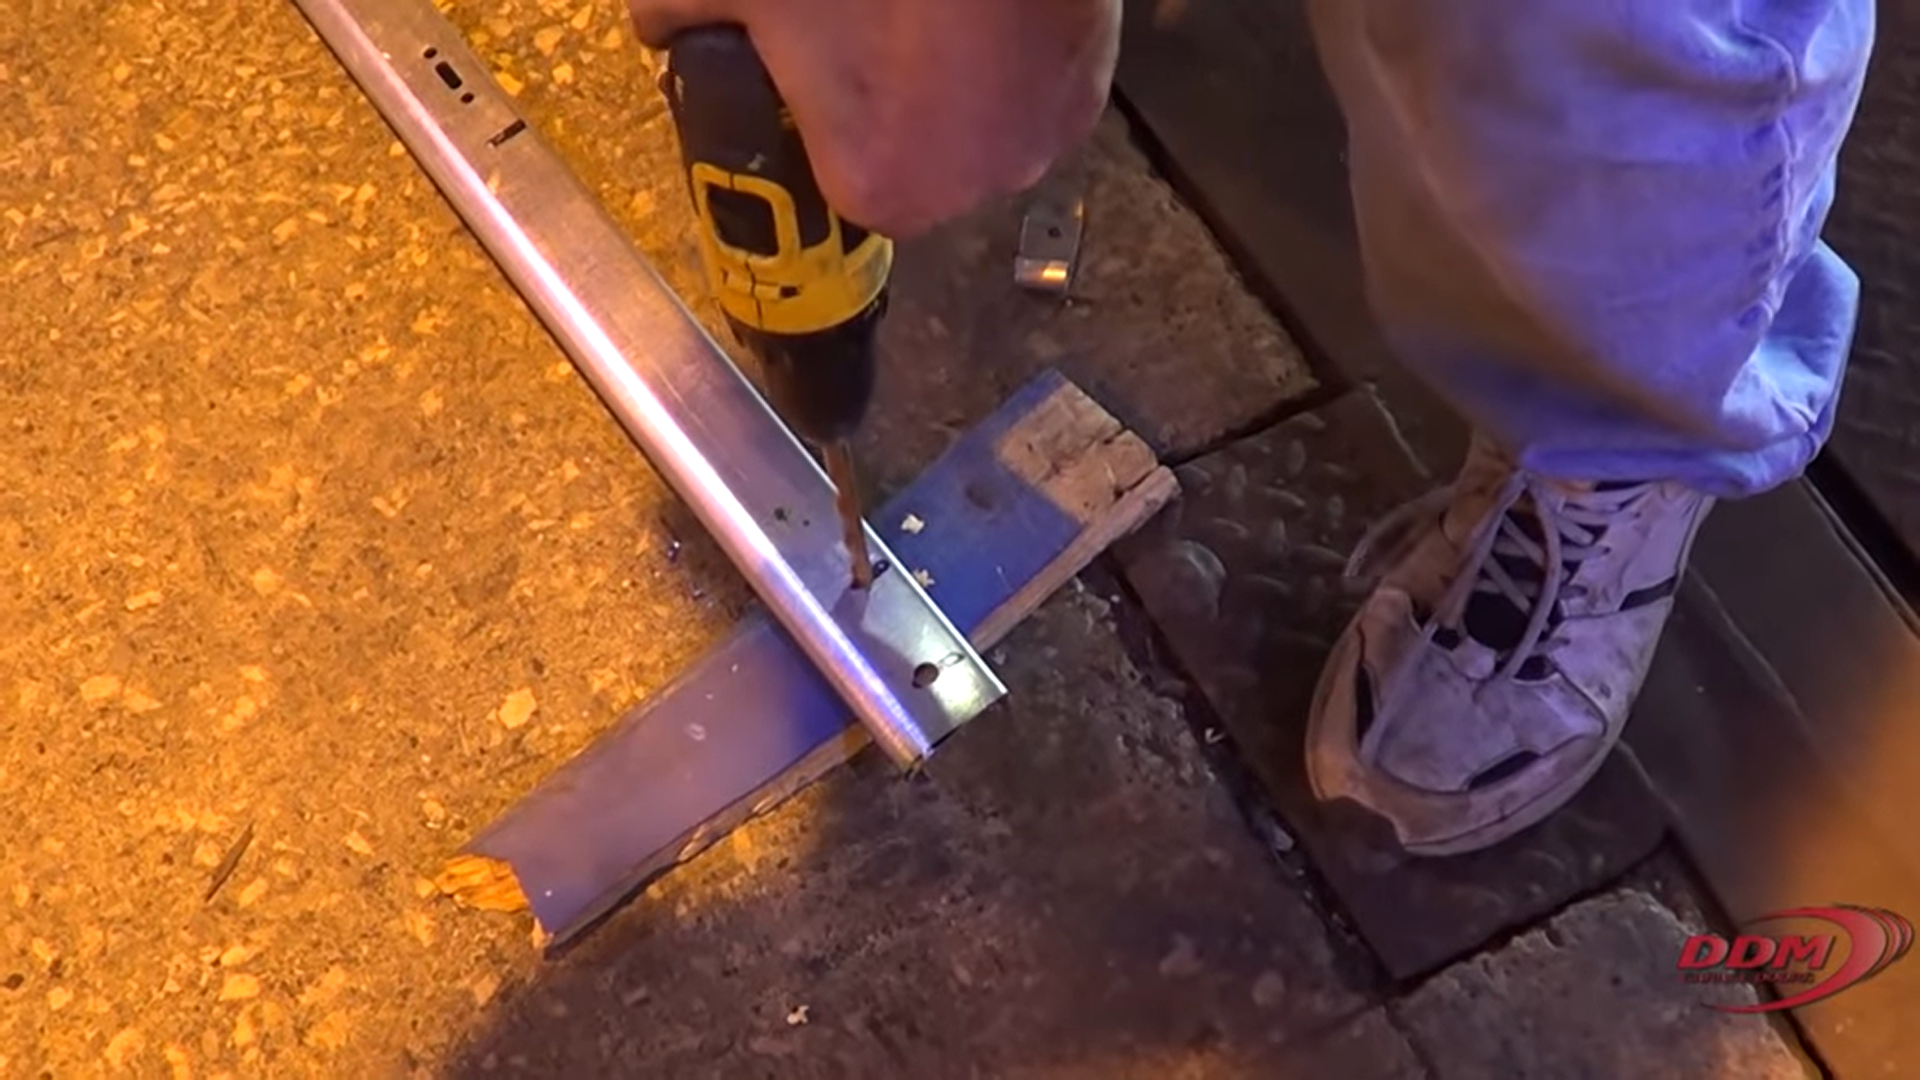
Measuring and Cutting the Replacement Track
- Next, put the new track in place. Mark where the vertical track will meet the upper track.
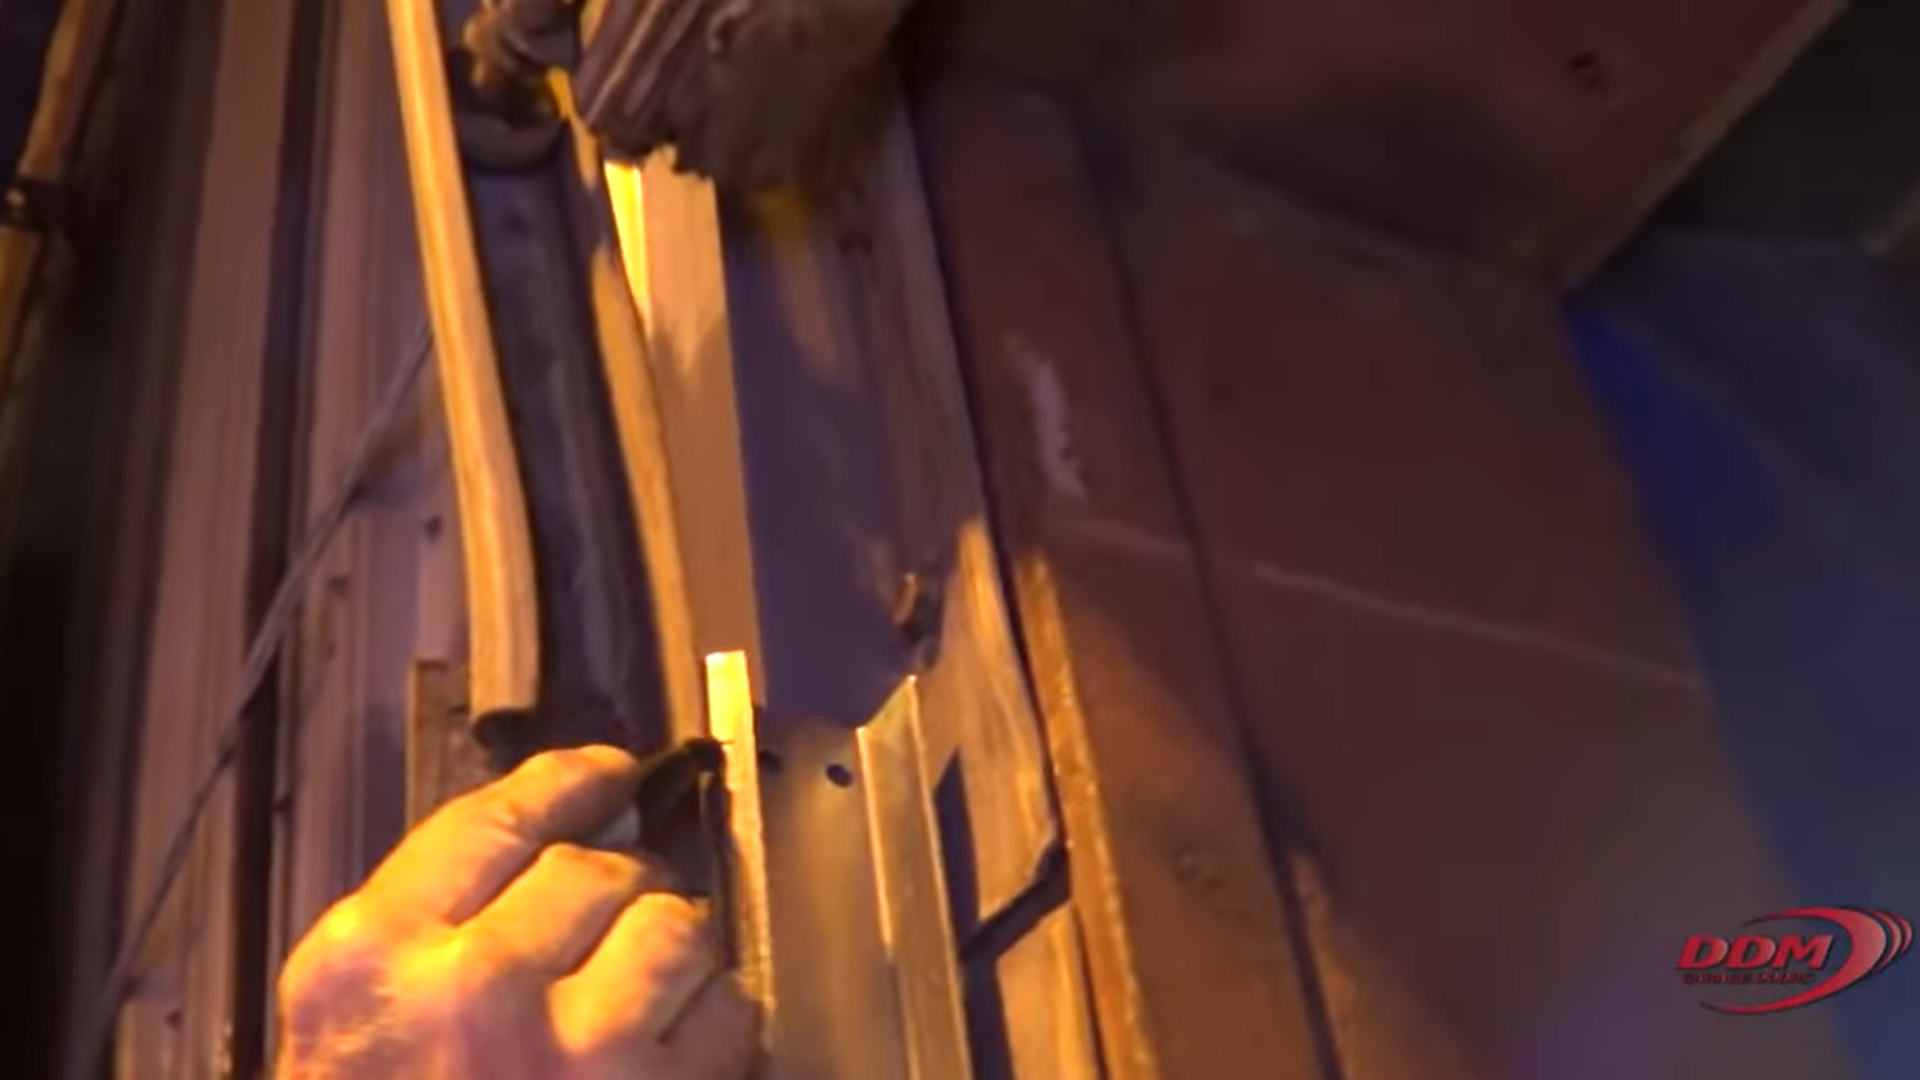
- Cut the track to length.
- Align the two sections. Use a vise grip to make sure the two sections of the track are properly aligned. Make sure the track is also aligned with the mark you made earlier on the angle.
- With a permanent marker, outline the holes on the track where you will be drilling to install bolts.
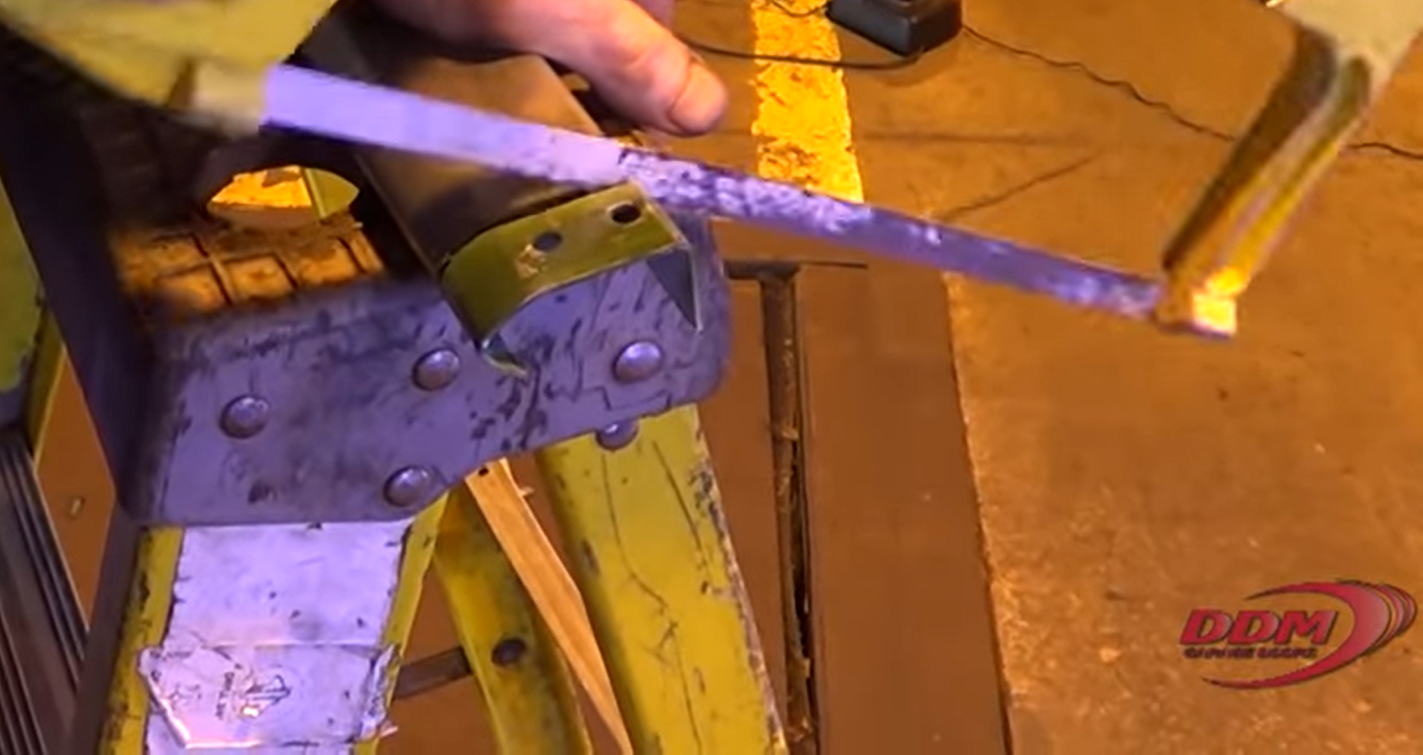
- Once you have outlined the holes, release the vise grip. Lay the track on the ground and drill the holes you outlined.
- Use a 1/4-inch bit for 1/4-inch holes, and a 3/8-inch bit for 5/16-inch bolts.
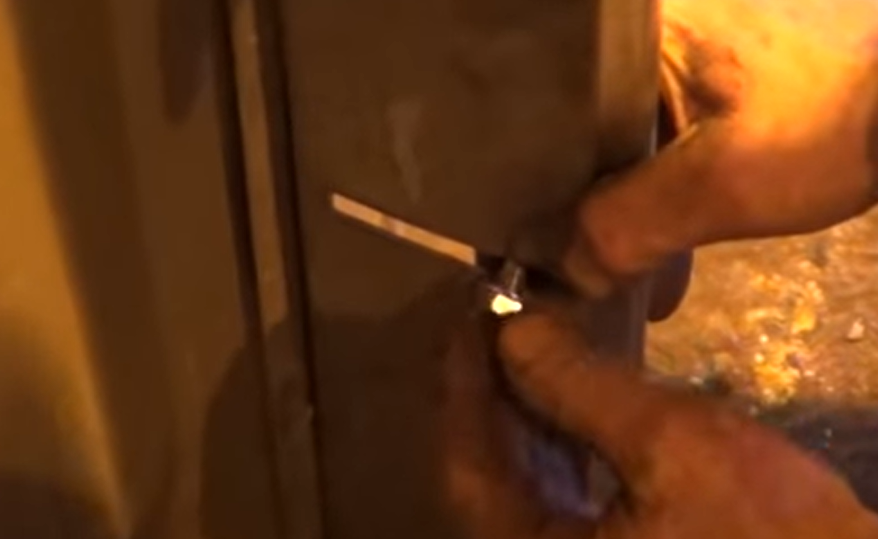
Installing the Track
- Once you have drilled the holes, line the track up against the track angle.
- Install the bolts from the inside of the track, and use the nuts to secure the bolts from the outside.
- Start with a bolt at the top and bottom, loosely tightened.
- Then, install the bolts in between.
- Clamp the vertical and upper tracks together with a vise grip to ensure they line up.
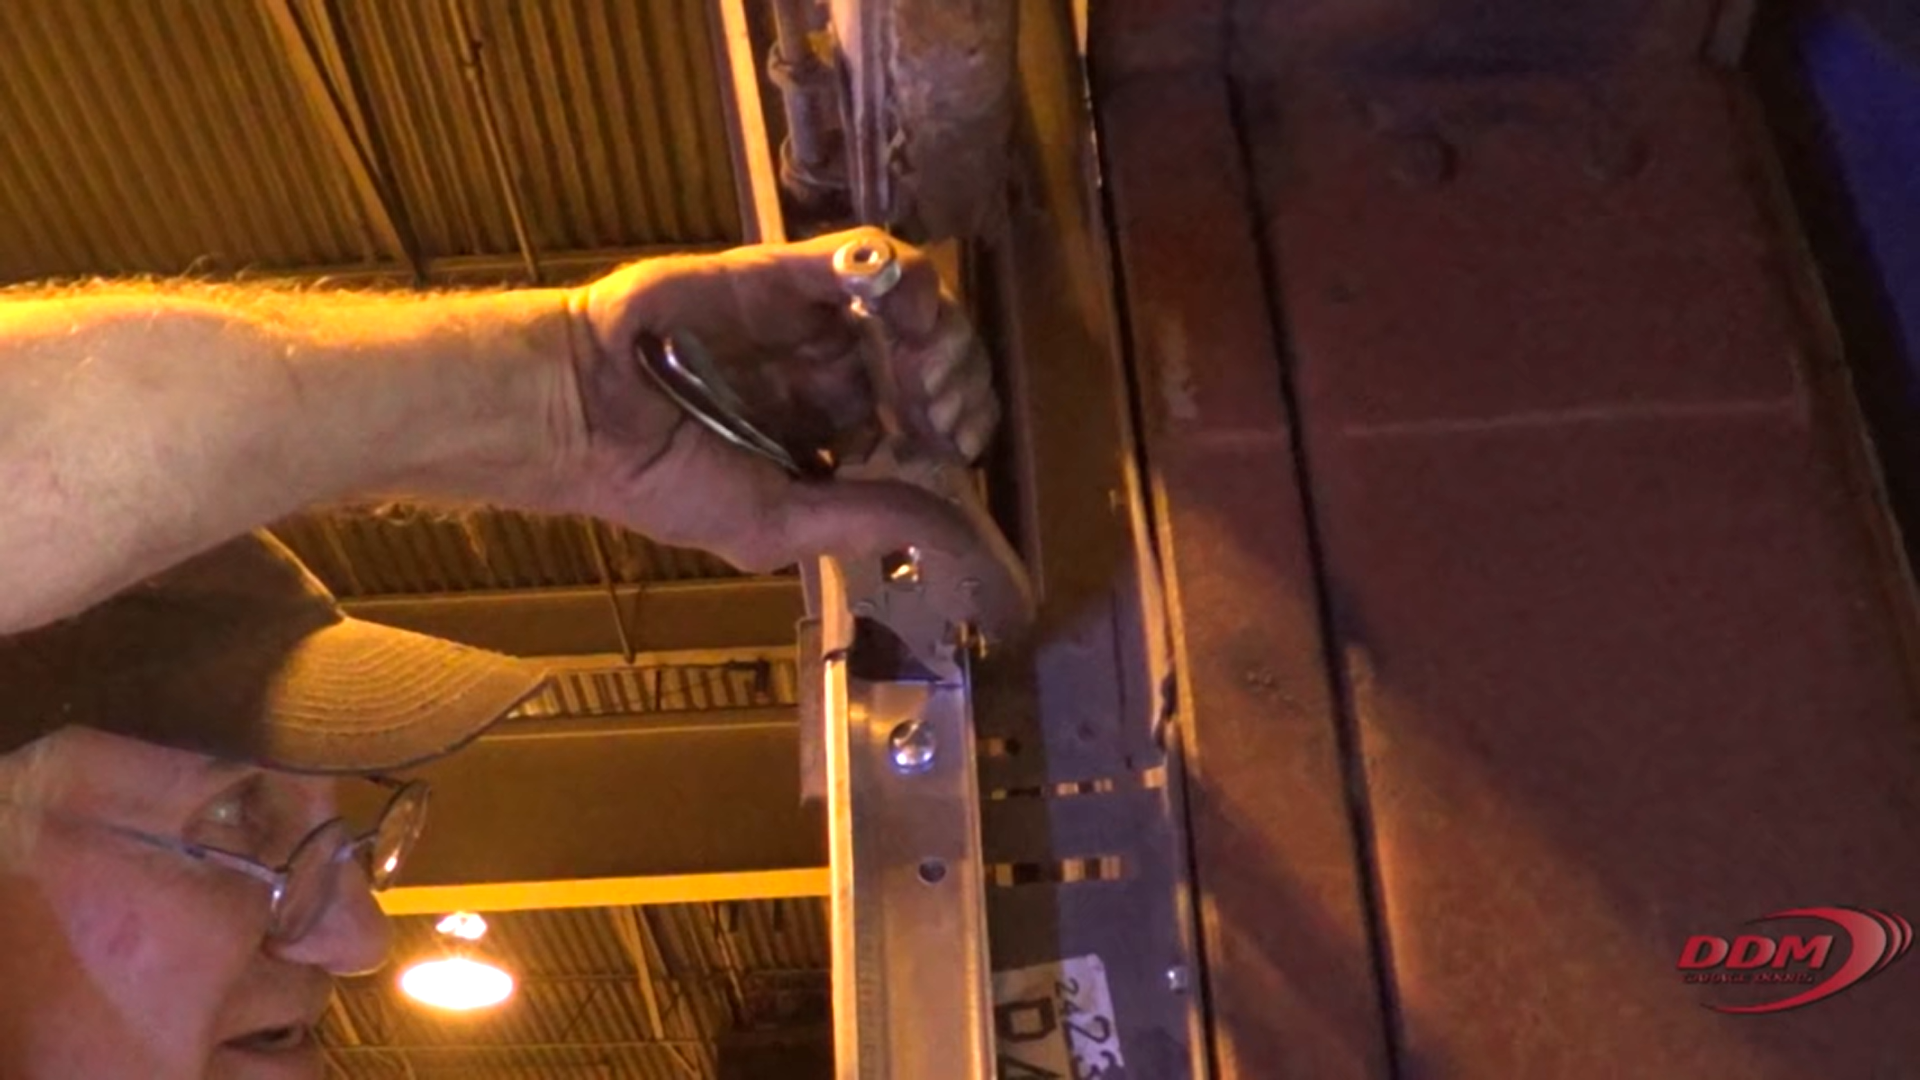
- Starting from the top, use a drill to tighten the nuts and bolts all the way back down. As you do so, make sure the tracks line up.
Testing the Door
- Once they are tightened completely, close and open the door to test the fit of the track. If the wheels will not turn, that means the track is bolted too closely to the rollers.
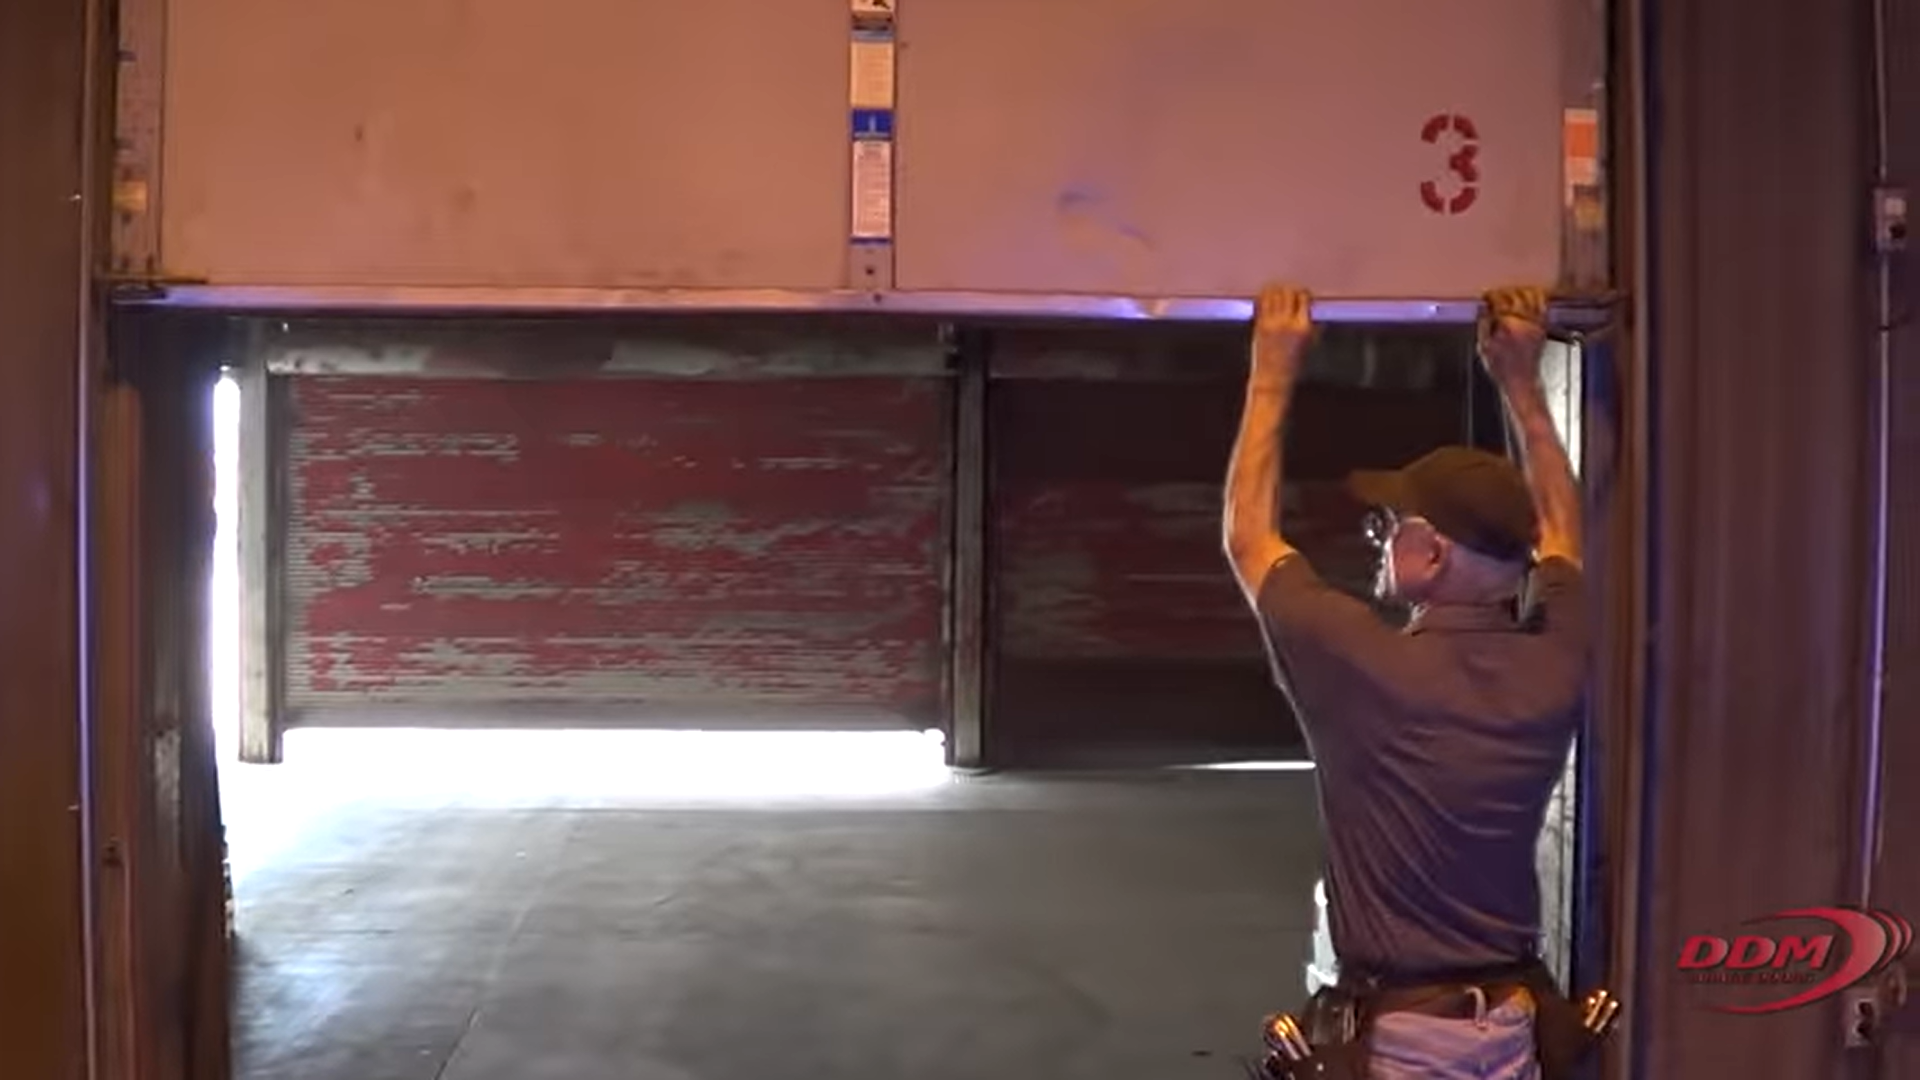
- To correct this, loosen the nuts a little and pull the track toward the inside of the building.
- Recheck the operation of the door.
- If the door is free, tighten the bolts.
- Test the door a third time to make sure it rolls freely.
We hope this has been helpful. For more information, visit our page about garage door tracks and track hardware. We also sell garage door hardware kits that can be helpful when making modifications to your track.
This entry was filed under Technical Support. You can follow any responses to this entry through the RSS 2.0 feed.
