Posted May 9th, 2023 at 3:15 pm by Philip Kendall
Garage doors can get drafty, especially during the winter months. Even in warmer climates, insects and small animals can try to get in around or through a poorly sealed garage door. Installing garage door PVC stop molding, also known as garage door weatherstripping, will help keep cold and critters on the outside of your garage.
As well as the PVC molding itself, you will need a hammer and trim nails to fasten the molding in place. We sell both the molding and nails on our garage door seals page.
There are two main types of garage door stop molding. One type has flaps on the sides, while the other variety has flaps on the top.
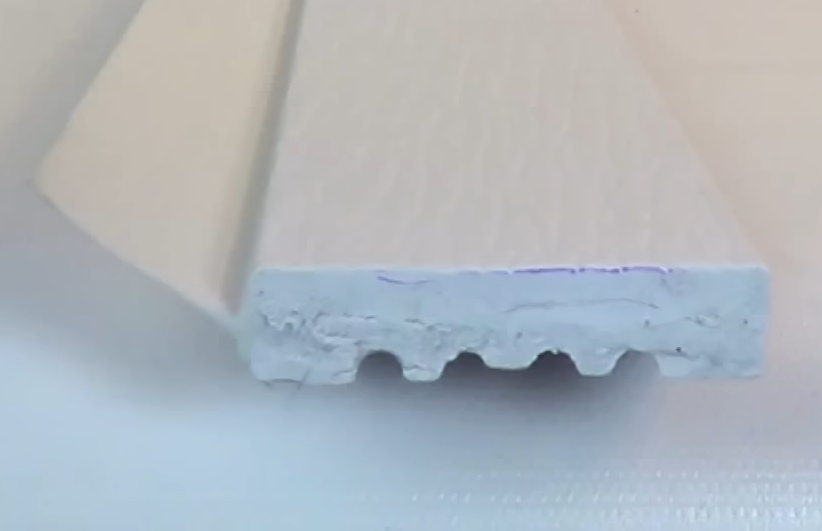
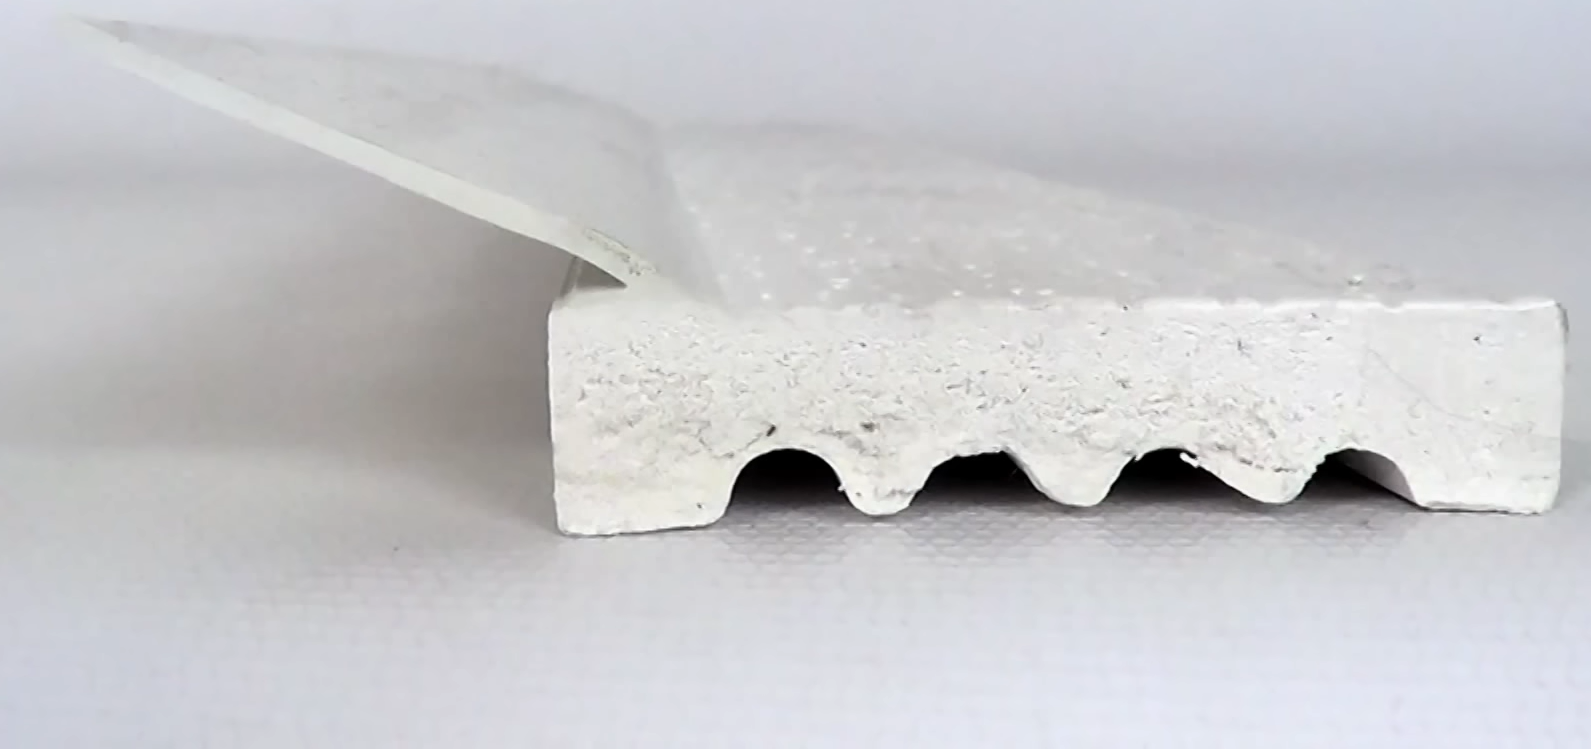
We recommend using the top flaps, since this allows the door to ride against the hard PVC instead of the soft flap. The only disadvantage to this design is that the vertical and horizontal stops can not be joined directly. To solve this problem, you will need to cut the top corners off the vertical stops.
We recommend buying solid stop molding, but hollow stop molding is also available.
Installing the PVC Molding
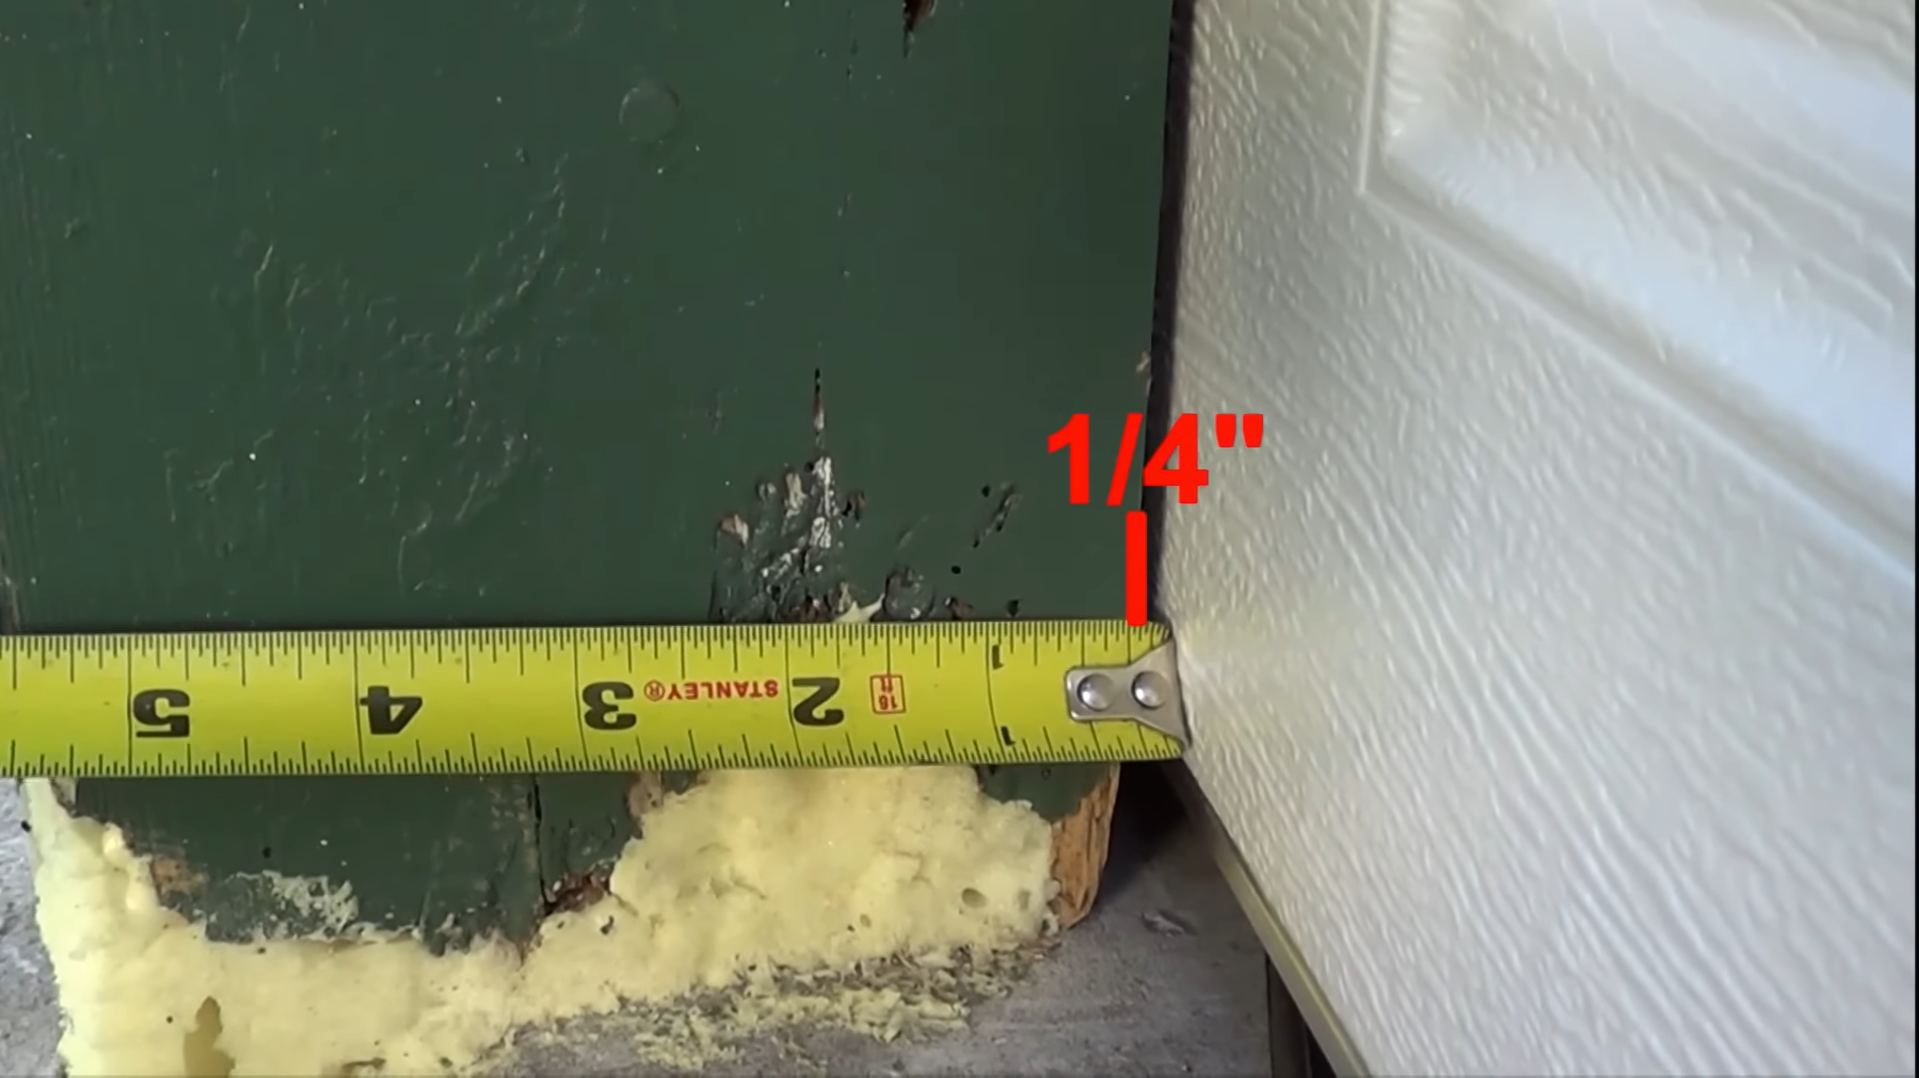
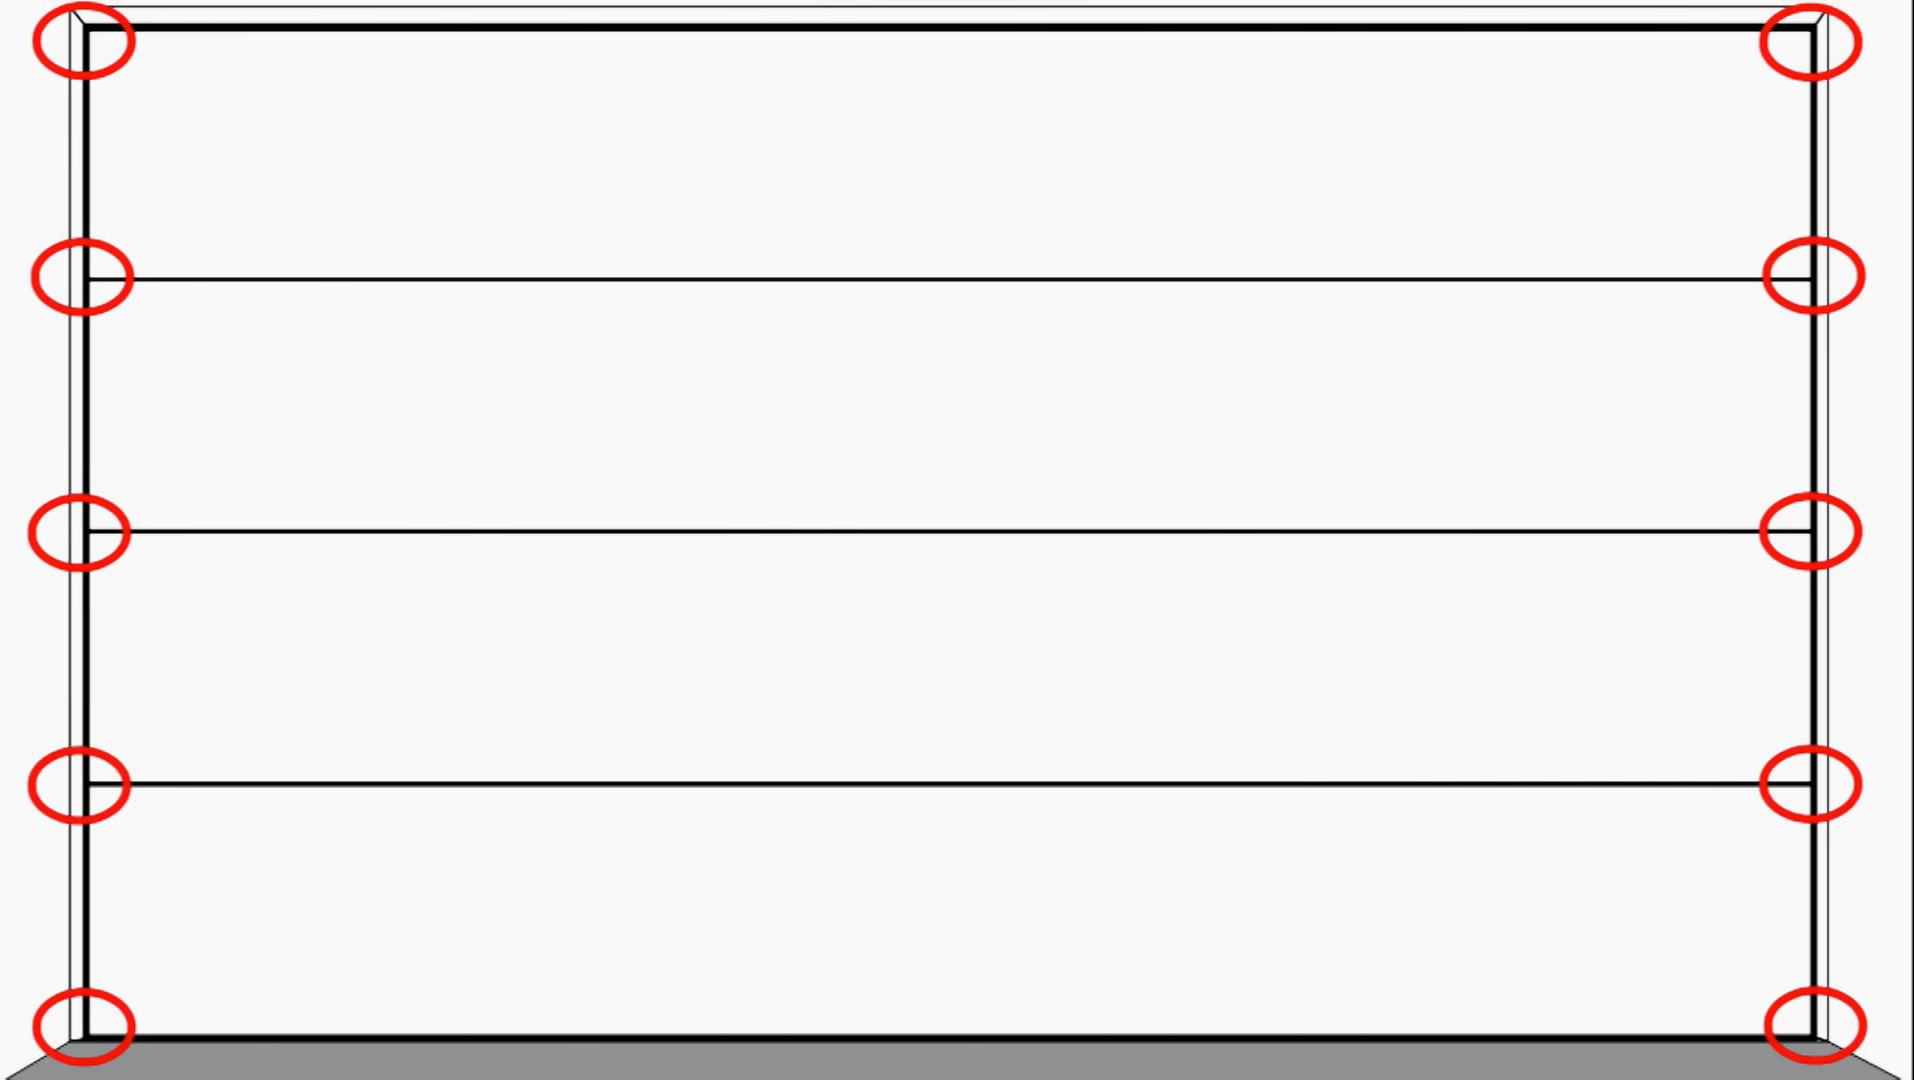
- Start by measuring the gaps on either side of the door. Measure at the top and bottom, as well as each joint of the door.
- First, push inward against the door.
- While pushing in, measure the gap between the door and the frame.
- You may need to adjust the garage door opener or the top fixtures to get a consistent gap.
The order of installation is important. Install the top seal first, then the seals on either side so that they intersect with the top seal. This makes sure the top flap is behind the side flaps, which keeps the flaps from being torn.
Installing the Top Seal
- Prepare the top seal by driving the nails partway through. You do not want the nails to go all the way through, but simply to be held in place
- Place the nails six inches apart.
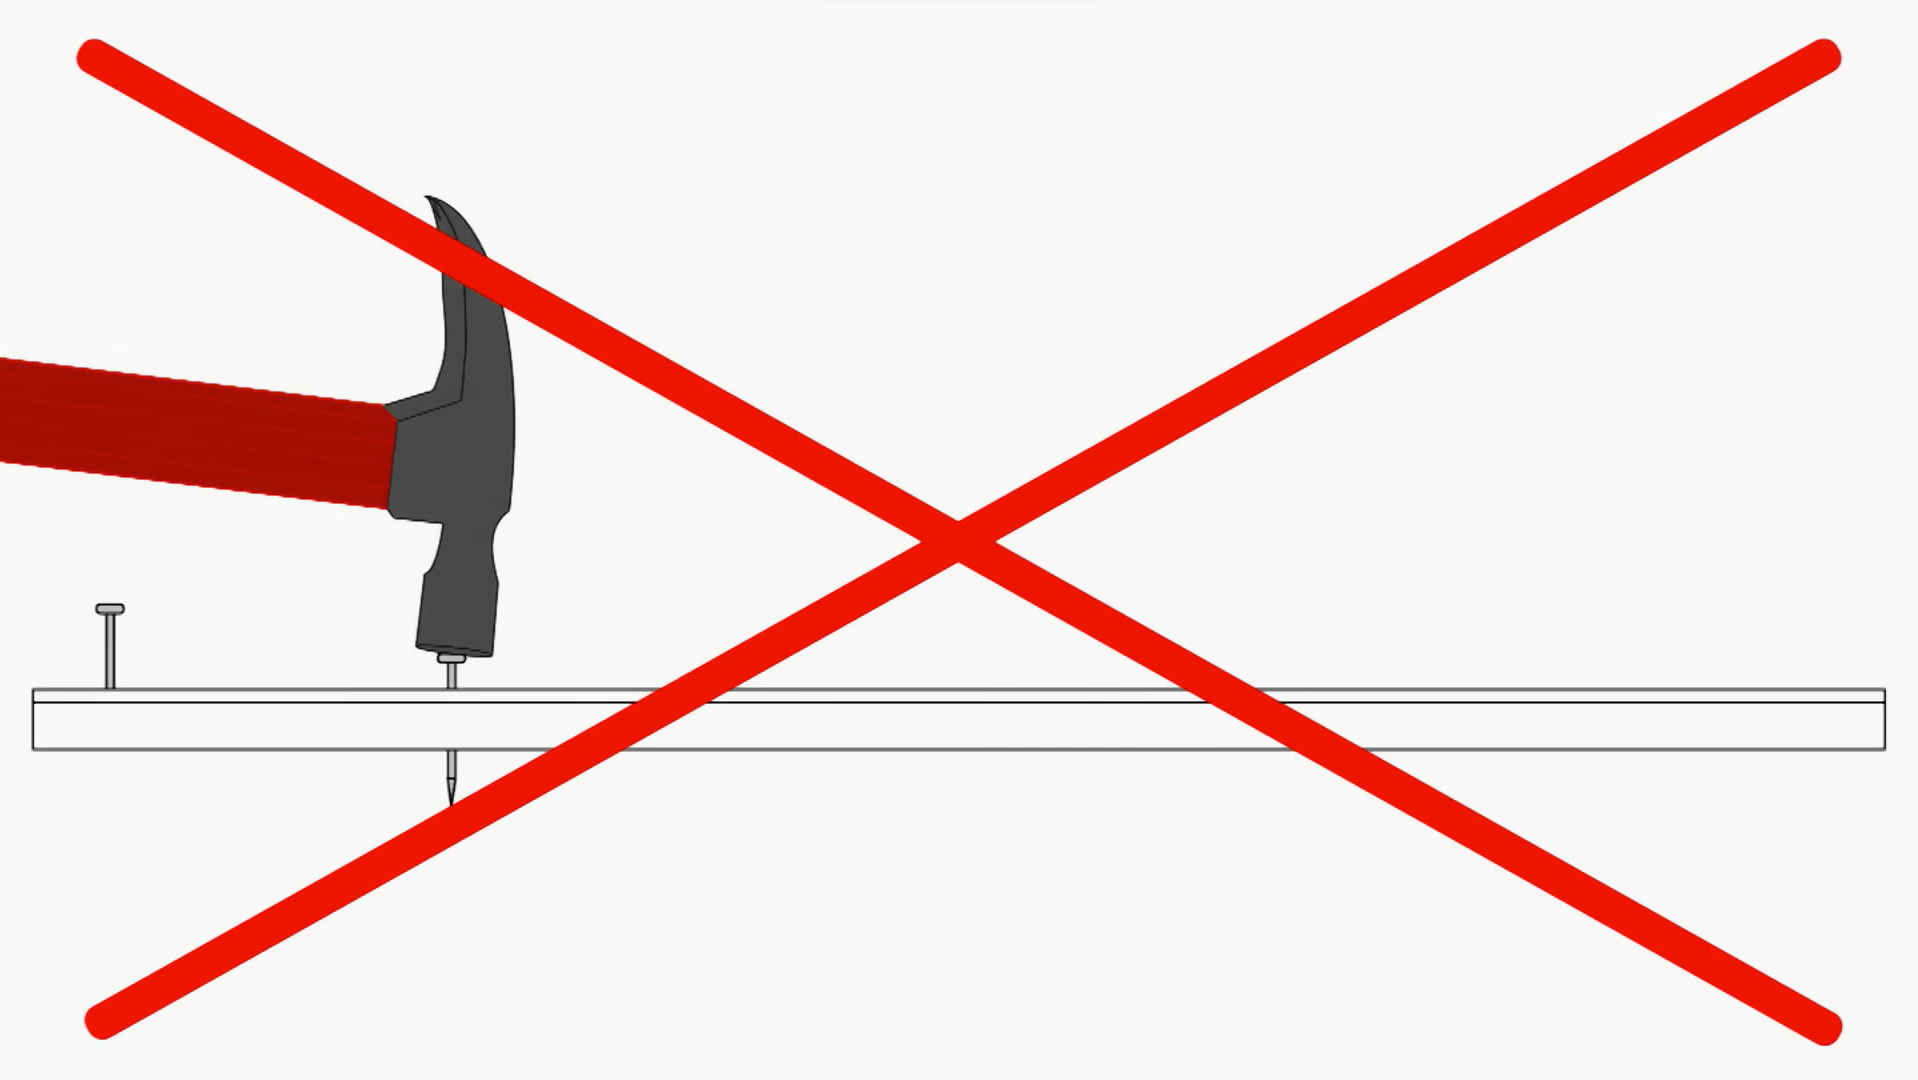
Be sure not to hammer the PVC weatherstripping while it is bent, since the material is brittle and this will likely break it.

- Hold the top seal up flush against the doorframe.
- Drive the nails through the top seal just enough to hold it in place. Do this only up to the midpoint of the door. Do not hammer them all the way through, as you will be taking down the top seal later.
- At the other end, mark the excess with a pen or pencil.
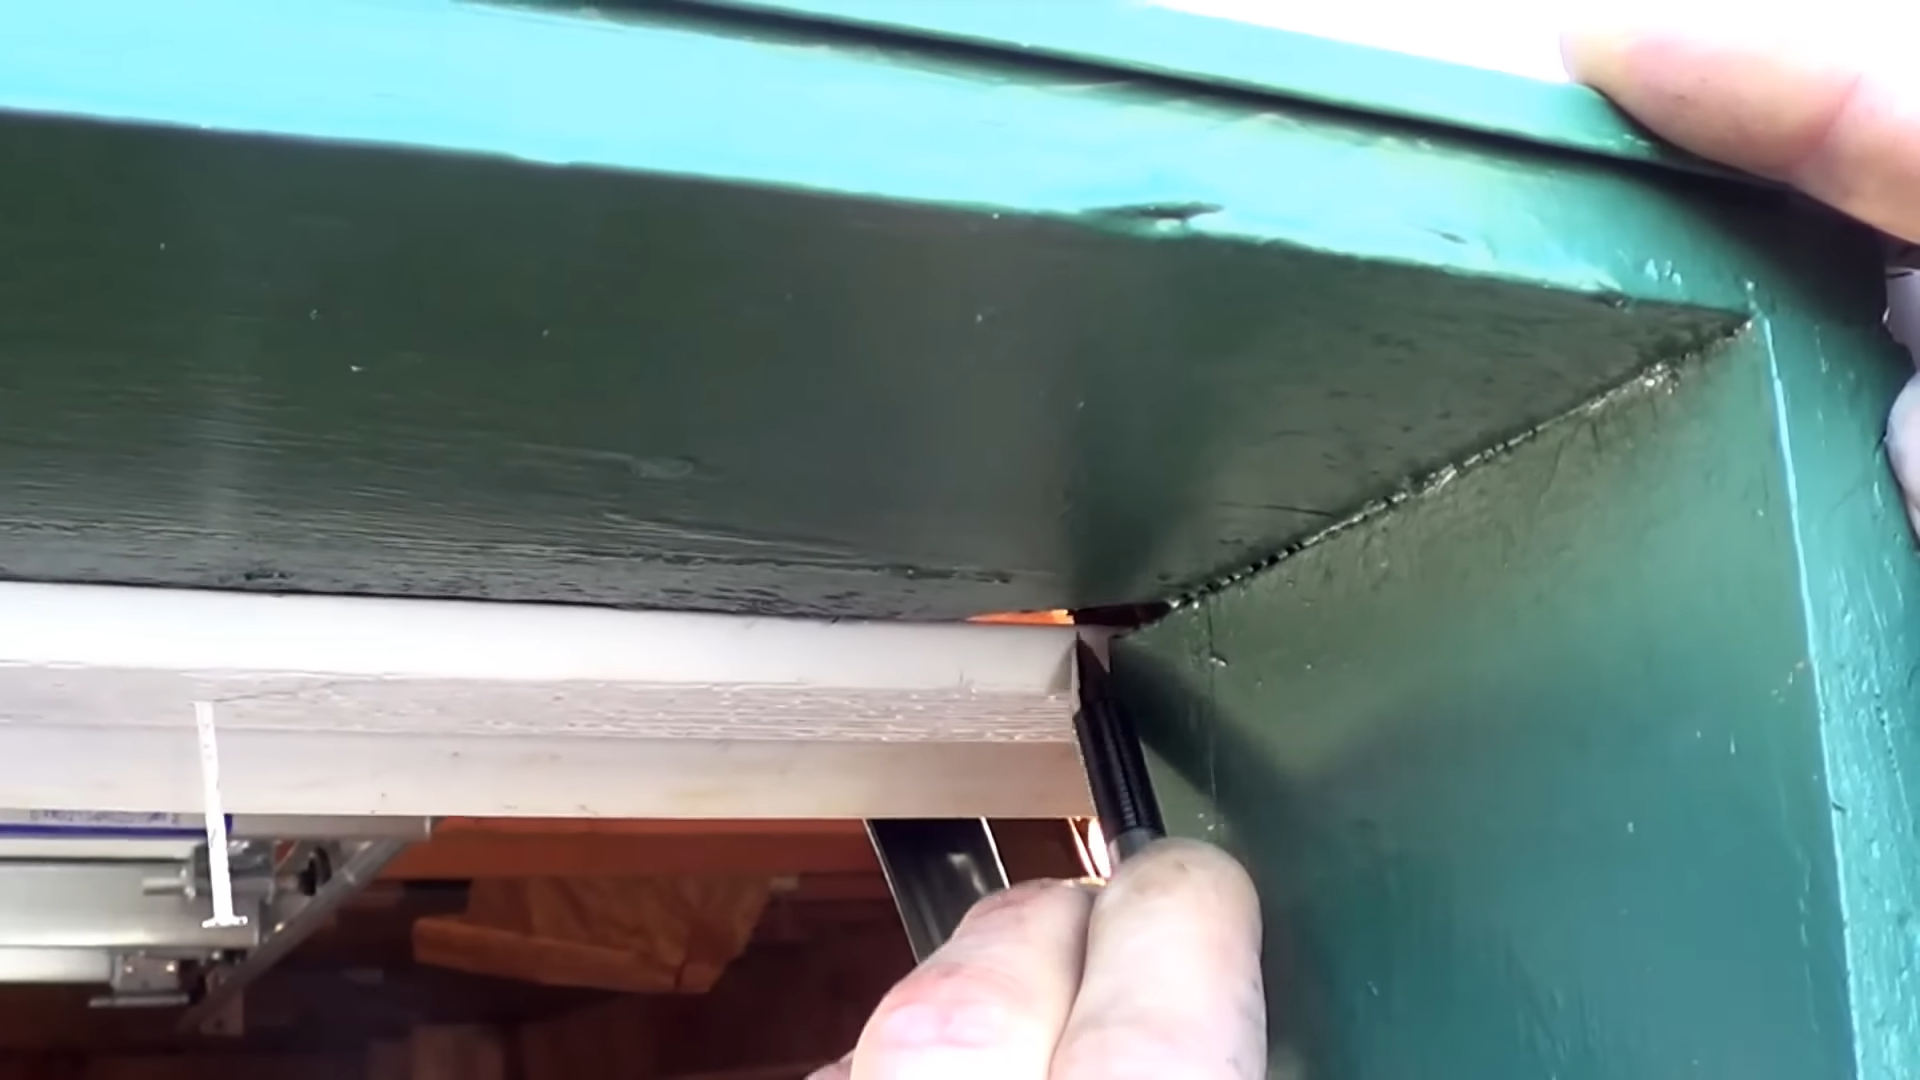
- Then, take the seal down and cut off the excess material from the end so that it fits flush with the garage door frame.
- Make sure you use a tool that makes a straight, clean edge.
Fully Install the Top Seal
- Now that the topmost seal is the right length, you can fully install it.
- Make sure the seal is completely straight. Since it was originally put in on an angle, if you did not take it down to cut it you may need to pull out some of the nails.
- Hammer in completely every other nail.
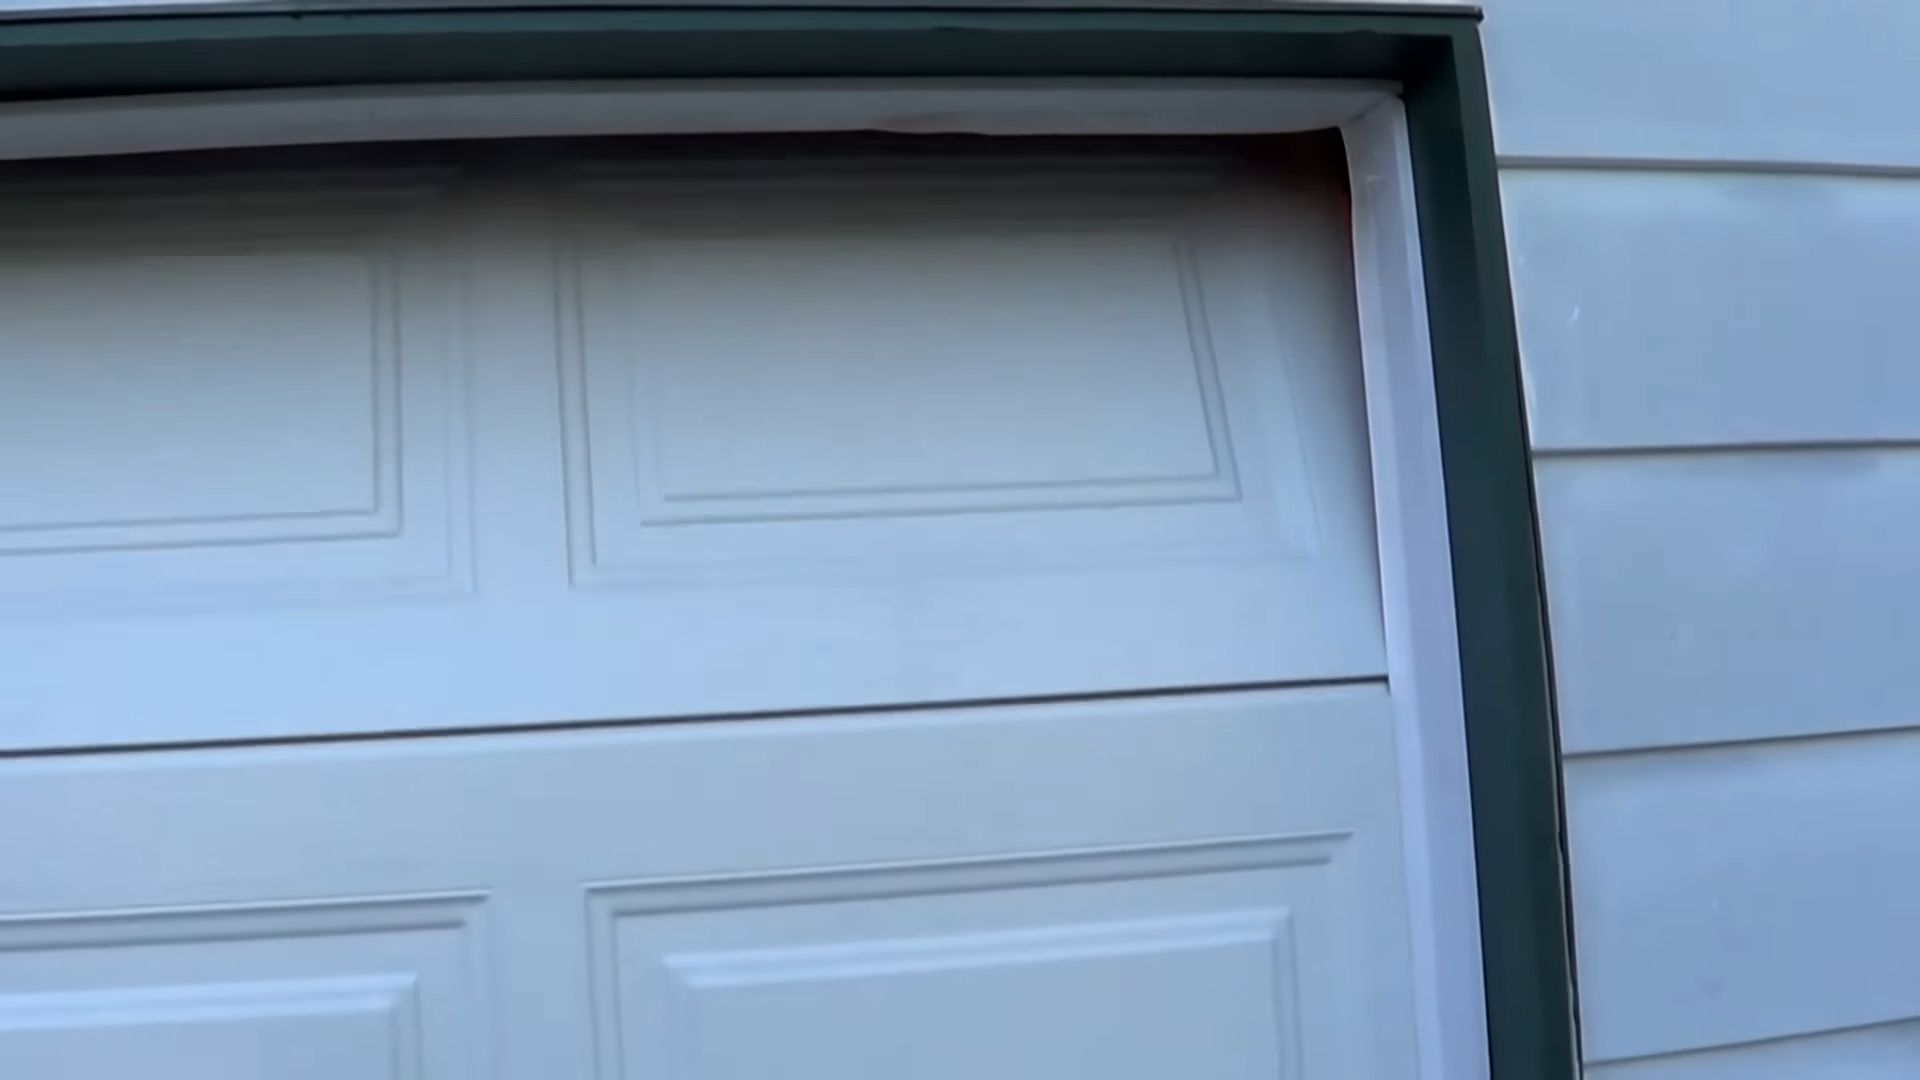
- Close the garage door to check the seal. If the PVC stop molding was properly installed, it should form a right angle with the flap.
- If you need to readjust part of the weatherstripping, pull out the nails at that part of the seal, move it into the right position, and hammer the nails back in again.
Installing the Side Seals
- First, open the door.
- Hold the side seal up to where you will be installing and mark the excess material with a pen or pencil.
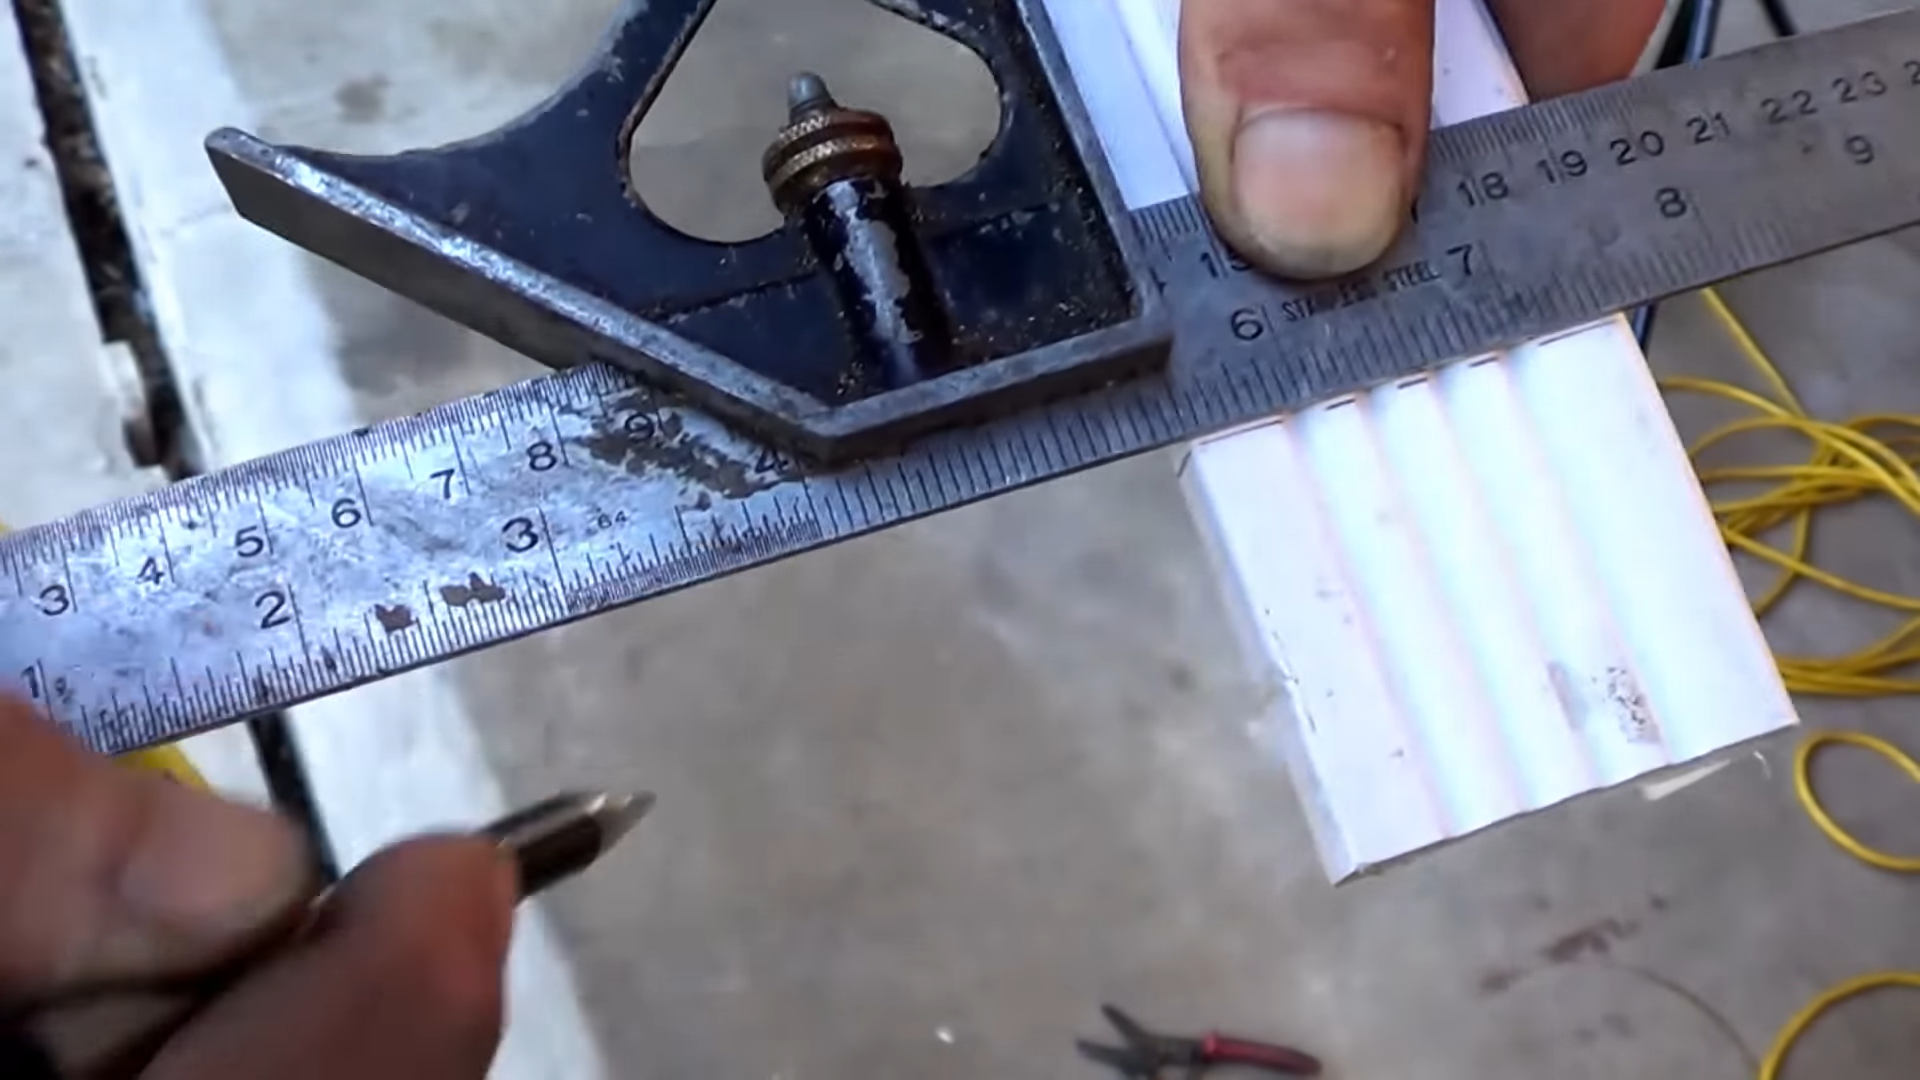
- Once you’ve made your cut, check the new length. It is important for the PVC stop molding to be the right length. If it is too long, it will create a bubble and not seal properly.
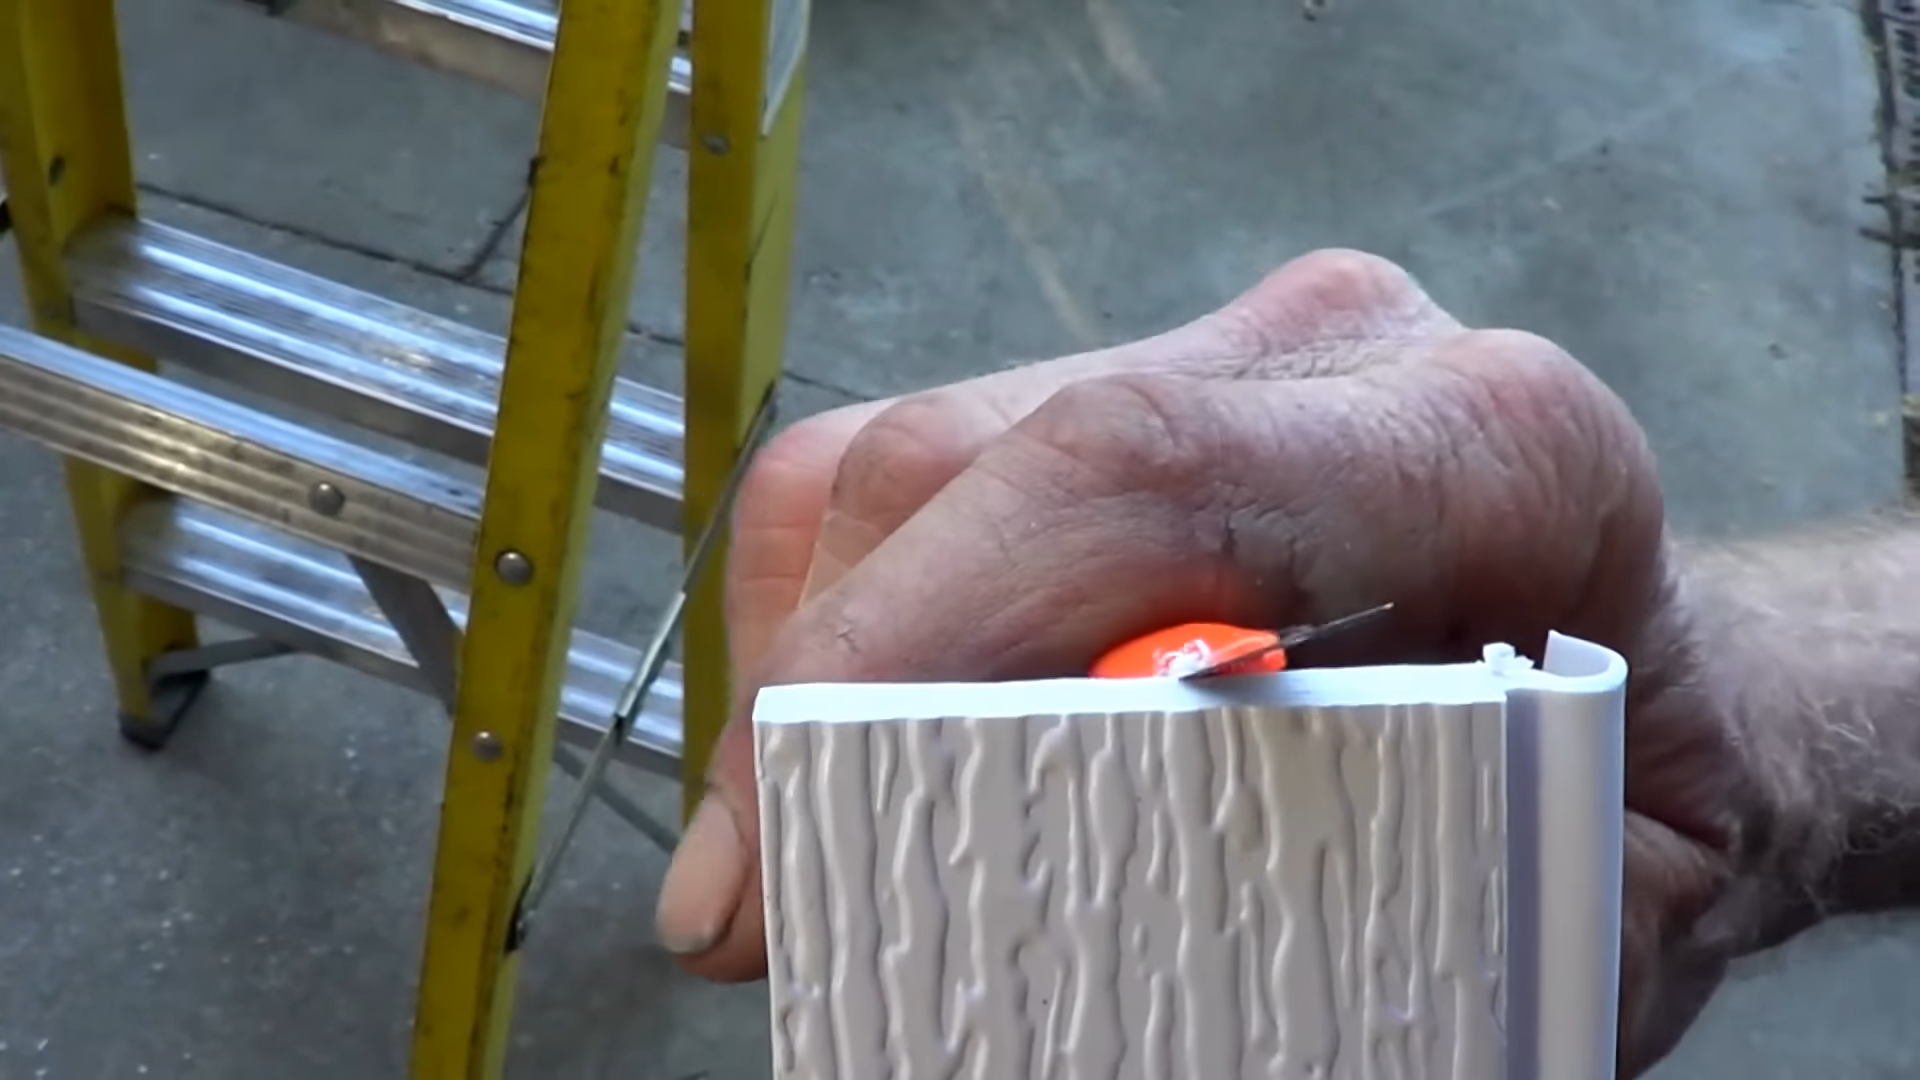
- If needed, shave off part of the top of the seal with a razor blade.
- Hammer in the nails six to twelve inches apart. As with the top seal, do not hammer them in all the way, as you will need to adjust the seal once again.
- Repeat steps 11-14 with the other side of the door.
- Close the door to check the fit of the PVC stop molding seals.
- To check the seal, push on the door. If there is a gap when you push on the door, you will need to readjust the seal to remove the gap.
As the wind blows, it will push the door back and let in a draft. This is especially problematic in winter. For this reason, it is important to remove any gaps in your door seal.
Finishing up
- Finally, open the door. This is so you do not accidentally damage the door while hammering in the nails.
- Hammer all the nails in fully to secure the PVC molding.
We are confident that the garage door stop molding will secure your garage against drafts or critters that might try to slip past the door. We supply garage door weatherstripping for the top and sides, as well as garage door bottom seals.
This entry was filed under Products, Technical Support. You can follow any responses to this entry through the RSS 2.0 feed.
