Posted June 22nd, 2018 at 5:28 pm by Dan Musick
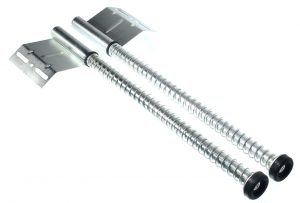
Why are Spring Bumpers Needed?
Spring bumpers are often needed on residential garage doors to help assist the door to close from the open position when a jackshaft opener, such as the Liftmaster 8500, is used. Therefore, it is important to install push down spring bumpers when it is necessary.
Without this extra thrust, the cables are likely to peel off the cable drums as the opener initially turns the torsion shaft, especially if the rollers are dry or if the door binds in the open position.
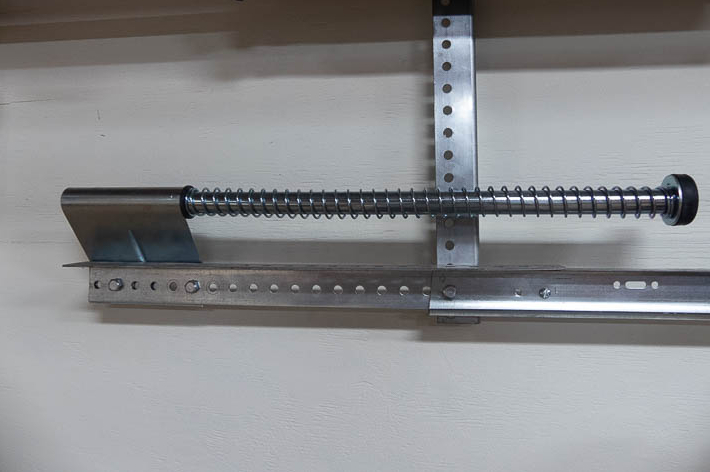
I tested the amount of force required to compress the 27-inch spring bumper by standing on an analog scale and seeing how much weight I lost.

I weigh about 160 with my tool pouch. When I compressed the spring to its maximum, I lost 60 pounds of my weight.
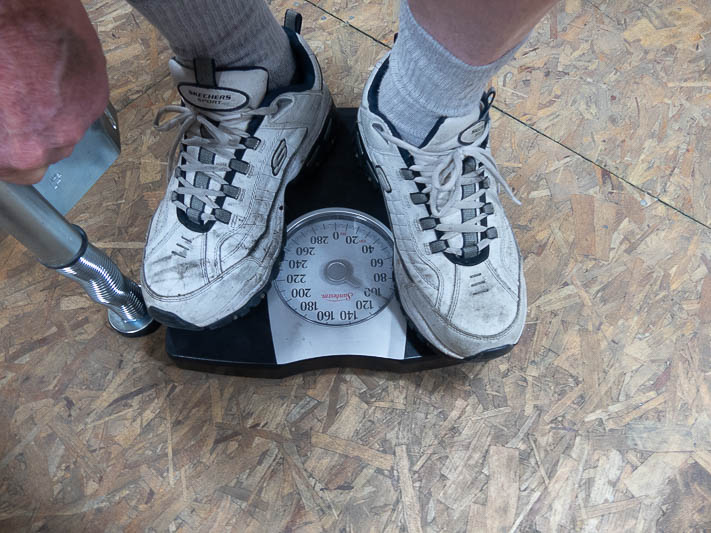
Two of these spring bumpers, completely compressed, would require 120 pounds of opener force to open a garage door to its normal position. That is too much. Over time it will create excessive wear on the opener, and it could also damage the door.
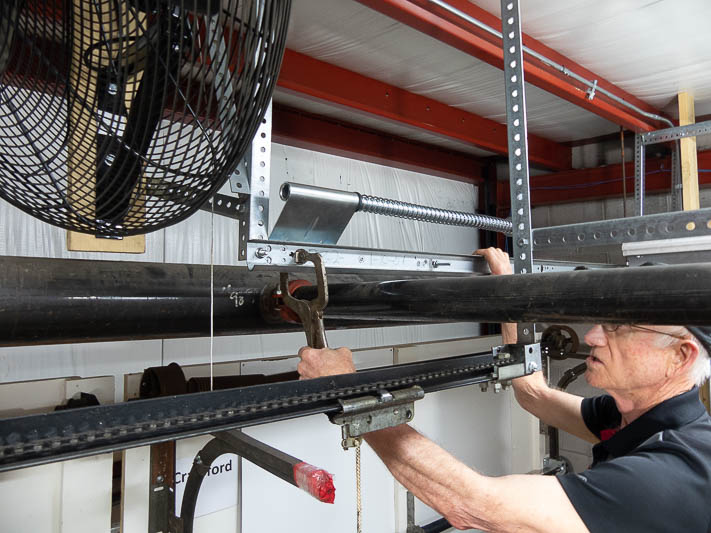
Rather than compress the bumper all the way, it is safer to limit the compression to 1/3 of the rod length. On this 27-inch spring bumper, we limited compression to nine inches.

This gave us a compression of about 30 pounds. Except for some of the lighter, flimsier doors, this should work fine.

Instructions for Installing Spring Bumpers
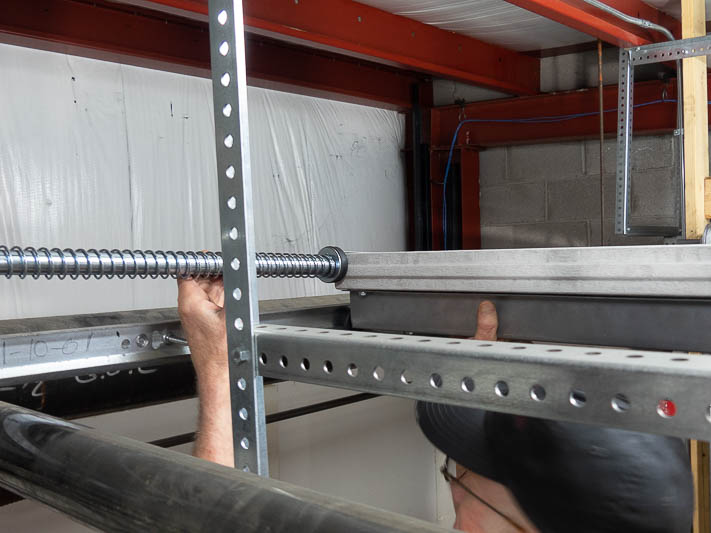
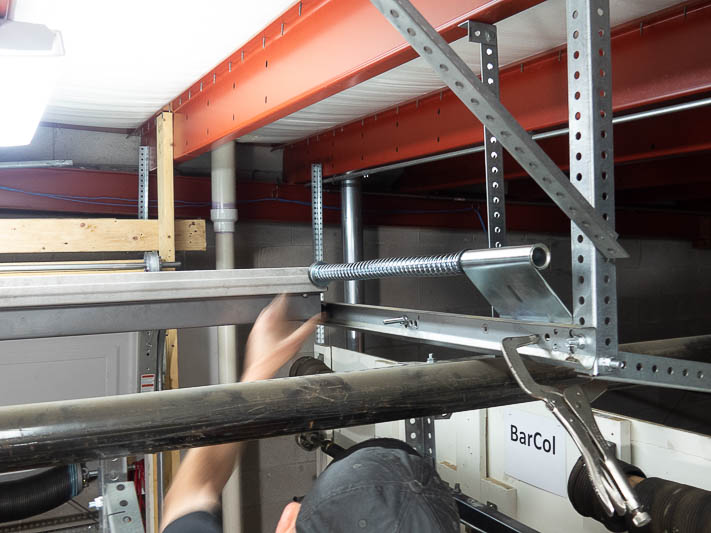
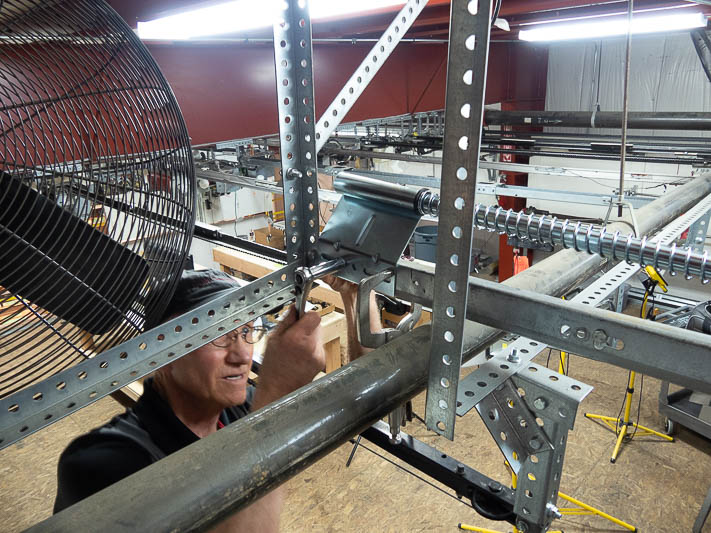
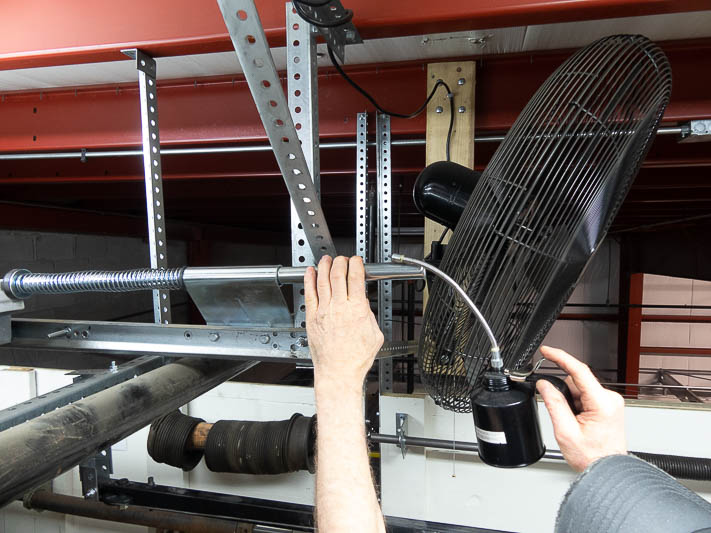
One spring bumper is for the left side, and the other is for the right side. The bracket mounts to the outside of the horizontal track as pictured. Using c-clamps or c-vise-grips, temporarily install the pusher springs as far back on the horizontal track as you can go.
Raise the door and align the spring bumper with the top left corner of the door.
Go to the other side and install the other bumper as you did on the first side. IMPORTANT: The spring bumpers must always be evenly spaced to prevent cables from coming off the drums as the door opens.
Adjust for proper compression
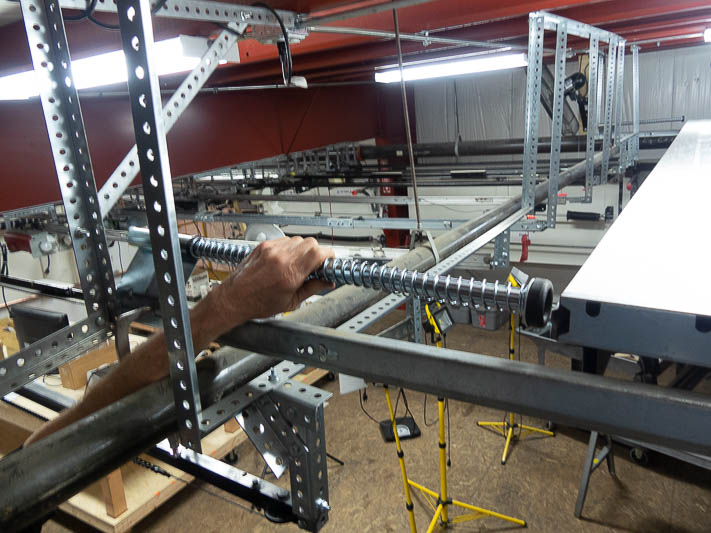
With the opener engaged, open the door to its normally open position. If it doesn’t open all the way, measure the length of compression. If it is less than one third the length of the rod, adjust the opener force just enough to get the door to open completely. This door opened completely, but the compression is only eight inches.

Since we want an extra inch of compression, we will move the spring bumper an inch closer to the top of the door. To do this, mark the necessary distance needed for moving the bumper. Here we marked an inch.

Then, move the bumper one inch and grip it into place.
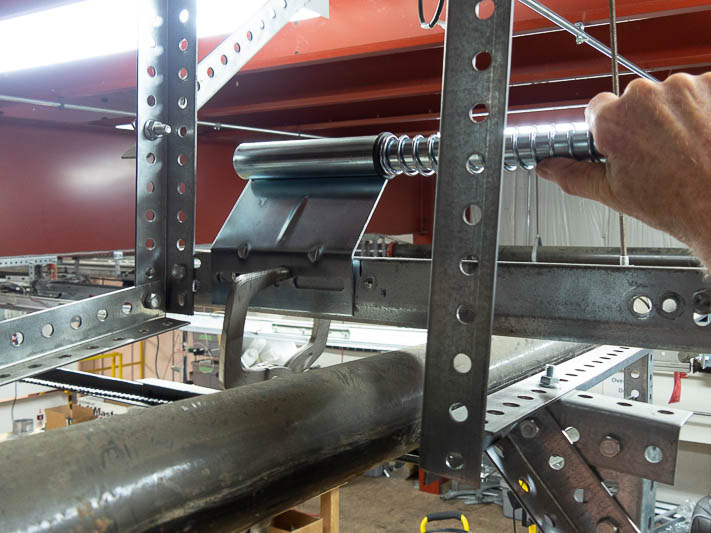
Adjust the spring bumper as needed to align it with the top corner of the door.
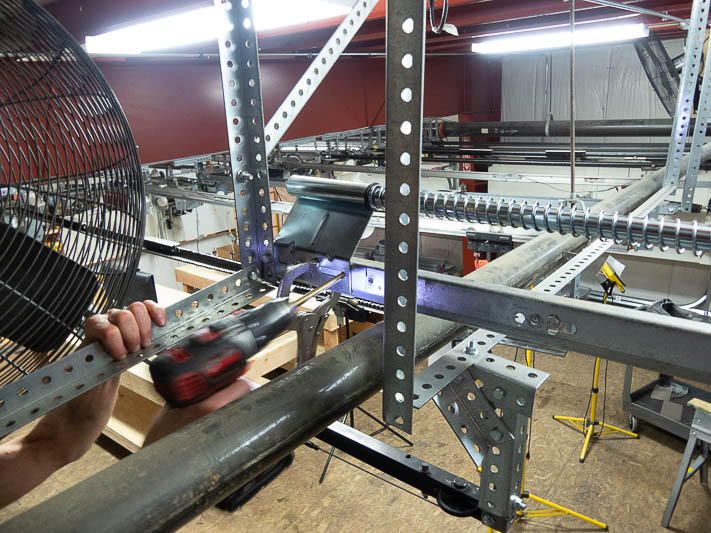
Drill two holes with a 3/8 inch bit. Drill at the ends of the slots closer to the door.
Afterward, secure the bracket with a 3/8 inch bolt and nut.
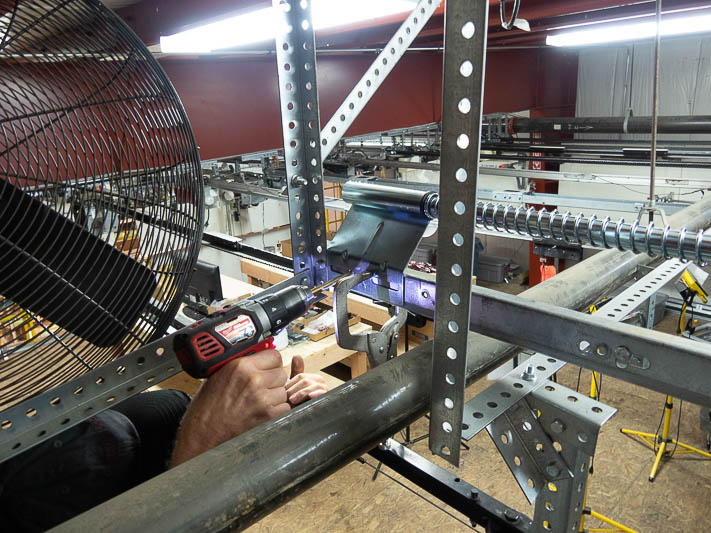
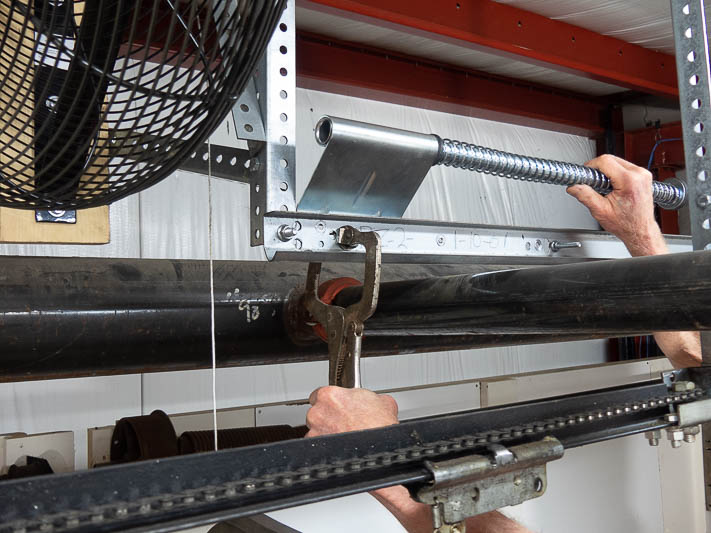
Drill the second hole at the end of the slot closer to the door. Should the nut come loose in the future, the bracket will not move. This will prevent the cables from coming off the drums when the door opens.
Then, secure the bracket with a second 3/8 inch bolt and nut.

Adjust and Align Spring Bumpers
Repeat this process on the opposite side. Adjust the bracket as needed, align the bumper with the top corner of the door, and secure the bracket with two 3/8 inch bolts and nuts.
There are some applications where the horizontal tracks are not long enough for mounting a spring bumper. When this is the case, you can move the bumper further into the garage by adding a two-inch angle to the inside ends of the horizontal tracks.
The coils rattle as they are compressed. To increase quietness, lube the entire length of the rod with a 40 weight oil or light grease. For more tips on lubricating the rest of your door, watch our YouTube video on “How to Lubricate Your Garage Door.” To see a creative example of how one of our customers installed spring bumpers within a limited space, read our post about Spring Bumpers on Low Headroom Tracks.
If we can help answer any question about installing your push down spring bumpers, please contact us. We also have a blog post about installing LiftMaster 8500 operators on low headroom doors.
This entry was filed under Technical Support. You can follow any responses to this entry through the RSS 2.0 feed. You can skip to the end and leave a response. Pinging is currently not allowed.

Leave a Reply