Rite-Hite Lip Assist Bar Replacement
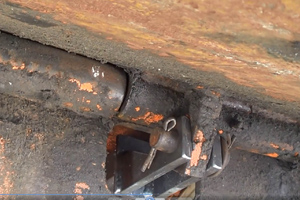
In most Rite-Hite dock levelers, a ring rolls in the curve of a lip keeper as someone walks across the deck of the dock leveler. This allows the lip assist bar attached to the ring to push the lip up.
Over time, the bar connecting the ring and the lip assist bar wears out, and the ring is unable to stay on the track of the lip keeper. This indirectly prevents the lip from raising when someone pulls the pull chain.
This tutorial demonstrates how to properly replace a worn lip assist bar in a Rite-Hite dock leveler.
Additional information is available on our Dock Leveler Safety tutorial.


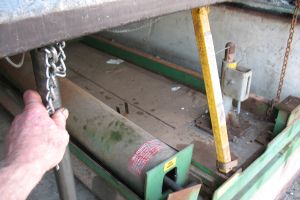
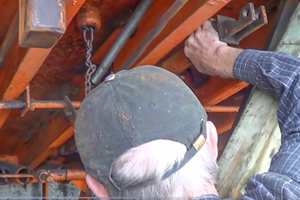
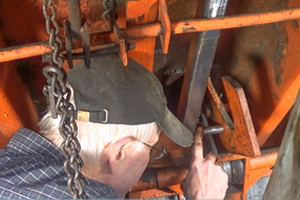
1. Place at least two rods underneath the dock leveler for safety and support. The two safety rods attached to the dock leveler or two 4"x4" wood posts may be used.
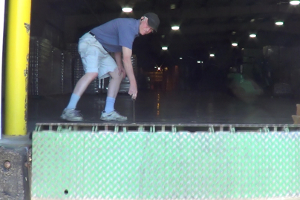
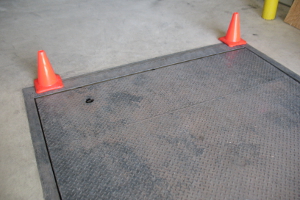
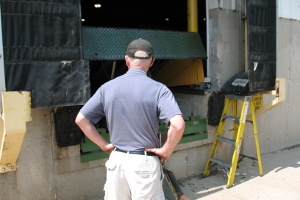
2. Place cones around the work area to inform others that the dock leveler is under repair.
3. Position another person outside the dock leveler for the safety of the one repairing underneath the dock leveler.
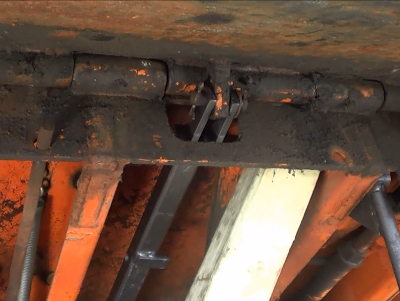
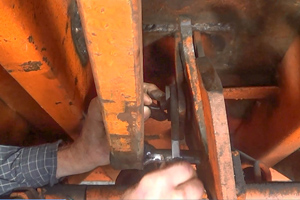
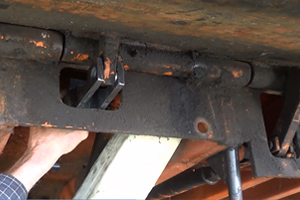
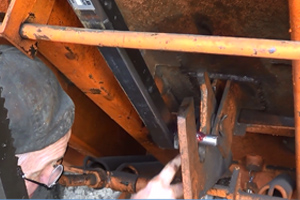
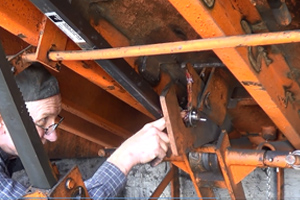
4. Separate the lip assist bar from the lip extension arm and the lip keeper towards the back of the dock leveler.
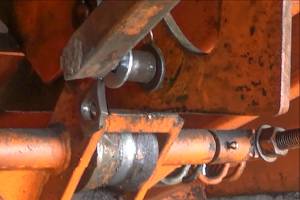
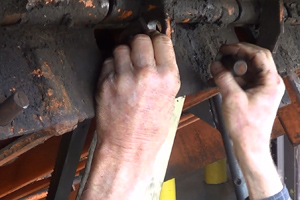
5. Remove the two washers and the ring from the bar at the end of the lip assist bar.
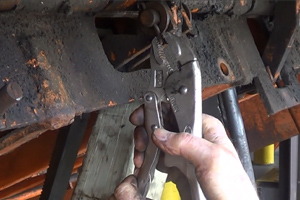
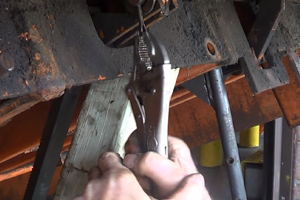
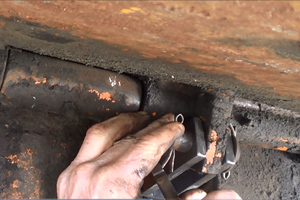
6. Pull the clip from the bar at the opposite end of the lip keeper using needle-nose pliers.
7. Remove the washer and worn lip extension arm from the end of the lip keeper.

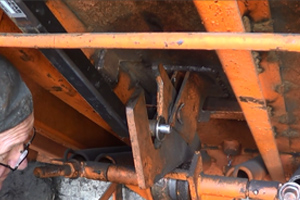
8. Insert the new lip extension arm, washer, and clip into the end of the lip keeper.
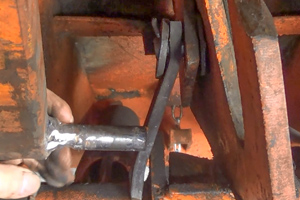
9. Clamp the ends of the left cotter pin together at the opposite end of the lip assist bar using a vise-grip or pliers.
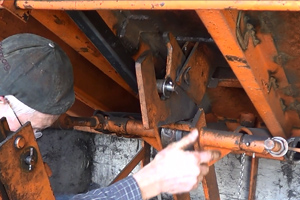
10. Pull the left cotter pin from the clevis pin using a vise-grip or pliers.
11. Remove the clevis pin from the slot at the end of the lip assist bar.
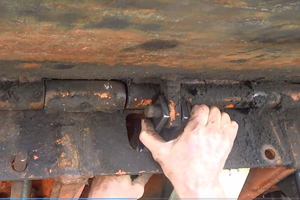
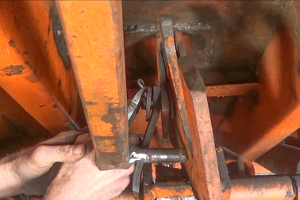
12. Use two hands to push the worn lip assist bar away from its slot and out of the dock leveler.
13. Insert the new lip assist bar in the back of the dock leveler.
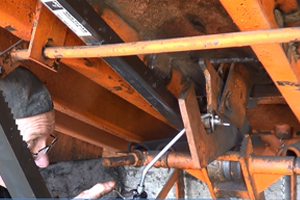
14. Align the fork of the new lip assist bar in the slot on the lip.
15. Insert the clevis pin into the aligned holes connecting the lip assist bar to the slot on the lip.
16. Insert the second cotter pin into the clevis pin.
17. Separate the ends of the cotter pin with needle-nosed pliers.
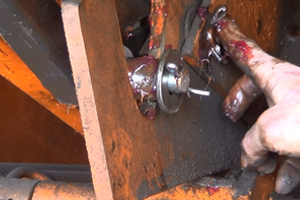
18. Lubricate the bar attached to the end of the lip assist bar with grease.
19. Push the bar at the end of the lip assist bar into the hole in the lip extension arm.
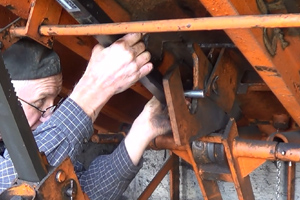
20. Insert the washer onto the bar and add more grease to the bar.
21. Insert the ring, and the second washer onto the bar.
22. Insert the clip into the end of the bar.
23. Add oil in-between the washers on the lip extension arm and the lip assist bar.
24. Lubricate the inside curve of the lip keeper and the ring with additional grease.
25. Lubricate the bar, plate, and clip on the other side of the lip keeper.
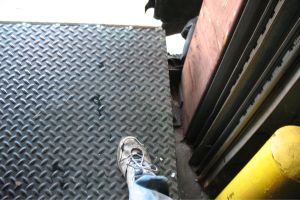
26. Walk across the deck of the dock leveler and make sure that the lip closes properly.
27. Pull the chain on the deck of the dock leveler and make sure the lip opens properly.