Kelley Push Bar Replacement
Most mechanical dock levelers use snubber mechanisms to lift the lips as they are raised, and they close slowly as shocks absorb the weight of the lip. In many of the Kelley dock levelers, however, a push bar and a yieldable rod are connected to a link assembly so that when the deck is raised, the push bar drops down. Then, as someone walks across to the outside of the dock leveler, the plate on the push bar catches on the middle bolt allowing the push bar to raise the lip.
Over time the mechanisms for these walkout levelers fail. Before replacing the push bar, however, we recommend eliminating four other possible causes of failure. One is that there is not enough spring tension. A simple adjustment will correct the problem. The second cause of failure is the spring in the power pack may be binding. This can be corrected by lubricating the spring. The third cause of failure is a worn half-inch bolt that the bar pushes. This can be replaced easily. Fourth, sometimes the push bar binds in the frame, and the bar will not drop when the deck is raised. The frame can be spread with a crowbar to correct this problem.
If the other possible causes are eliminated, then you will need to replace the push bar. In this tutorial, we show how to replace a worn Kelley push bar with a stronger aftermarket push bar assembly.


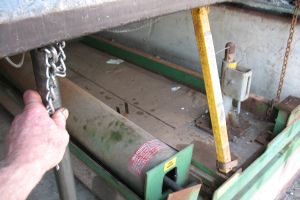
1. Place at least two safety struts underneath the dock leveler for safety and support. The two safety rods attached to the dock leveler or two pieces of thick plywood may be used.

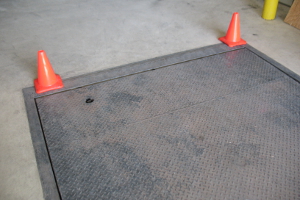
2. Place cones around the work area to inform others that the dock leveler is under repair.
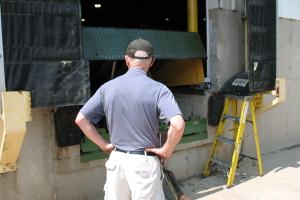
3. Position another person outside the dock leveler for the safety of the one repairing underneath the dock leveler.
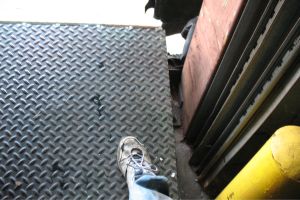
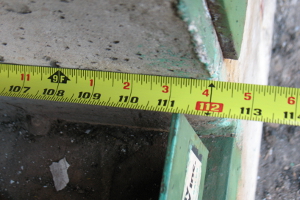
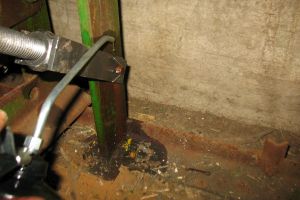
4. Extend a tape measure to the inside wall of the dock pit.
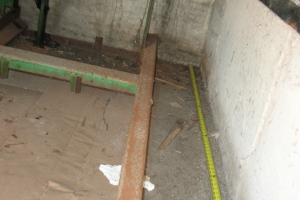
5. Measure the length of the dock pit to the outer edge of the dock pit. Notice that the depth of this pit is 9 ft. 4 in. Round this measurement up to the next foot, which is 10 feet.
6. Examine the chart on the side of the new push bar to determine the length to make it. Another option is to adjust the new push bar to the same length as the old push bar.
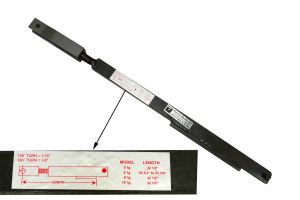
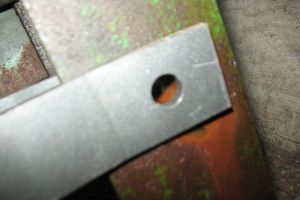
7. Attach the end of a tape measure to the bottom plate on the new push bar. Measure the push bar to the center of the hole at the end of the clevis.
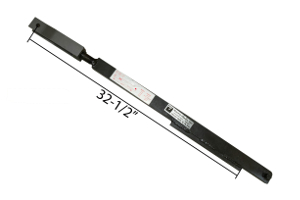
8. Adjust the length of the push bar to match the measurement given on the chart by rotating the clevis on the end of the push bar.
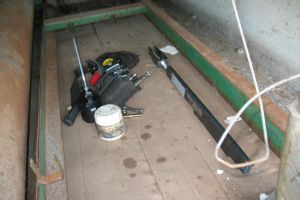
9. Place your tools and the new push bar under the dock leveler.
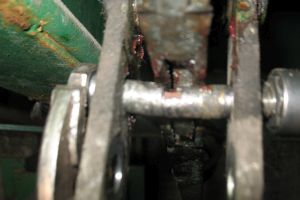
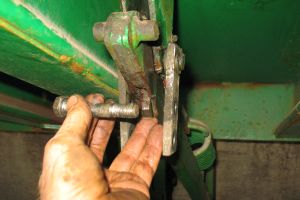
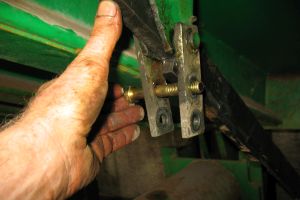
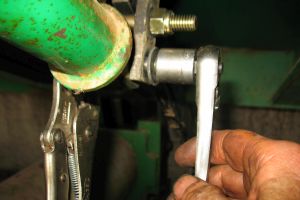
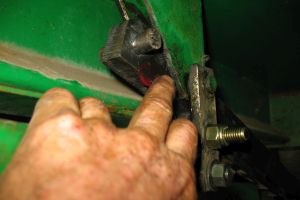
10. Unscrew the nut from the bottom bolt of the link assembly using a socket wrench. Secure the other end of the bolt with a wrench or a vise grip to make the process easier.

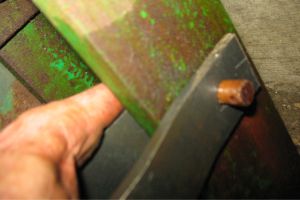
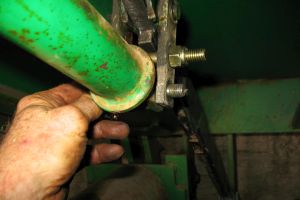
11. Remove the bolt and roller that connects the yieldable rod to the link assembly and set the rod down on the frame.
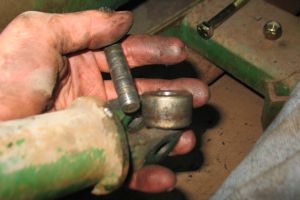
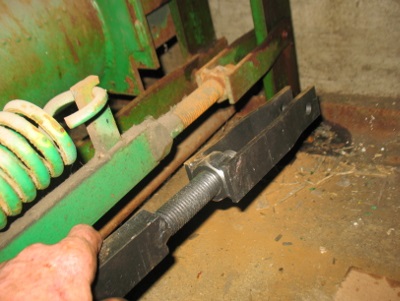
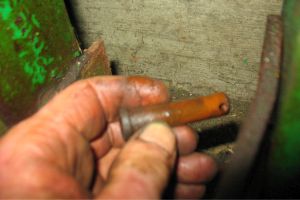
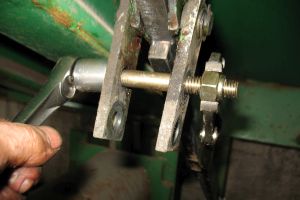
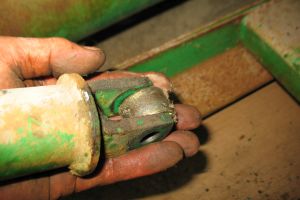
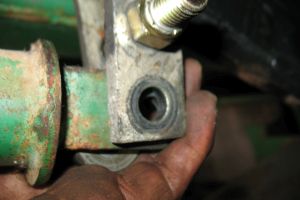
12. Notice the wear and damage on the second bolt in the middle of the link assembly. This will need to be replaced.
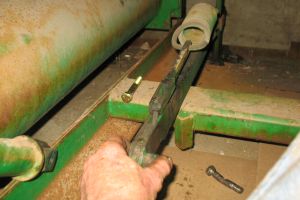
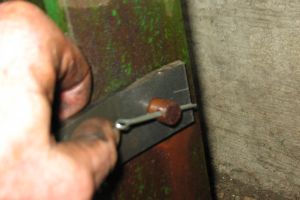
13. Unscrew the nut from the second bolt and remove it.
14. Carefully lower the old push bar down to the frame.
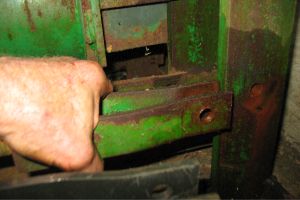
15. Pull the cotter pin out from the clevis pin at the end of the push bar using needle-nose pliers.

16. Remove the clevis pin that secures the clevis to the frame.
17. Remove the worn push bar from the frame and set it aside.
18. Position the new push bar clevis over the frame and align the holes.
19. Push the clevis pin through the holes to secure the push bar.
20. Slide the new cotter pin into the clevis pin.
21. Bend the end of the cotter pin with needle-nose pliers to secure it to the pin.
22. Raise the opposite end of the push bar into the top of the link assembly.
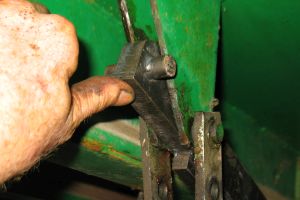
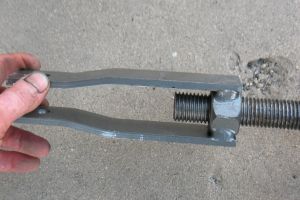
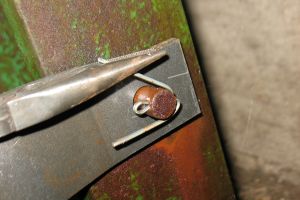
23. Make sure that the piece of metal welded to the plate is on the bottom of the push bar. This will cause the metal piece to catch on the bolt and lift the lip of the dock leveler as someone walks across it.

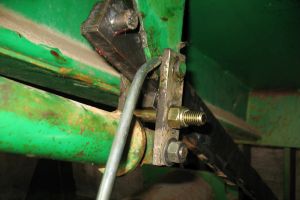
24. Raise this end of the push bar high enough to slide the new hardened bolt into the middle hole of the link assembly.
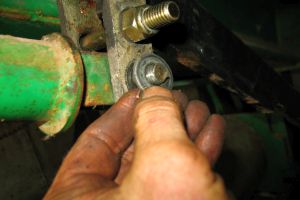
25. Secure the nut with a vise grip and tighten the other end of the bolt with a socket wrench.
26. Rest the roller in between the prongs the end of the yieldable rod.
27. Raise the end of the yieldable rod with the roller and align the hole with the bottom hole of the link assembly.
28. Insert the bolt with a washer under the head into the bottom hole of the link assembly.
29. Insert a washer over the end of the bolt.
30. Secure the bolt with a vise grip and tighten the nut with a socket wrench
31. Lubricate the sides of the push bar with grease.
32. Lubricate all the hinges of the link assembly with oil.
33. Lubricate the clevis pin and cotter pin with oil.
34. Remove your tools from underneath the dock leveler. Then remove the two safety struts.
35. To test the new push bar, walk to the outside edge of the dock leveler. The lip should rise as the deck lowers.