Genie Screw Drive Coupler Replacement
On most Genie screw drive openers, the motor shaft is connected to the rail screw with a coupler. This allows the motor to turn the screw, which moves the trolley to open and close the garage door.
Sometimes the coupler wears out, and the motor will turn, but the screw doesn't turn. As a result, the door does not open nor close.
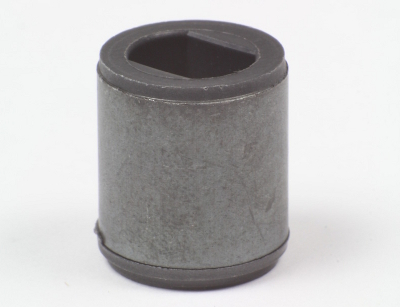
This tutorial demonstrates how to replace a 30257T coupler in a Genie screw drive opener.


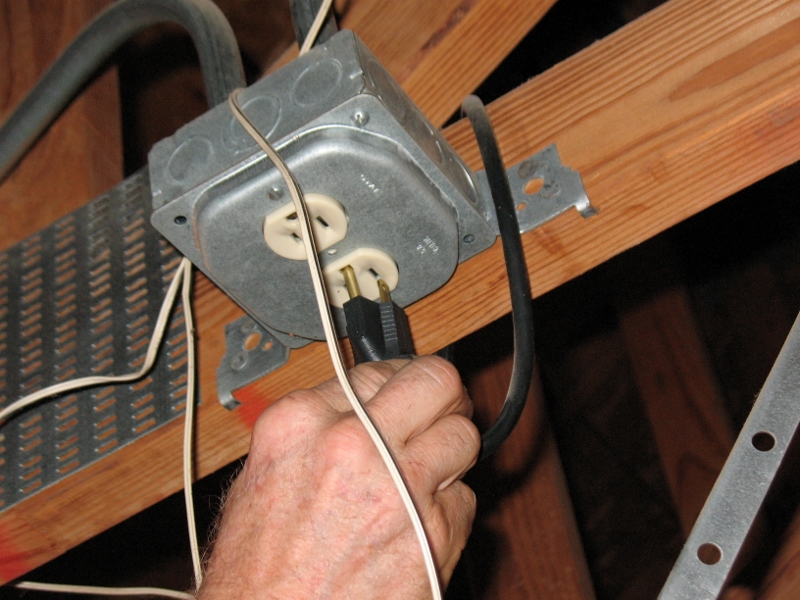
1. To begin, unplug the power to the opener. This will keep the opener from running if somebody accidentally tries to open the door while you are working.

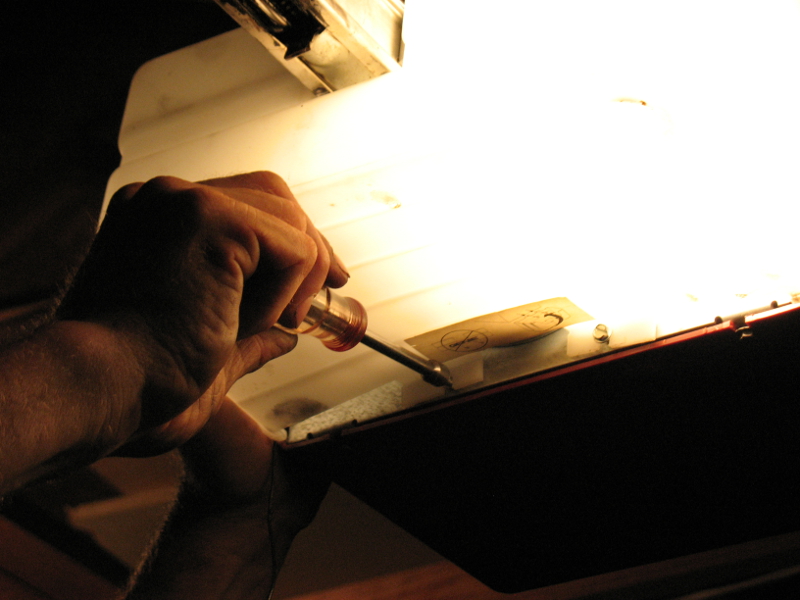
2. Unscrew the two screws on the top and the bottom of the opener and remove the light lens cover.
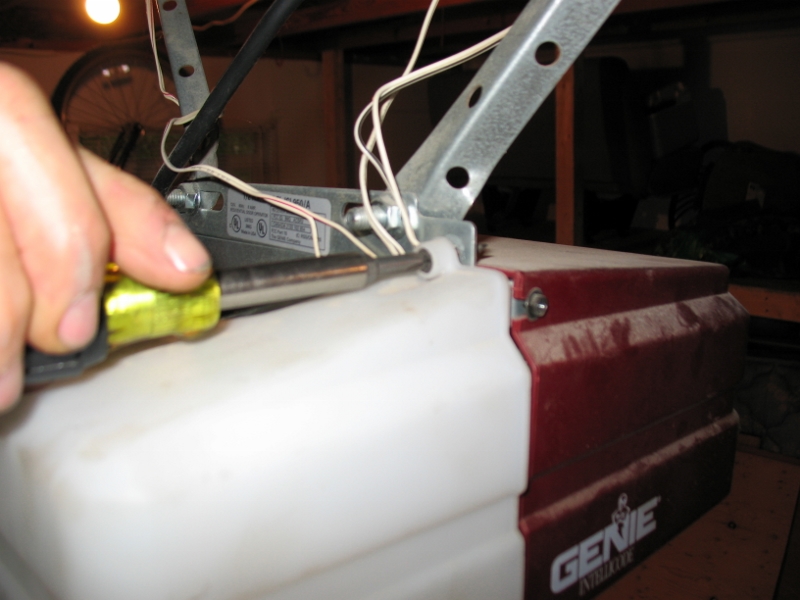
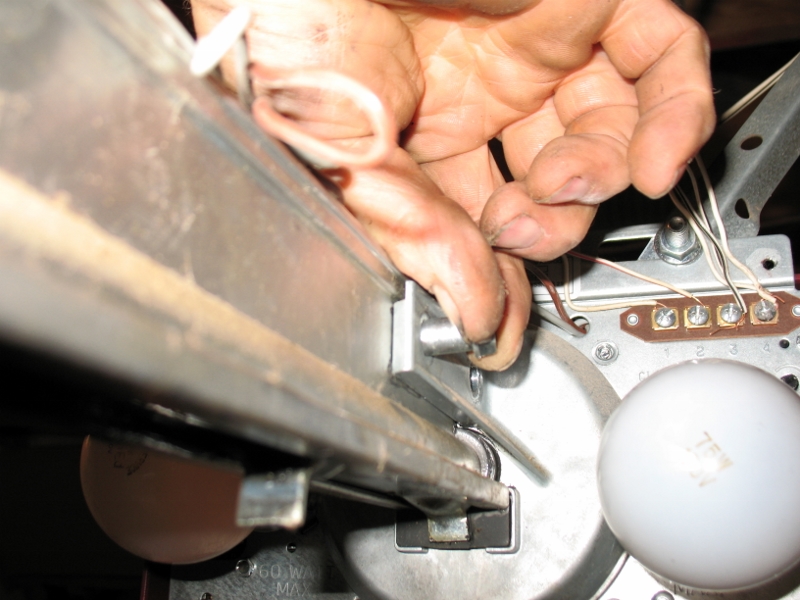
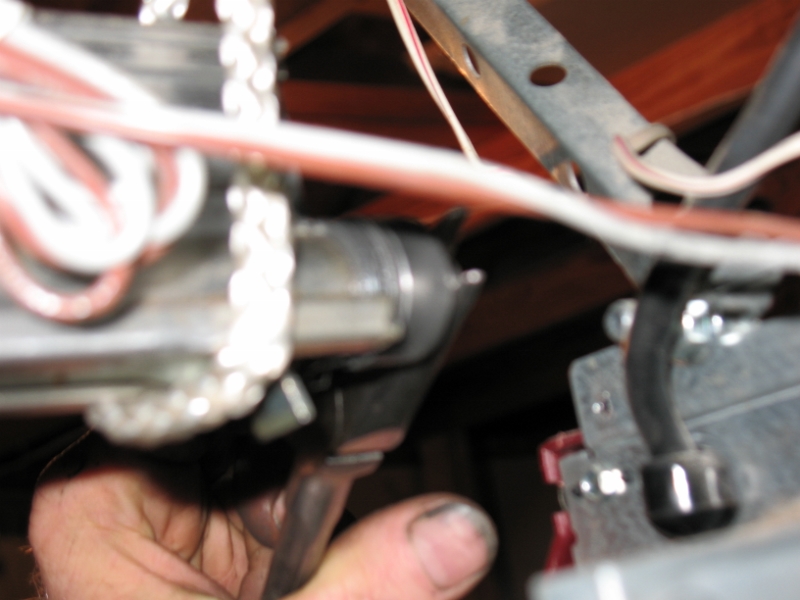
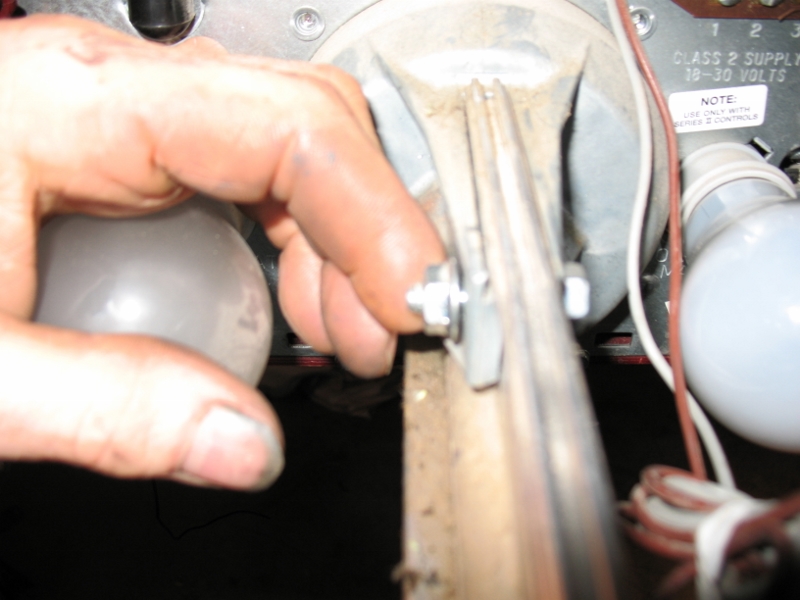
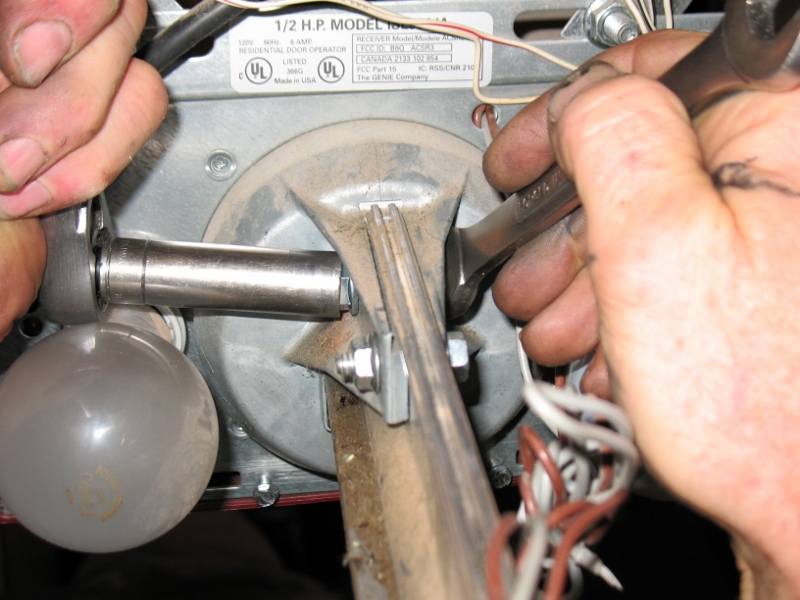
3. Disconnect the rail from the opener by loosening the nuts and unscrewing the shoulder bolts at the front end of the rail with a socket wrench.
4. Notice that the shoulder bolts are straight in order to secure the opener frame to the rail.
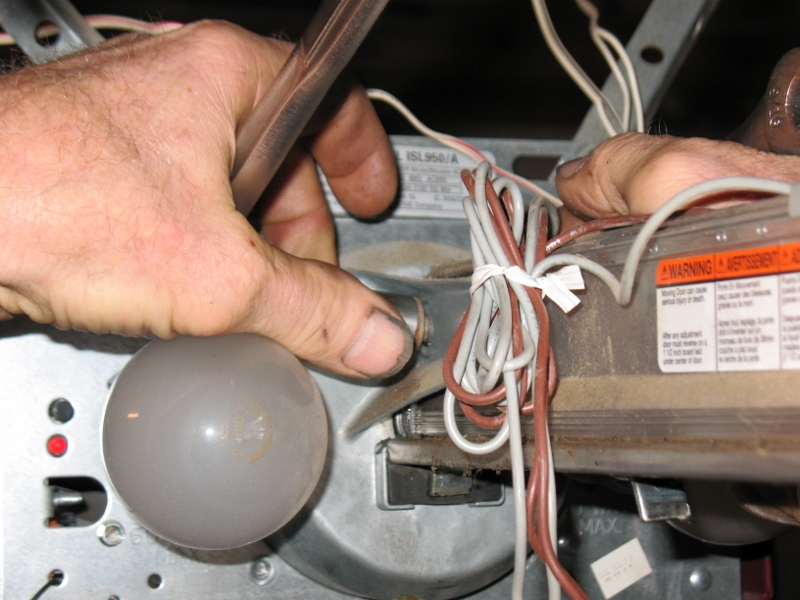
5. Remove the rail and pull it away from the opener frame. If needed, loosen the motor and frame so you can move the motor further away from the door so the rail can separate from the motor frame.

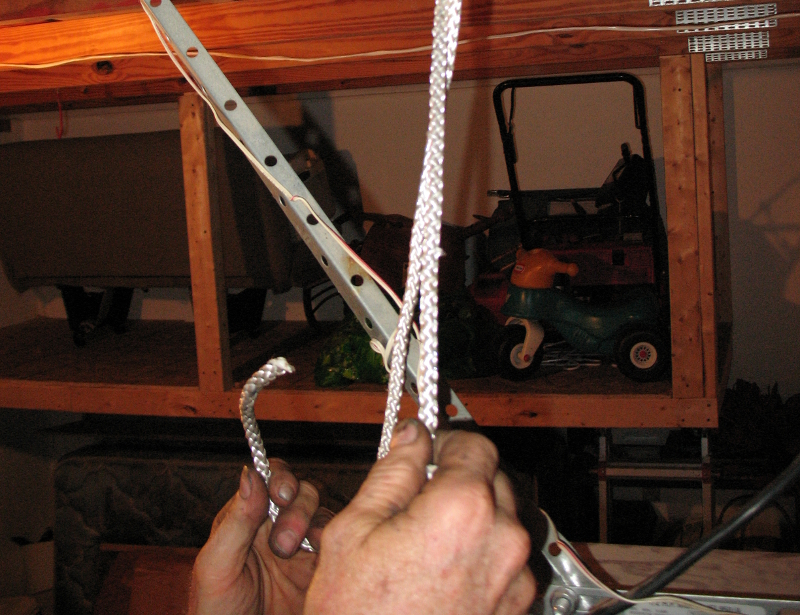
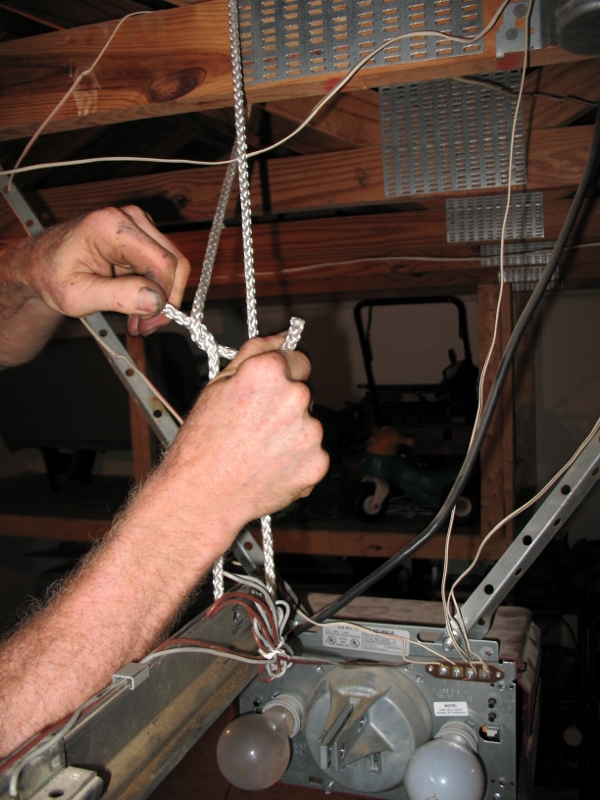
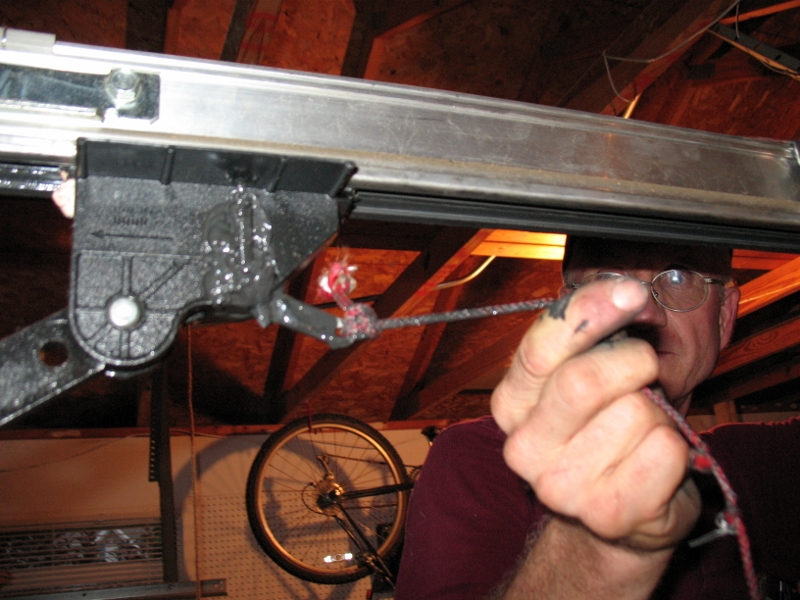
6. Support the rail from the ceiling by tying it to a loop of rope.
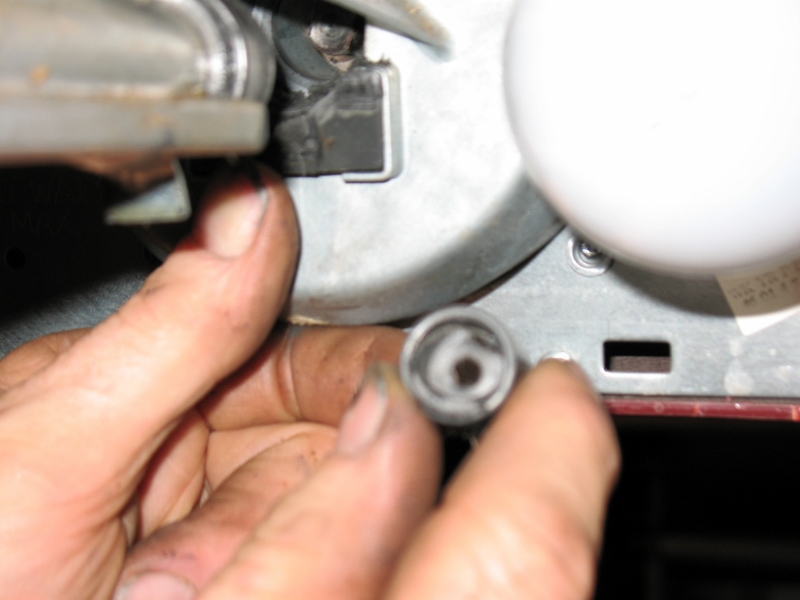
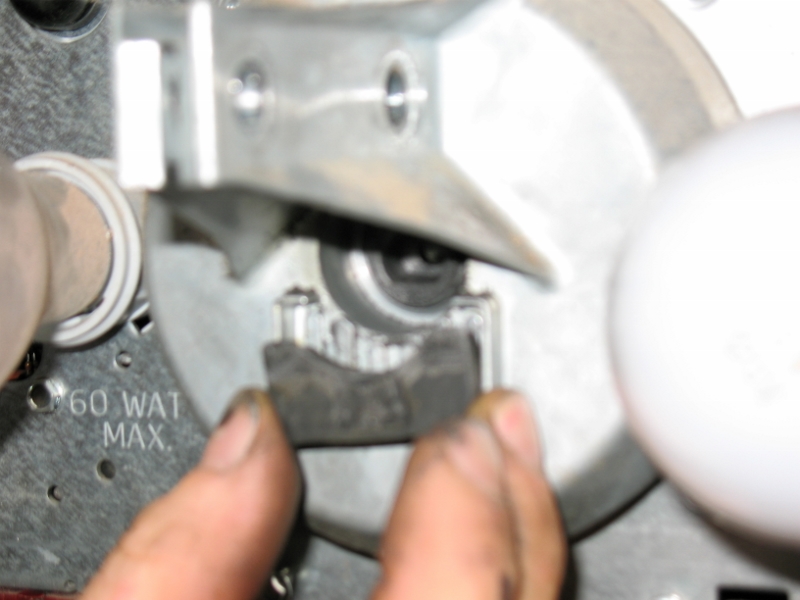
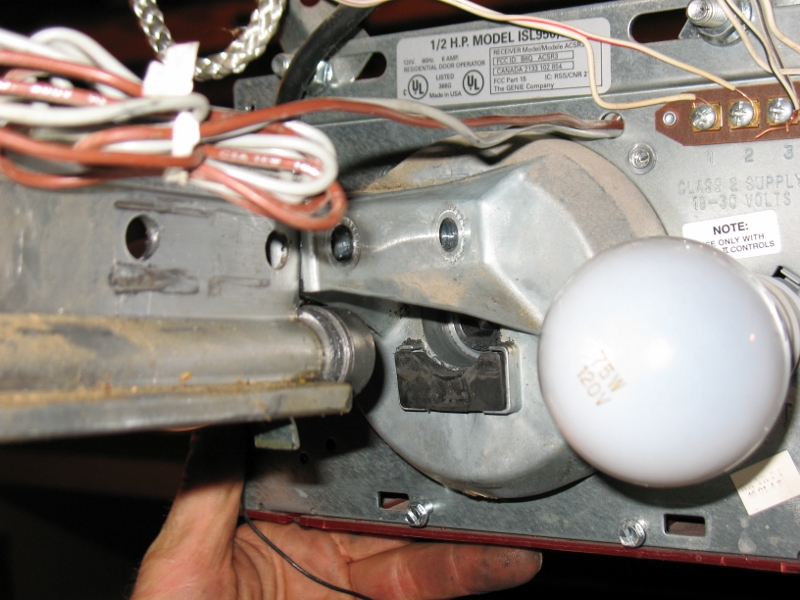
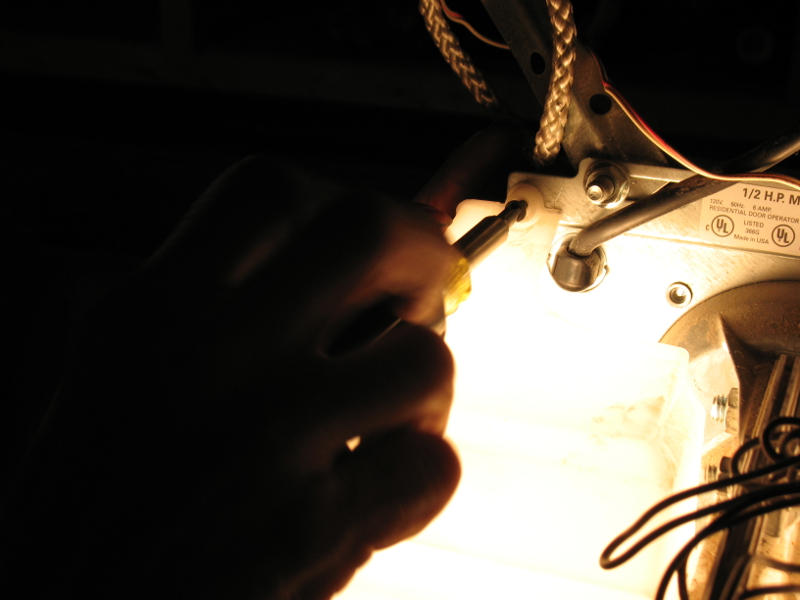
7. Remove the old coupler and notice the wear on the coupler at the end of the motor shaft.
8. Insert the new coupler and rotate the coupler with a screwdriver to fit on the end of the motor shaft.
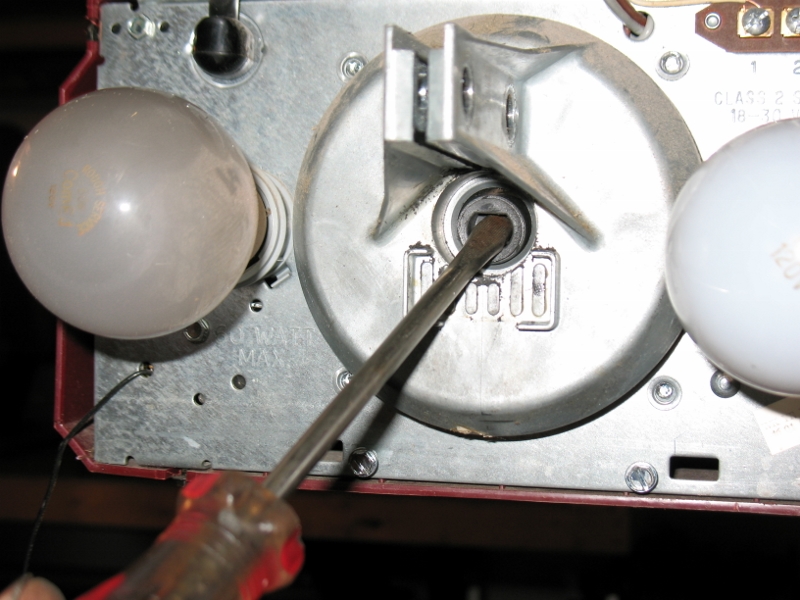
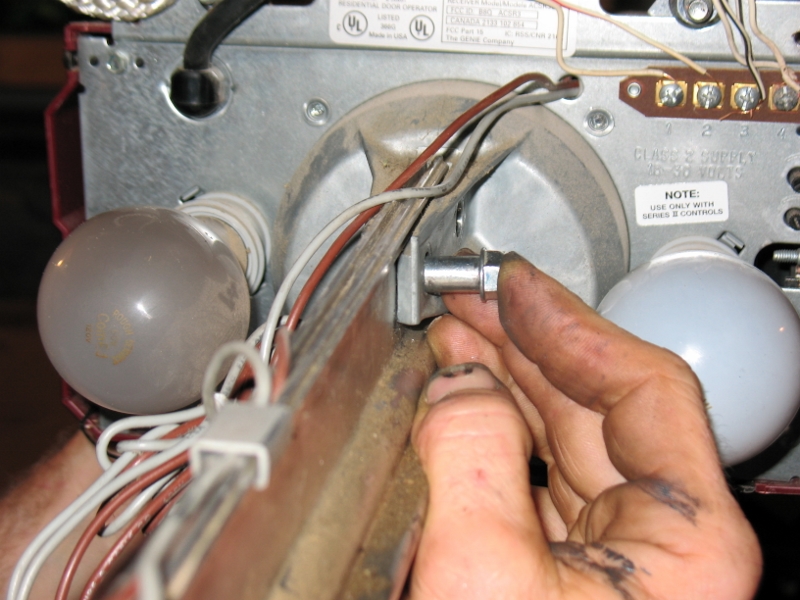
9. Use needle-nose pliers to rotate the end of the screw shaft to align with the slot in the coupler.
10. Reinstall the bumper in the bumper slot by sliding it in the grooves on the opener. This will stop the trolley and protect it from going too far and damaging itself.
11. Slowly and carefully slide the rail into the opener frame.
12. Insert the shoulder bolts in the holes at the front of the rail.
13. Insert a nut over each shoulder bolt.
14. Tightly secure both bolts with a socket or open-end wrench.
15. Reengage the opener.
16. Plugin the opener.
17. Push the button wall button.
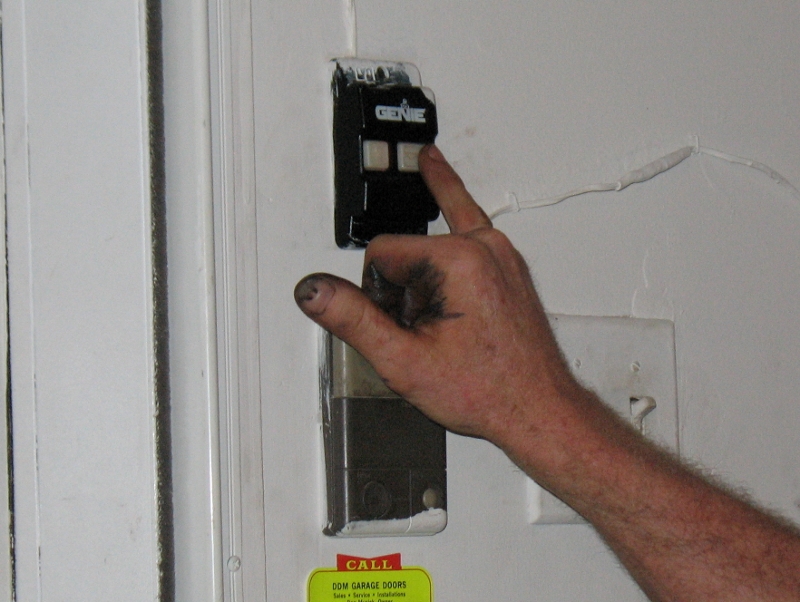
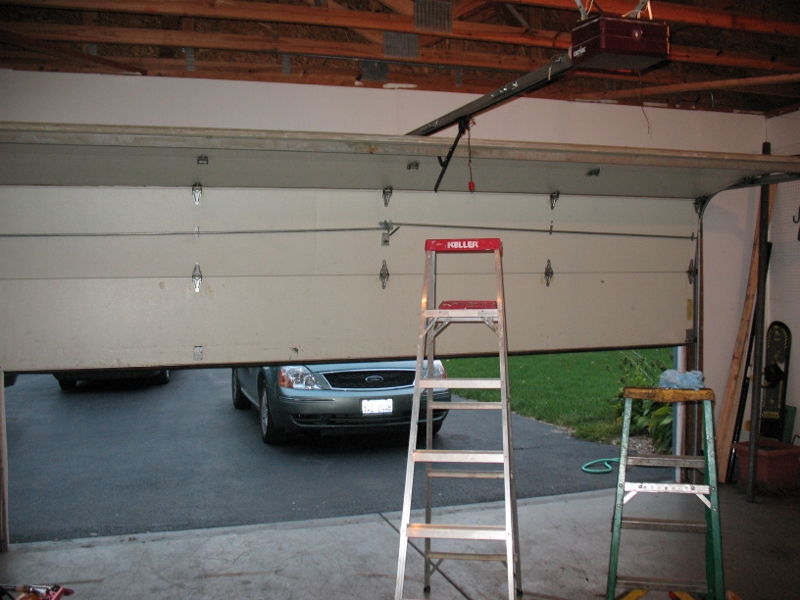
18. Check the operation of the door and test the functioning of the opener.
19. If the door is working fine, reattach the light lens cover. Screw in the two screws at the bottom.
20. Screw in the two screws at the top.
21. Untie the rope from the top of the rail.