High Lift Track In-House Assembly
This tutorial demonstrates how we assemble high lift tracks in house. You may also want to watch our Garage Door High Lift Track Assembly YouTube video.
If you are assembling tracks for a vertical lift, please follow our Vertical Lift Track Assembly instructions.
The "In-House" method of assembling the high lift tracks is mainly for employee use. After assembling the tracks in house, we ship them to customers as part of their entire high lift conversion kit. DIY customers will also find these instructions helpful when assembling their high lift kits.
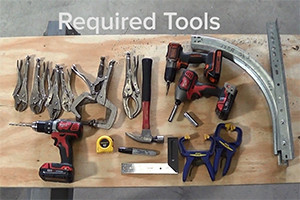
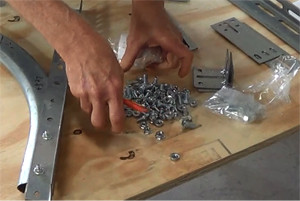
1. Gather all parts and tools pictured here. NOTICE: At least six vise-grips or c-clamps will come in handy, but you can do the job with fewer.
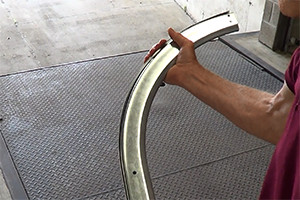
2. Slide the curves of the two horizontal tracks together.
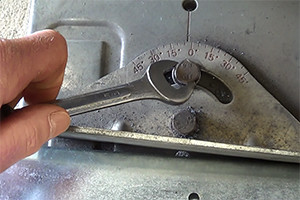
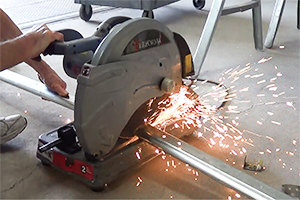
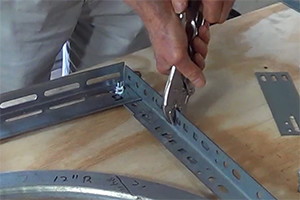
3. Lay the track underneath the saw and set the angle of the saw to four degrees. If you cannot adjust the angle on the saw, you can also use a protractor and mark the track.
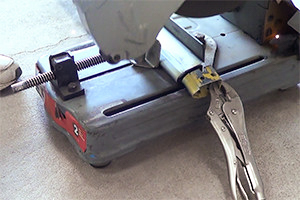
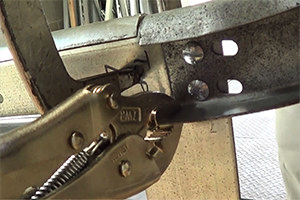
4. Align the ends of the two tracks together and secure them with a vise grip. Adjust the position of the track so that the saw blade is aligned inside of the holes on the end of the track. Cut 2-3" from the end of the track.
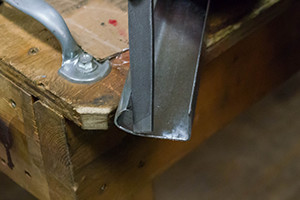
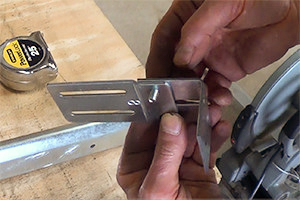
5. The track should look like this after being cut.
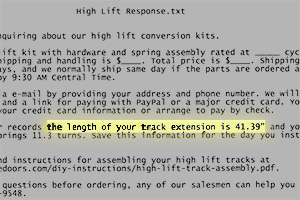
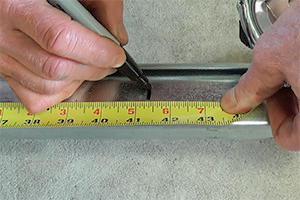
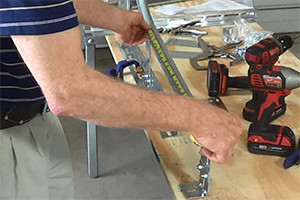
6. Check the "Track Extension" dimension given on the email that corresponds with your order.
7. Measure the center of the track from the bottom edge to the "Track Extension" dimension and mark it.
8. While keeping the angle of the saw the same, slide the track until the "Track Extension" mark is under the blade of the saw. Note: the ends of the tracks must be parallel to each other. Cut the track.
9. File the edges on the bottom and top ends of each track.
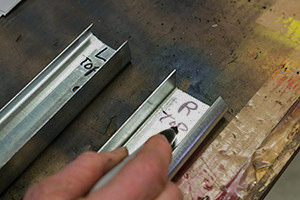
10. Label the top of the left track with "L" and the right with "R." Lay the tracks on the table.
11. Open the bag with the small 1/4" and 5/16" fasteners and lay the fasteners on the table.
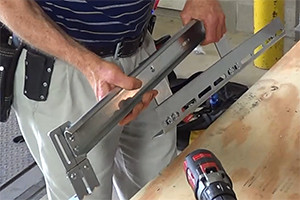
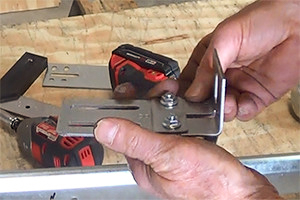
12. Align the larger slots on the top of the long high lift plate with the holes on the bottom of the curved horizontal track. Secure with two 1/4" track bolts and nuts.
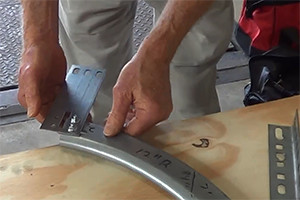
13. NOTICE: The end of the curved track must align with the middle of the long slot on the high lift plate. Once aligned, tighten both nuts using a 1/4" socket on an impact wrench.
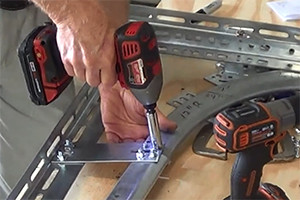
14. Square the high lift slotted angle and the 10" punched angle. Secure the two angles with a 5/16" carriage bolt and nut. Tighten using a 1/2" socket on an impact wrench.
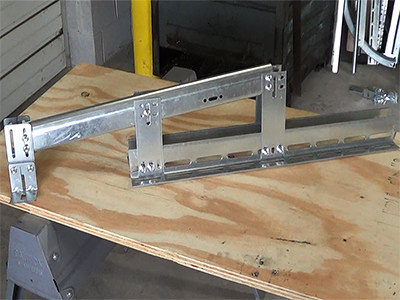
15. Slide the two assembled pieces together, as shown while keeping the two angles perfectly parallel.
16. Secure the horizontal track angle to the 10" punched angle with a vise grip
17. Square and secure the high lift plate to the high lift slotted angle with two 5/16" carriage bolts and nuts using a 1/2" socket. You can remove the vise grip and adjust the position of the two angles until the high lift plate is square.
18. Stand the assembly up vertically and secure the high lift slotted angle to the table with one or two vise grips. You can also screw the high lift angle to the table if you are short of c-clamps.

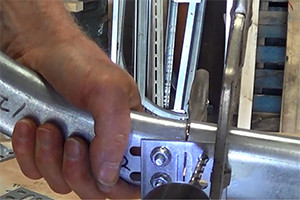
19. It is now time to assemble the junction brackets. Align the holes of the offset splice plate with the holes of the jamb bracket, as shown. Insert two 1/4" track bolts that connect the lower and upper vertical tracks.
20. Install and tighten both nuts completely with a socket or an impact wrench. Do not use a drill! You could hurt your hand. The new junction bracket is now assembled. Connect both brackets this way.
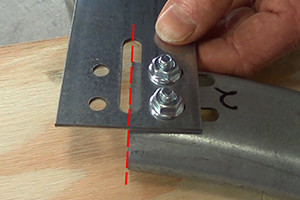
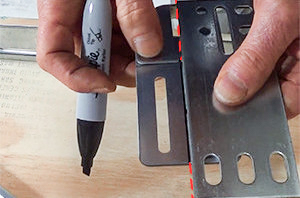
21. Mark a line down the middle of the junction bracket.
22. Realign the top of the vertical track and clamp it with a c-clamp. Check to make sure the ends of the two tracks meet. A gap up to 1/2" will never cause a problem. To reduce the gap, you can use a protractor to mark for trimming the ends of the track extensions. This is usually necessary if the tracks are shorter than 16" or the tracks have a 1/6 rise.

23. Check the "Track-to-jamb" dimension given in the email that was sent with the order.
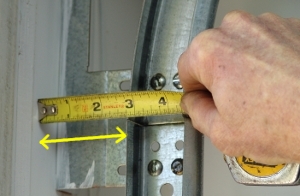
24. Adjust the track on the junction bracket until the bottom of the track matches the track to jamb dimension. Check to make sure the bottom of the track does not extend beyond the line in the center of the bracket. Grip the bracket to the table.
25. Realign the top of the vertical track with a c-clamp and a vise grip. Check to make sure the end of the track stays under the line. Add a second vise grip to secure the two tracks together.
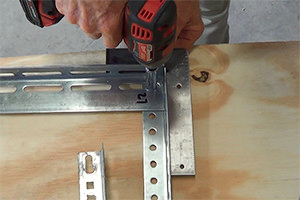
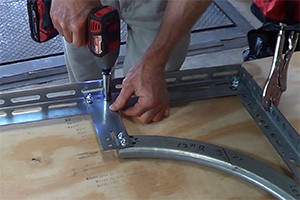
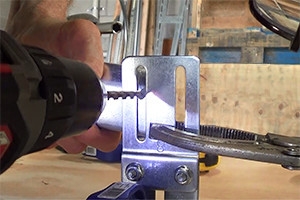
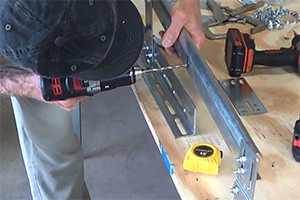
26. Drill, ream, and bolt the top of the vertical track to the bottom of the high lift plate with 1/4" track bolts and hex flange nuts.
27. Drill, ream, and bolt the bottom of the vertical track to the top of the junction plate with 1/4" track bolts and hex flange nuts
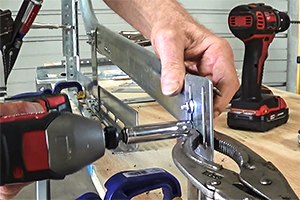
28. Insert two track bolts and nuts into the drilled holes on the top and bottom of the vertical track. Tighten all four nuts with an impact wrench.
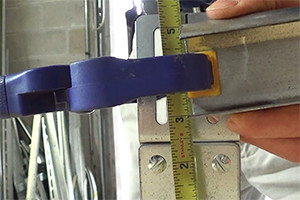
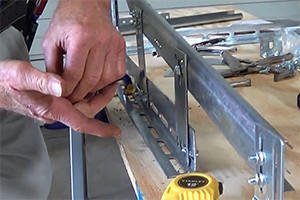
29. Measure and mark a line in the center of the vertical track.
30. Drill and ream a hole in the middle on the track.
31. Secure the top of the shorter high lift plate to the center of the track with a 1/4" track bolt and nut. Finger-tighten the nut.
32. Square and bolt the other end of the shorter high lift plate to the slotted angle with two 5/16" carriage bolts and flange nuts. Tighten both nuts with a 1/2" socket. Tighten the track bolt and nut using a 7/16" socket.

33. Remove the last vise grip from the high lift slotted angle and disassemble the curved horizontal track 1/2" and 7/16" sockets.
34. You are now finished with one side. Follow the same instructions for the track and hardware on the other side.