Posted November 24th, 2017 at 4:05 pm by Dan Musick
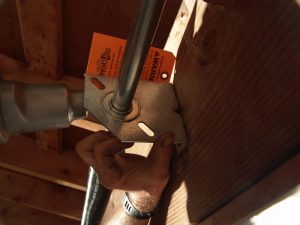
Most installers eyeball or guess at where to install the spring anchor bracket. As a result, I’ve seen many where the center support bracket mounts one or two inches too high. Doors will work for years this way. However, the poor installation may result in the torsion shaft binding or fatiguing and actually breaking.
The most logical time to realign the spring anchor bracket is when replacing the springs.
Proper alignment is also necessary when converting from Extension Springs, EZ Set Springs, or Torquemaster Springs to Standard Torsion Springs. The torsion tube should run parallel to the top of the door. Here is the easiest way to accomplish that.
The first step is to install the end bearing plates if you are converting from a different spring system.
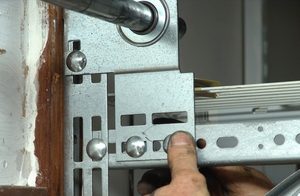
Next, center the bottom of a torpedo level in the center of the end bearing. Mark the bottom of the other end of the level with the bubble centered.
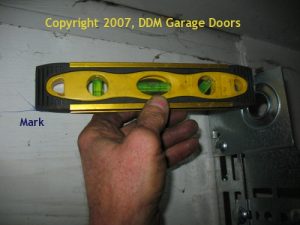
Next, measure from the mark to the top of the garage door at both ends, if the measurements differ, average the measurements.
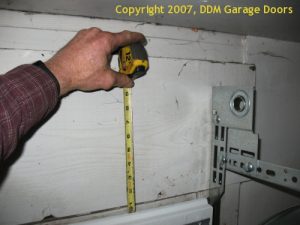
Then, go to the center of the door, and measure and mark the same distance from the top of the door to the header above.
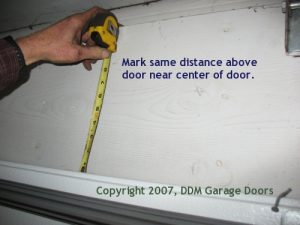
Last, locate the center of the spring anchor bracket and line up that with the mark. Plumb the bracket and screw the bracket to the header with 5/16″ X 1 5/8″ lag screws with washer heads.
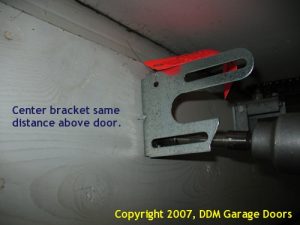
Sometimes there is no header board behind the drywall, and it is necessary to support the spring anchor bracket with angle.
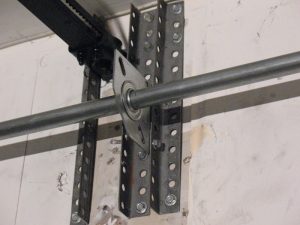
Sometimes the framing will not support the screws, so it may be necessary to support the spring anchor bracket with angle iron.
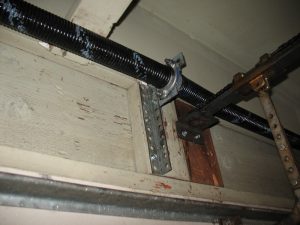
In addition, watching our YouTube video on “How To Replace Garage Door Torsion Springs,” may be helpful.
This entry was filed under Technical Support. You can follow any responses to this entry through the RSS 2.0 feed. You can skip to the end and leave a response. Pinging is currently not allowed.


Leave a Reply