Commercial Overhead Door Duplex Torsion Spring Replacement
Replacing torsion springs on duplex-style overhead door systems entails much dangerous work. The use of an oxy-acetylene torch is necessary, but it should not be used without prior training.
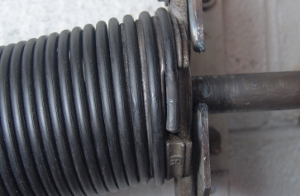
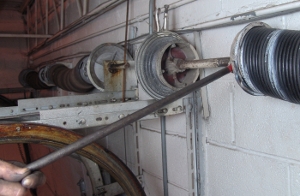
These instructions are for overhead doors with two duplex spring systems - one on each half of the door - that are mechanically joined together with the help of a coupler in the middle where the two solid shafts meet. Though these instructions may be helpful with other setups, some of these steps may be incorrect and even dangerous if they are applied to other systems.
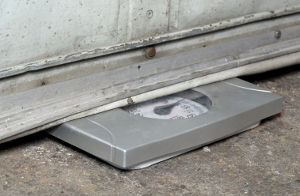
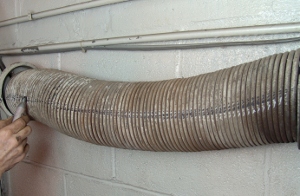
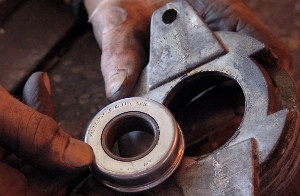
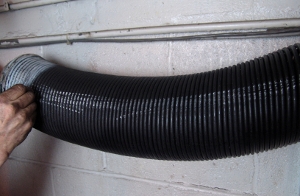
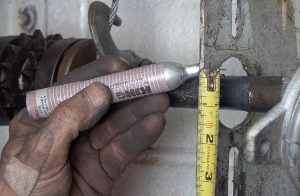
Weighing an overhead door
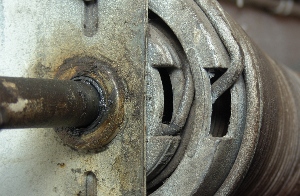
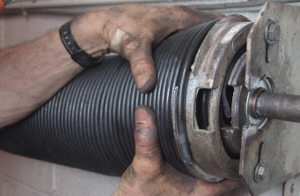
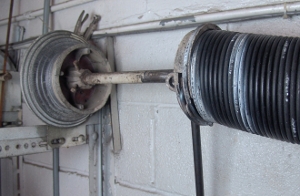
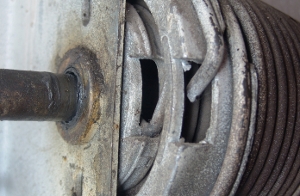
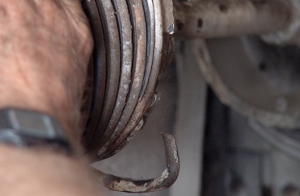
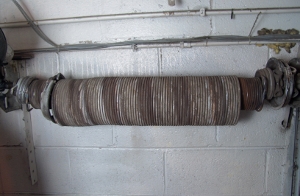
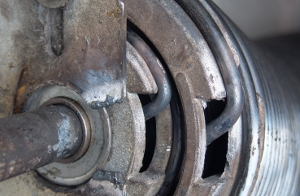
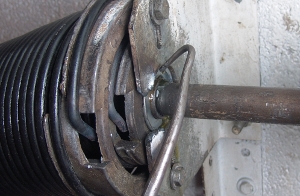
A broken inner spring in a duplex system.


Let's begin.
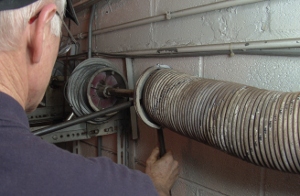
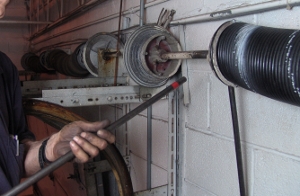
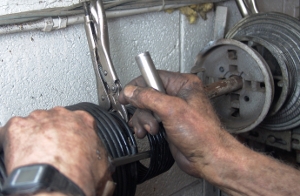
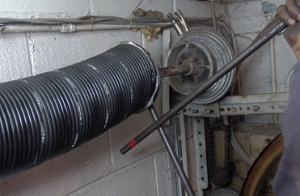
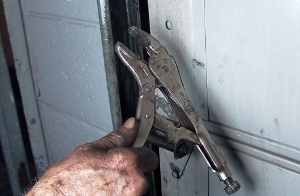
1. Begin by vise-gripping the track 2-3 inches above one of the rollers. This will keep the door from accidentally opening when you are winding the springs if the new springs are too strong.
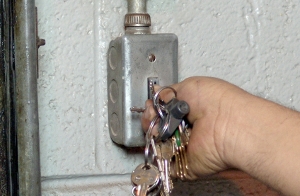
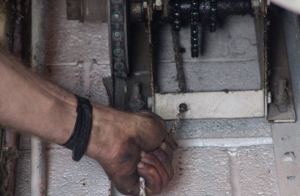
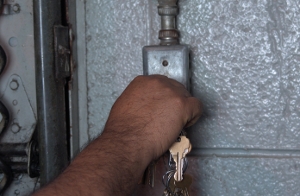
2. Unplug or cut the power to the operator. Many older operators are hardwired, and you may have to flip a fuse.
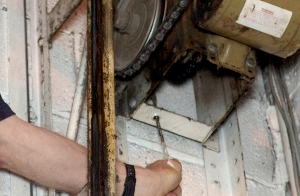
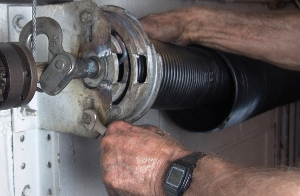
3. Disengage the operator. On older operators, you may have to remove the drawbar arm instead.
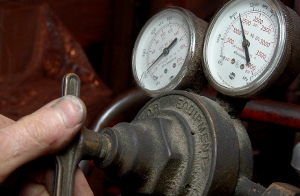
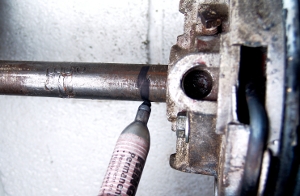
4. Set the pressure gauges on the oxy-acetylene tanks. The oxygen should be at 20 psi, and the acetylene should be at five psi.
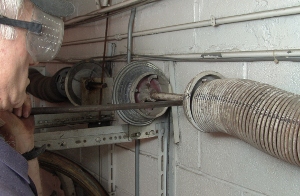
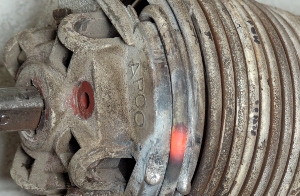
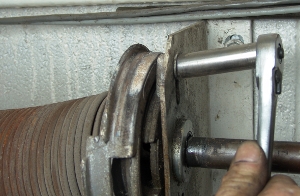
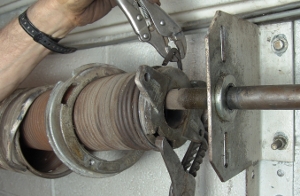
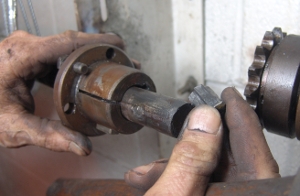
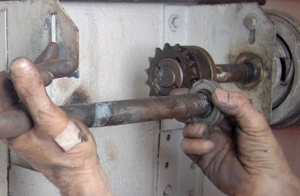
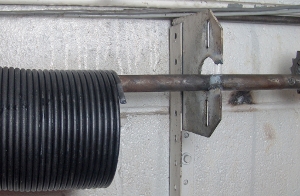
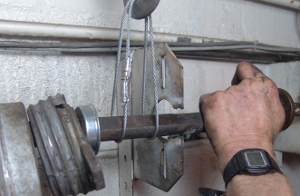
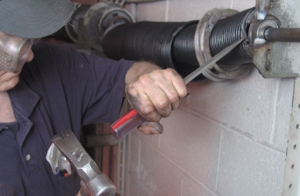
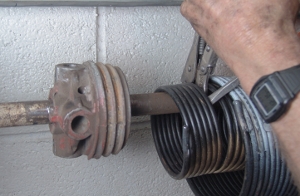
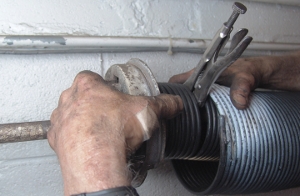
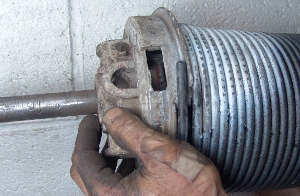
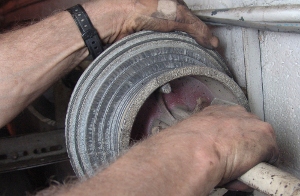
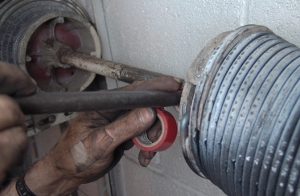
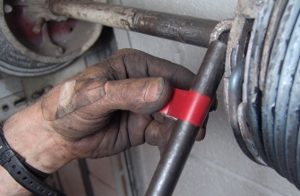
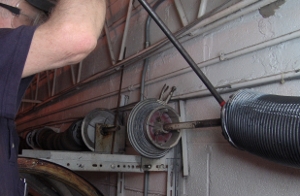
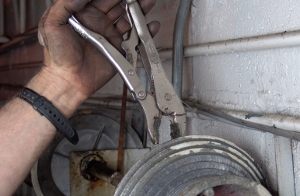
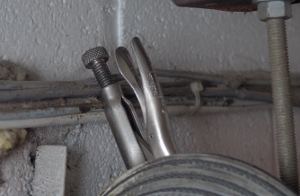
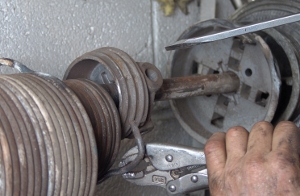
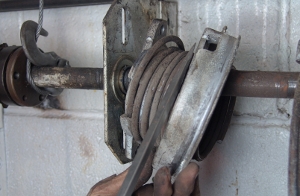
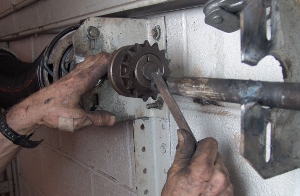
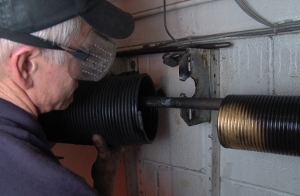
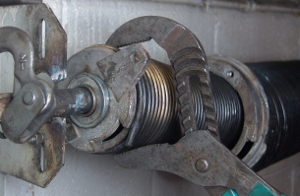
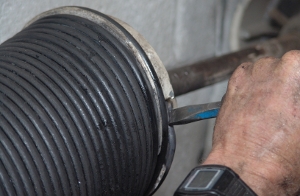
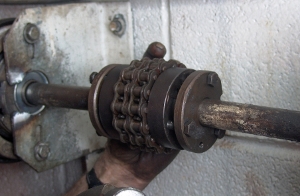
5. Mark the two pieces of the coupler, as this will help you align the couplers when you reassemble the hardware later. Remove the bolts that connect the two pieces of the coupler. The coupler in this picture is fairly unique and uses different mechanics to connect the shafts.
6. Using a marker, chalk, or spray paint, make a line across the length of the spring. When you unwind the old spring, you can determine how many turns you will need to put on your new spring.
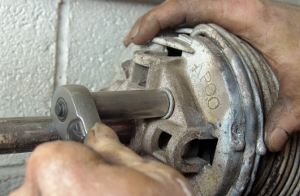
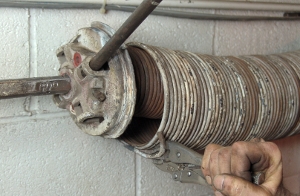
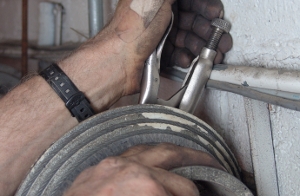
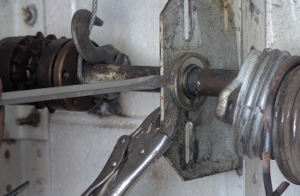
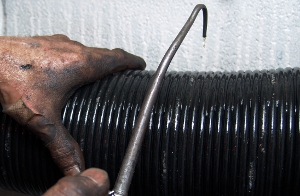
7. Insert a winding bar into the winding cone of the spring. The winding bar must fit snugly in the winding cone, and it must be inserted as far as possible. Failure to do so may cause the cone to explode, causing serious injury or death.
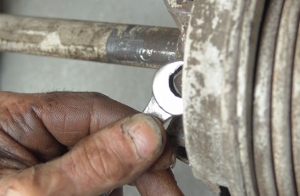
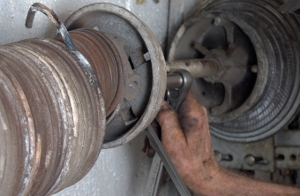
8. While securely holding the winding bar, loosen the set screws on the winding cone. Once the winding cone is no longer secured to the shaft, it will want to pull down.
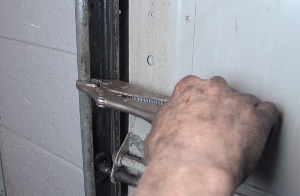
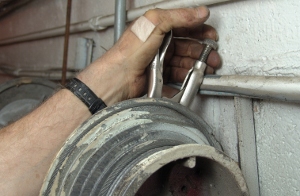
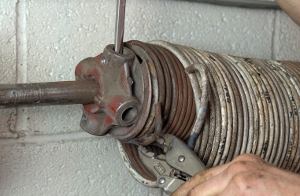
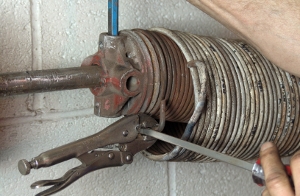
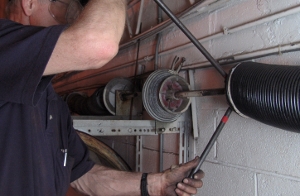
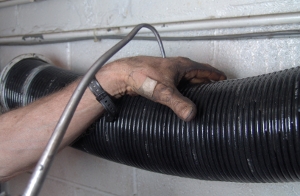
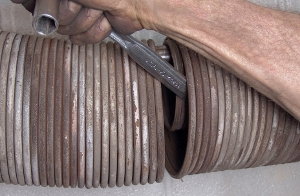
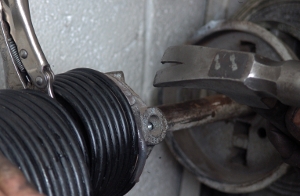
9. Vise-grip the end of the shaft as shown to keep the cables tight on the cable drum.
10. To unwind the spring, lower the first winding bar and insert the next one, as shown. As you unwind the spring, the marker line will wrap around the spring.
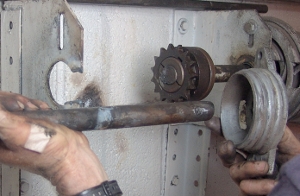
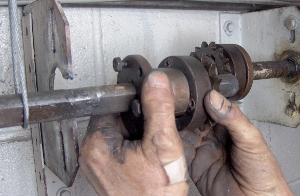
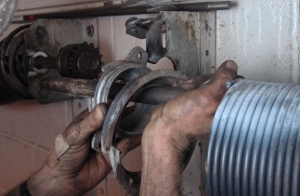
11. As the spring unwinds, the coupler probably will no longer stay together.

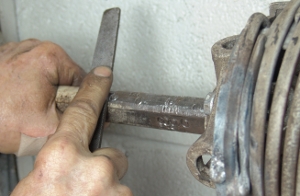
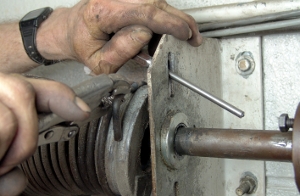
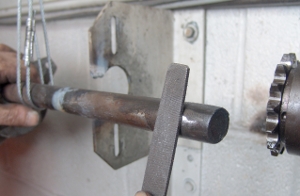
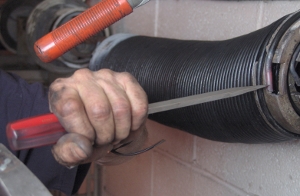
12. Once you have fully unwound the spring, remove the winding bar and file the shaft to remove rough edges that can later cause problems.
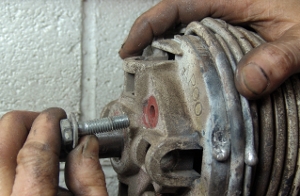
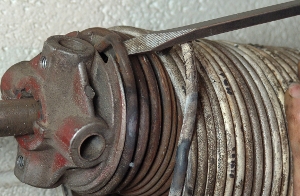
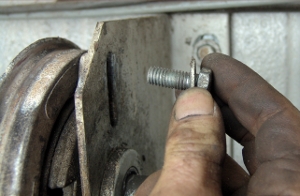
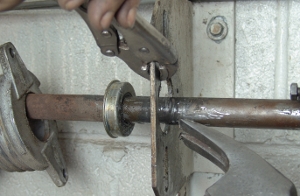
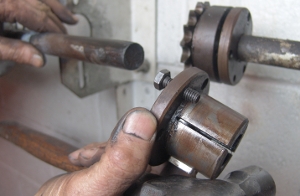
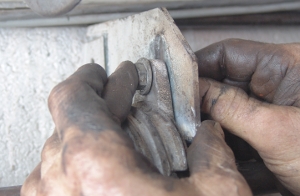
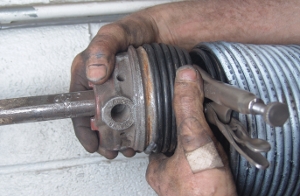
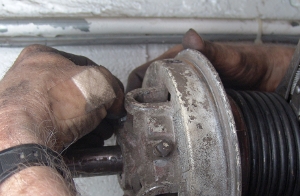
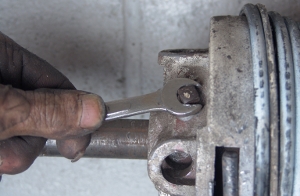
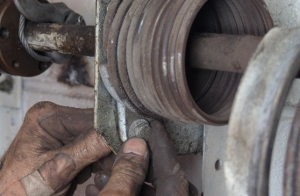
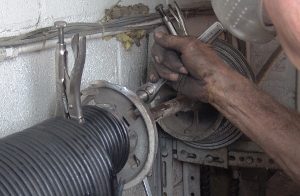
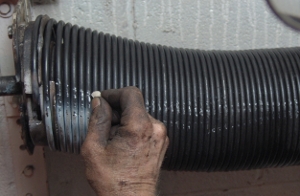
13. Loosen the bolts on the winding cone, as shown. These bolts connect the outer winding cone to the inner winding cone.
14. Remove these bolts. You will reuse them again later.
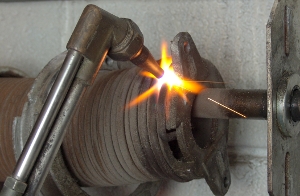
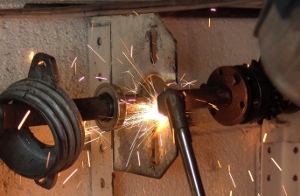
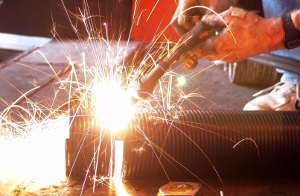
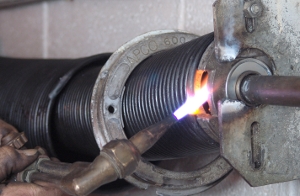
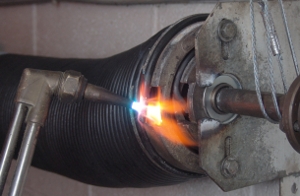
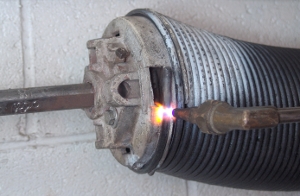
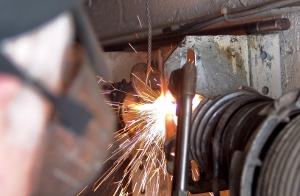
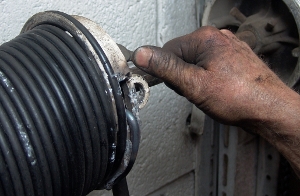
15. Read the following three steps before lighting your torch. Using the torch, heat the last coil of the spring that is on the cone, roughly 4 inches from the end of the coil. Be careful only to heat the coil and not melt the aluminum winding cone. You also will not want to heat the other coils, especially if you will reuse this spring.
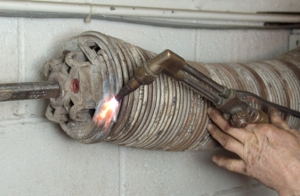
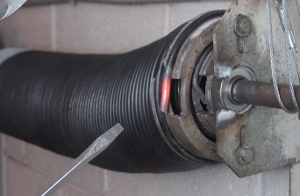
16. Heat the coil until it is cherry red. As you can see in this picture, some of the aluminum melted.
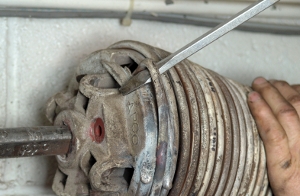
17. While the coil is still cherry red, pry the end out of the inside of the cone, as shown.
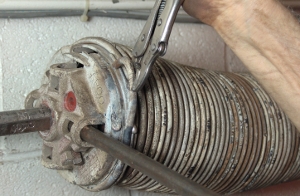
18. Gripping the end of the coil with a vise-grip, insert a winding bar in the winding cone, pulling down on the coil and up on the winding bar.
19. Remove the winding cone from the spring.
20. At this point, the winding cone for the outer spring is removed, and you are ready to remove the inner winding cone.
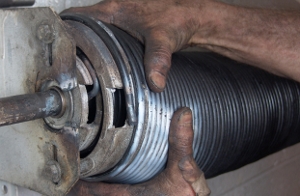
21. Repeating the same process as before, heat the last coil and pry it out of the cone with a screwdriver.
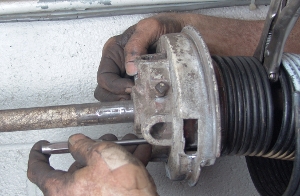
22. Another way to remove the winding cone from the spring is to use a screwdriver instead of a winding bar in the holes of the winding cone.
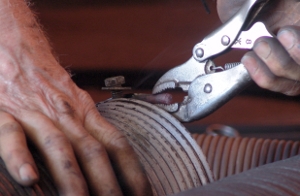
23. If this does not work, you can get more leverage with a screwdriver in the mouth of the vise-grip.
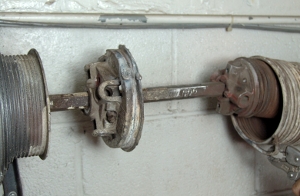
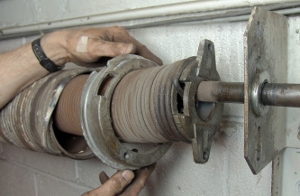
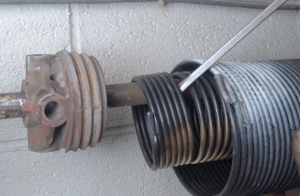
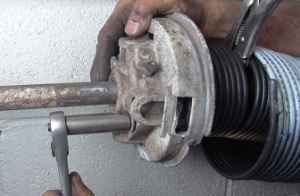
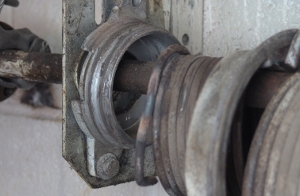
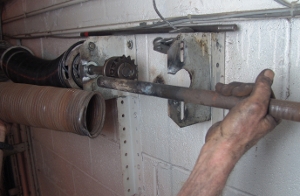
24. At this point, the left end of this duplex system should be disassembled, as shown.
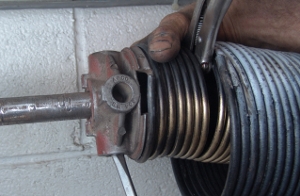
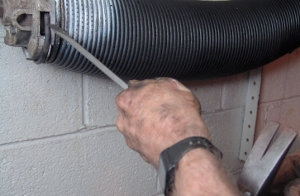
25. Move to the other end of the springs. Heat the last coil and pry it out of the stationary cone with a screwdriver.
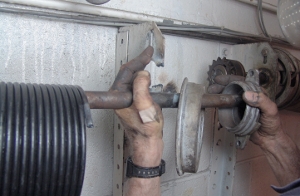
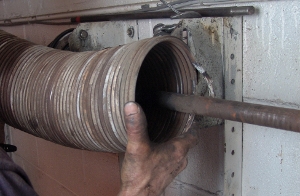
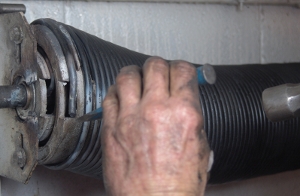
26. Remove the outer spring from the stationary cone and slide it to the side, as shown. You will now have access to the inner spring.
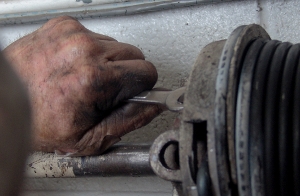
27. Remove the bolt that secures the stationary cones.
28. You will notice that this bolt is smaller than the bolts that you removed previously.
29. Slide the outer stationary cone away from the inner cone. The spring does not now have to be near the spring anchor bracket.
30. Heat the last coil of the inner spring as before.
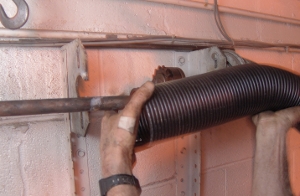
31. Because of the odd shape of the stationary cone, you can use a wrench to grip the cone while you remove the spring.
32. If you have trouble, you can also use a punch to hold the stationary cone in line with the spring anchor bracket as you unwind the spring with the vise-grip.
33. You have now successfully disassembled the duplex system. If you have a slotted spring anchor bracket, you can skip ahead a few steps. Otherwise, you will want to remove the bearing from the spring anchor bracket.
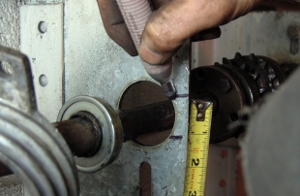
34. Using a marker, mark the distance of just over an inch on the spring anchor bracket, as shown.
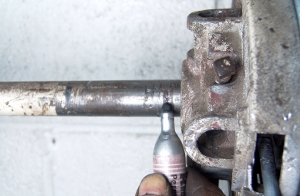
35. Cut this one-inch portion of metal out from the spring anchor bracket. This will allow you to swing the shaft out away from the wall to allow you to remove the springs.
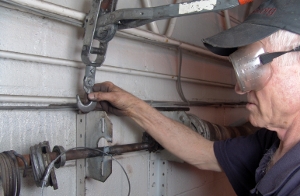
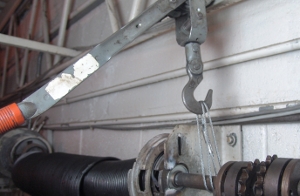
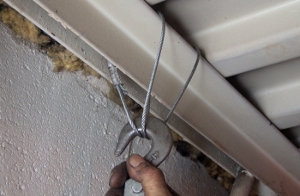
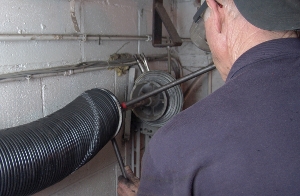
36. Using a come-a-long, support the shaft from above to the right of the springs. In this case, I used a loop of cable in order to connect the hook of the come-a-long to the shaft.

37. The other end of the come-a-long needs to connect to the structure of the building in some way. In this case, I looped the hook over a beam to secure the come-a-long.
38. You can now pull the shaft away from the wall.
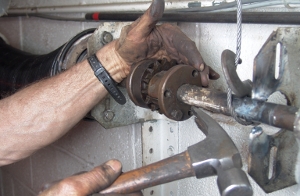
39. Tap the coupler off of the shaft.
40. Many times, you will have a remove the shaft key. For most doors, this is a 1/4" x 1/4" piece of metal about 3 inches in length. Removing the key often exposes a sharp portion of the shaft. Be careful not to cut yourself on the sharp edge.
41. Remove the coupler and keep it in a safe location.
42. File the shaft to remove any sharp edges caused by the coupler.
43. You can now rest the shaft back on the spring anchor bracket, but be sure that it will not fall!
44. Using your own strength, slide the shaft out far enough that you can remove the bearing. If the bearing is not worn, you will want to reuse it.
45. Remove the stationary cone of the inner spring from the shaft.
46. Slide the other stationary cone off the shaft as well.
47. You are now ready to slide both springs off of the shaft. Because of their weight, you will want to remove each separately. This part takes extra strength. You will want to make sure that you have a place to put the old springs before you take them off.
48. You should still have the two winding cones on the shaft, as shown.
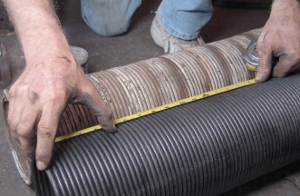
49. Measure your old and new springs. Make sure you have the proper wind of the spring. Unless you order springs that have different dimensions than your old springs, they should be the same length.
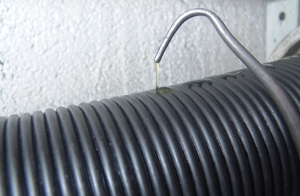
50. If the new spring is longer, place an old bolt between the coils just after the last coil you need.

51. Using your torch, trim down the spring as necessary. Point the flame toward the outside of the spring. This will keep the heat from damaging the portion of the spring that you will be using.
52. Heat the last inch of the coil, bend it with a vise-grip, as shown. Even if you do not trim the springs, you will want to do this. It allows you to better wind the springs onto the cones.
53. For this job, I replaced the old bearing with a heavy-duty Freeway bearing.
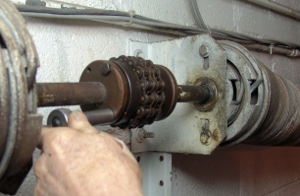
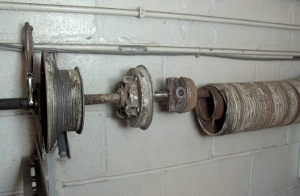
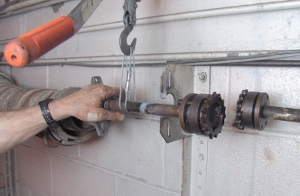
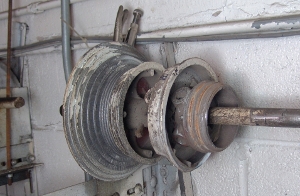
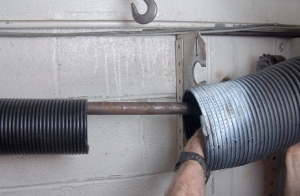
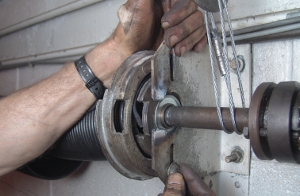
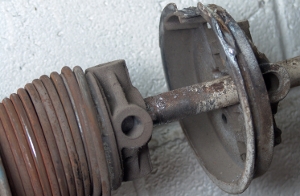
54. Go back to the shaft with both springs and your torch. Slide the smaller spring on the shaft after swinging the shaft away from the wall.
55. Drip oil on the inner spring. Lightweight motor oil works fine. Rub the oil into the spring.
56. Slide the outer spring on the shaft and over the inner spring.
57. Once you have both springs on the shaft, rest the shaft on the spring anchor bracket.
58. Put the outer then inner stationary cones on the shaft after pulling it away from the wall.
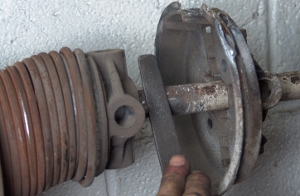
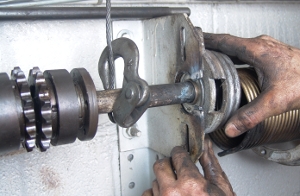
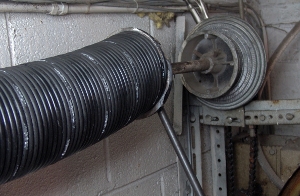
59. Slide the bearing on the shaft. The hardware should now be arranged as pictured.
60. Reconnect your come-a-long to the shaft.
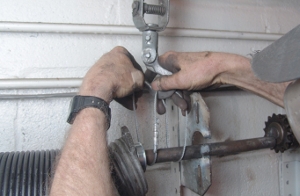
61. Adjust the come-a-long so that it lifts the shaft off of the spring anchor bracket.
62. Insert the shaft key and slide the coupler on the shaft.
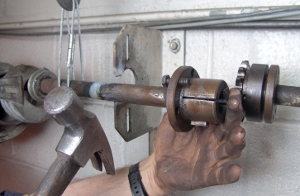
63. Rest the shaft on the spring anchor bracket. Slide the come-a-long to the other side of the spring anchor bracket. Loosely connect the inner stationary cone to the spring anchor bracket with a bolt.
64. Using your hands, wind the inner spring on the shaft.
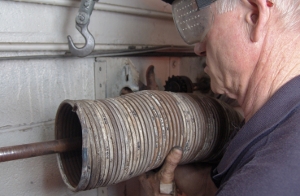
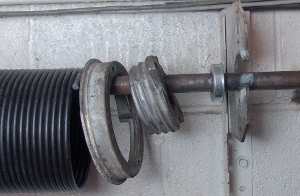
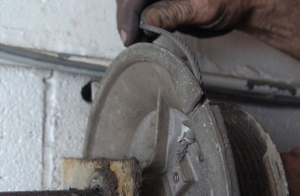
65. The end of the coils should cover most of the slot in the cone.
66. Read the next five steps before lighting your torch. Heat the coil, about an inch from the end, with the torch.
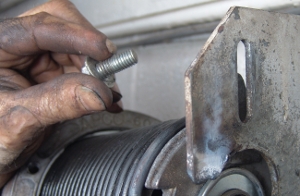
67. Heat the coil until it is cherry red.
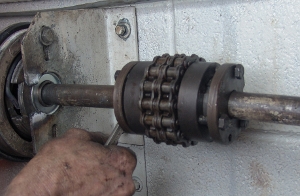
68. Using a screwdriver, bend the coil slightly away from the rest of the spring. This will allow the coil to enter the cone more easily.
69. Hit the end of the screwdriver with a hammer to push the coil into the stationary cone.
70. The spring should look like this.
71. Remove the bolt from the stationary cone.
72. Insert one of the bolts removed previously into the stationary cones through the spring anchor bracket.
73. Adjust the come-a-long to align the coupler parts.
74. Install the other bolt for the stationary cones. You may want to use a punch as a guide.

75. Secure both bolts.
76. Wind the outer spring onto the stationary cone, as shown.
77. Stop when the last coil covers a good portion of the hole in the stationary cone.
78. As before, heat the end of the coil.
79. Bend the coil away from the spring.
80. Bend the coil into the winding cone.
81. Using a screwdriver, pull the inner spring out so that it is accessible. Vise-grip the shaft to keep the spring from sliding back inside the larger spring.
82. Vise-grip the shaft.
83. Wind the spring on the winding cone.
84. Using a screwdriver in the winding cone holes may help. Be sure not to wind the spring too far.
85. Heat the end of the coil. Bend it away from the spring. Hit it into the winding cone.
86. Slide the outer winding cone against the inner cone.
87. Install the bolts that hold the two together.
88. Again, you may need to use a punch as a guide.
89. Secure the bolts.
90. Remove the vise-grip on the shaft that held the spring.

91. Wind the outer spring on the cone.
92. Heat the end of the coil.
93. Bend the coil out and hit it into the winding cone.
94. Check to make sure that the cable is still on the cable drum.
95. If not, wind the cable back on the drum.
96. If you had to rewind the cable, reset the vise-grip on the end of the shaft.
97. If you had trouble hitting the end of the wire into the winding cone, tighten one of the set screws on the winding cone.
98. Hit the coil using a small chisel.
99. Loosen the set screws.

100. Make a mark across the length of the spring. This will help you count the number of turns on the spring as you wind it.
101. Mark the shaft the distance of a few coils away from the winding cone. As you wind the spring, you know you are winding it properly if the cone covers up the mark. If, after a few full turns, the cone is not approaching the mark, you are probably winding in the wrong direction.
102. Slide each winding bar fully into the winding cone and mark the location of the winding bar that is right next to the hole in the winding cone.
103. Wrap a piece of tape around the winding bar at this location. As you wind the spring, make sure that the winding cone comes the whole way to the tape each time you insert the winding bar into the cone.
104. Insert a winding bar in the winding cone. Lift up on the bar.
105. Insert the other winding bar in a hole below the first winding bar. Remove the first bar. Raise the second bar. This is one quarter-turn.
106. As you wind the spring, the mark across the spring will seem to wrap around the spring. At this point, the spring has 2-1/4 turns.
107. Continue to wind the spring.
108. As winding the spring becomes more difficult, you may want to rest the newly-inserted bar against the wall while you bring the other winding bar down.
109. Once you reach the proper number of turns for your springs, insert a winding bar in the bottom hole and rest the bar against the solid wall. If there is drywall, do not do this.
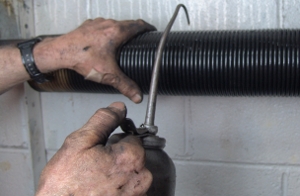
110. Make a mark about the distance of 2-3 coils away from the winding cone.
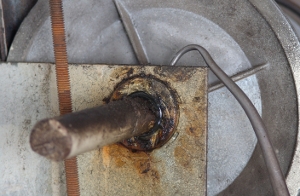
111. Stretch the spring. In doing this, you keep the coils from binding later. To stretch the spring, pull to the right on the bottom bar and hit it with the other bar closer to the cone, as pictured.

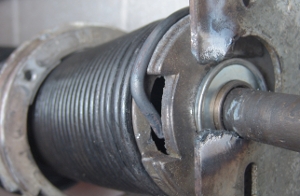
112. Tighten the set screws on the winding cone while holding on to a winding bar. You should turn the set screws 1/2 to 3/4 of a turn once they make contact with the shaft.
113. Test the set screws. Grip and restrain the end of the winding bar and carefully push down on it. The door should start to rise. If the set screws begin to slip, you will need to tighten them further.
114. Remove the vise-grip from the end of the shaft.
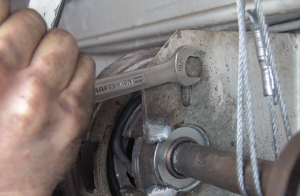
115. Oil the outer spring.
116. Oil the bearing on the end bearing plate as pictured. You have now successfully replaced this duplex system.
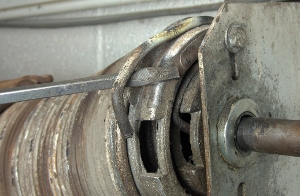
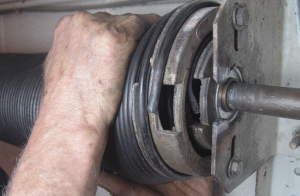
117. Move to the other side of the overhead door. In this picture, we see that the inner spring is broken. When it broke, it spun clockwise and went beyond the hold in the inner cone.
118. Repeat the process on this side that you used on the other side. Move your come-a-long to the other side of the door.
119. Vise-grip the end of the shaft as before.
120. Examine the bearing on the end bearing plate. Replace as needed.
121. Unwind your spring.

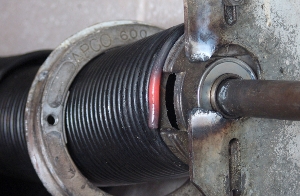
122. Remove the outer spring from the outer winding cone.
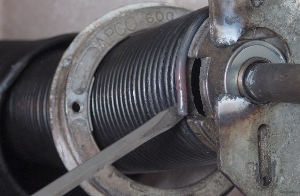
123. Remove the bolts securing the two winding cones.
124. Slide away the outer winding cone.
125. File the shaft as needed.
126. Remove the inner spring from its winding cone.
127. Looking between the coils of the outer spring, we can see the break in the inner spring. Caution: Do not do this on a wound spring!
128. Remove the outer spring from the stationary cone. At this point, we can better see the break in the inner spring.
129. Remove the bolts that secure the stationary cones.
130. Separate the cones from the spring anchor bracket.
131. Reinstall a bolt to secure the inner stationary cone.
132. Remove the remainder of the spring from the cone.
133. Pry the bearing out of the spring anchor bracket.
134. Mark roughly 1 inch of the center of the spring anchor bracket.
135. Cut this piece of metal out of the bracket.
136. The duplex setup is now fully disassembled.
137. Connect the come-a-long and remove the coupler from the shaft.
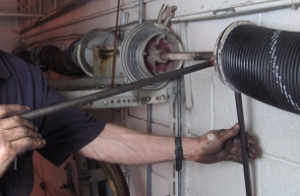
138. File the shaft as needed.
139. Remove the outer spring from the shaft.
140. Remove the inner spring.
141. Slide the new inner spring on the shaft. Oil it.
142. Slide the new outer spring on the shaft.
143. Put the outer then inner winding cones on the shaft as pictured. Slide the bearing on the shaft.
144. Reconnect the come-a-long and line up the couplers.
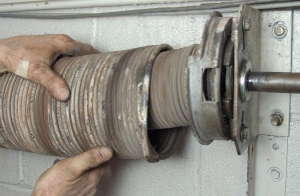
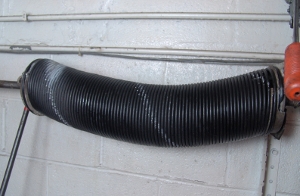
145. Connect the inner stationary cone to the bracket with a bolt.
146. Install the inner spring on the stationary cone.
147. Secure the two stationary cones to the spring anchor bracket.
148. Twist the spring on the cone.
149. Hit the end of the coil into the hole in the stationary cone.
150. You are now done with this side of the duplex system. The spring should look like the spring in the picture.
151. Pull the inner spring out. Use a vise-grip to hold it there.
152. Install the inner spring on its winding cone.
153. Secure the outer spring's winding cone to the other winding cone.
154. Remove the vise-grip. Twist the outer spring on the winding cone.
155. Mark the length of the unwound spring.
156. Begin to wind the spring, making sure that you have the right wind spring and are winding it properly.
157. Wind to the proper number of turns for your springs.
158. Stretch the spring the length of 2-3 coils.
159. Secure the set screws. Test the set screws before removing the final winding bar.
160. Line up the coupler.
161. Secure the coupler.
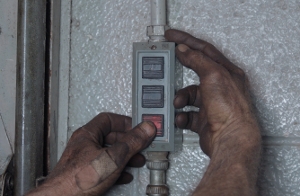
162. Oil the outer springs.
163. Oil the bearings on both spring anchor brackets.
164. Reengage the operator. Reconnect the drawbar arm if necessary.
165. Return power to the operator.
166. Examine the door. If it lifted up to the vise-grip, there is too much tension on the spring. Remove some of the tension by decreasing the number of turns on the springs. Otherwise, remove the vise-grip from the track.
167. Test the overhead door using the operator. Just after installing the springs, always have one finger on the stop button in case something goes wrong.