Kelley Hold Down Assembly Replacement
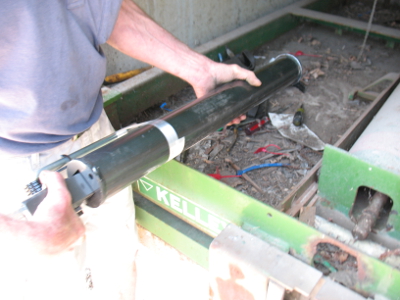
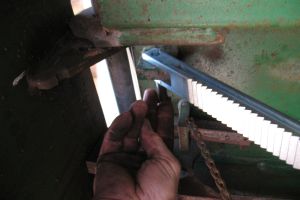
In most Kelley mechanical dock levelers, a hold down unit stores a ratchet bar that locks to the bottom of the deck and keeps it closed. As someone pulls the release chain on the deck, the ratchet bar unlocks and extends, causing the dock leveler to open.
Over time, both the ratchet bar and the release bar or chain become worn, and the hold down assembly can no longer secure the deck properly.
This tutorial demonstrates how to properly replace a worn hold down assembly in one model of Kelley dock levelers.


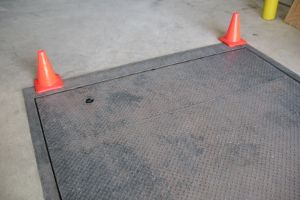
1. Place cones around the work area and inform others that the dock leveler is under repair.
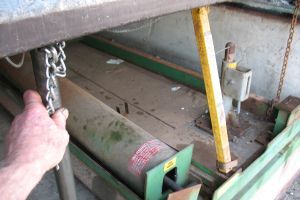
2. Position at least two struts or rods underneath the dock leveler for safety. Most dock levelers have a single built in safety strut. We recommend supporting the deck with at least two supports before working under the deck. This could be an additional removable safety strut or a 4 X 4 or 6 x 6 board cut to length. If there is no built-in safety strut, cut two 4 X 4 or 6 X 6 pieces of lumber and place them securely under the deck to safely support the deck.
3. Position another person outside the dock leveler for the safety of the one working underneath the dock leveler.

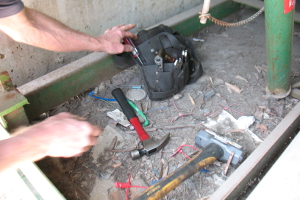
4. Place the tools you'll need in the pit under the deck.
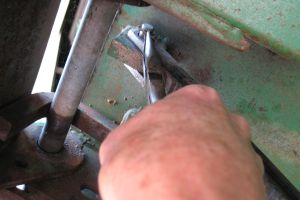
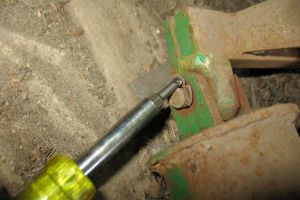
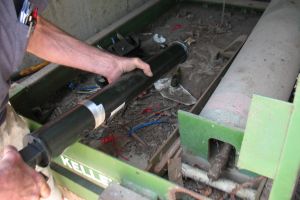
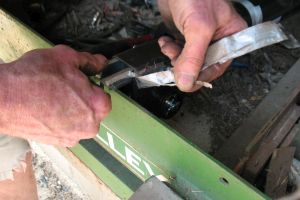
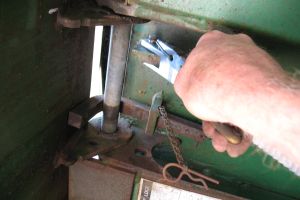
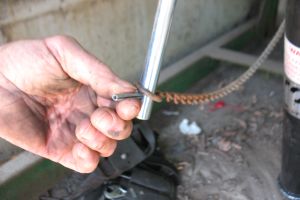
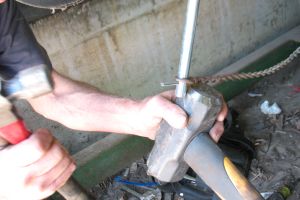
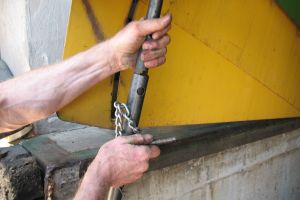
5. The first step in replacing the hold down unit is to remove the pull chain from the arm of the unit. Grasp the pin on the release bar with a vise-grip. Make sure that vise-grip jaw pressing on the release handle is above or below the hole to avoid blocking the pin.
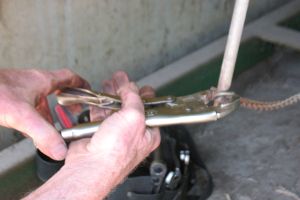
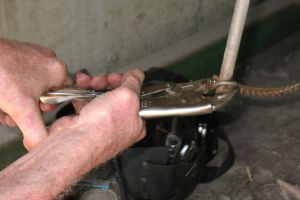
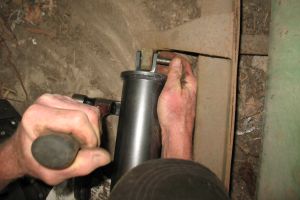
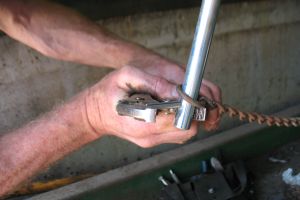
6. Tighten and clamp the vise-grip to push the pin through the hole.
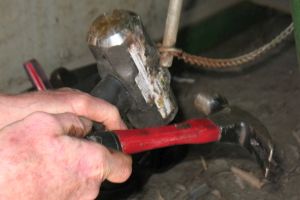
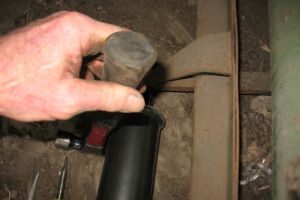
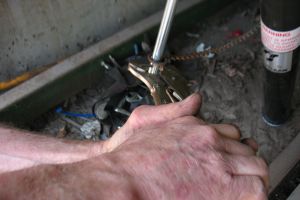
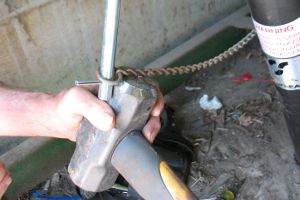
7. Block the portion of the release handle below the pin with a sledge hammer. Then, hit the pin with a standard hammer.
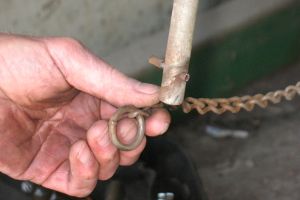
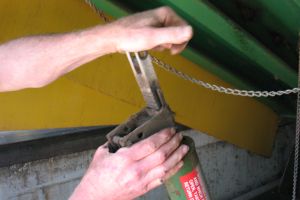
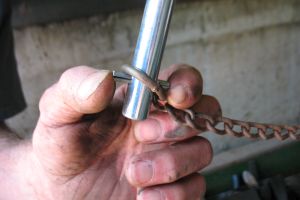
8. Remove the ring at the end of the release chain from the release handle.
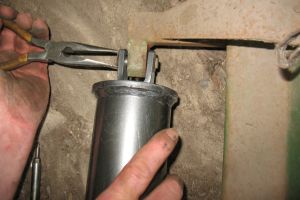
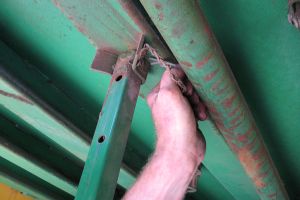
9. The next step is to remove the fasteners securing the top of the hold down unit to the underside of the deck. Pull the clip ring from the grooved pin at the top of the ratchet bar with needle-nose pliers.
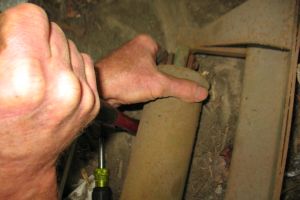
10. Hold the bottom of the ratchet bar with your right hand.

11. Remove the grooved pin with your left hand.
12. Carefully lower the ratchet bar into the hold down housing.
13. Lower the hold down assembly to the frame of the dock leveler.
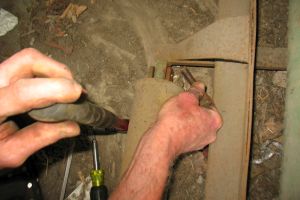
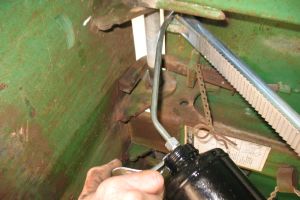
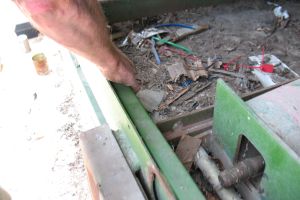
14. Next, you will remove the fasteners that secure the bottom of the hold down unit to the frame. Pry the clip ring from the grooved pin at the end of the hold down housing with a screwdriver.
15. Pry the end of the hold down housing up with a hammer.
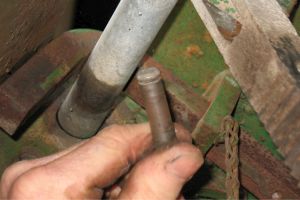
16. Pull the pin from the hole.
17. Remove the old hold down assembly from the dock pit.
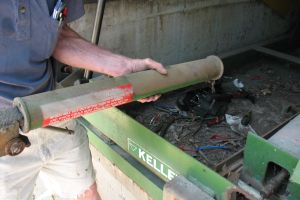
18. At this point, you will reverse the steps you just took to remove the unit. Place the new hold down assembly in the dock pit.
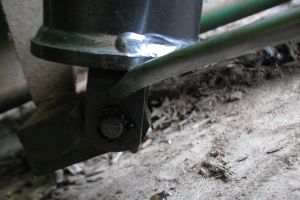
19. Align the bottom lugs of the hold down unit with the anchor lug welded to the frame. Pry the end of the new hold down housing up with the claw of a hammer, with a rod or a with a short board.
20. Push the pin through the holes in the lugs to secure the bottom of the hold down assembly to the frame.
21. Press the clip ring into the groove of the pin.
22. Remove the protective tape from the top of the ratchet bar.
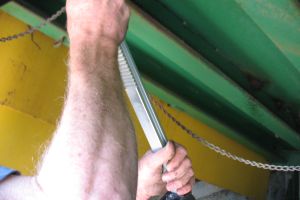
23. Lift the assembly and hold the bottom of the ratchet bar to prevent it from sliding into the cylinder.
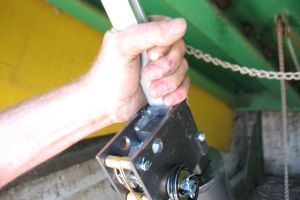
24. Extend the ratchet bar until the end reaches the lug under the deck.
25. Align the holes in the ratchet bar with the hole in the lug.
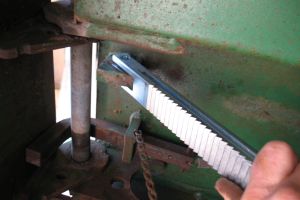
26. Push the pin through the holes to secure the top of the ratchet bar.
27. Press the clip ring onto the groove at the end of the pin using needle-nose pliers or a vise-grip.
28. Cut and remove the tape that secured the release arm to the cylinder.
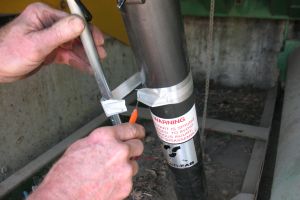
29. Remove the pin from the tape.
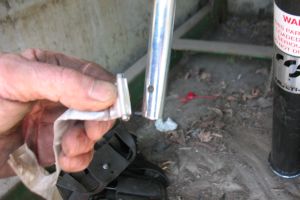
30. Slide the ring at the end of the release chain onto the release handle and insert the pin into the hole at the end of the rod.
31. Squeeze the pin into the end of the rod with a vise-grip.
32. Adjust the grip and try to squeeze the pin through the hole. The pin must be under the ring on the part of the rod facing the outside of the pit; the ring must be under the pin on the side of the release facing the inside of the pit.
33. If you can't squeeze the pin through the rod with a vise-grip, block the portion of the release handle below the pin with a sledgehammer.
34. Hammer the pin through the rod until the pin is evenly spaced on both sides.
35. Check to assure the pin is even and that the ring is secured to the end of the release arm.
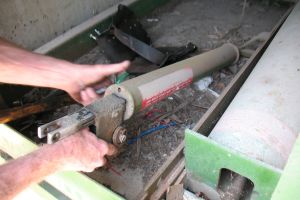
36. Lubricate the top of the ratchet bar with only a drop or two of oil and then wipe away the oil. It is critical that you DO NOT OIL THE TEETH OF THE RATCHET BAR, and that oil does not drip from the pin and lugs at the top of the bar onto the teeth of the ratchet bar. Inspect and wipe away any excess oil that might interfere with the ratchet bar; the teeth must remain dry at all times.
37. Lubricate the top of the release handle.

38. Lubricate the pin and clip ring at the bottom of the hold down housing.
39. It is now time to remove your tools from underneath the dock pit and to remove the safety struts. Remove the pin from the middle of the removable safety strut and remove the strut from the underside of the deck.
40. Remove the other pin from the top of the built-in safety strut.
41. Lower this strut into the bottom of the dock leveler frame.
42. Walk across the deck towards the lip and check to assure the deck stops level with the concrete on both sides of the pit and that it stays down.
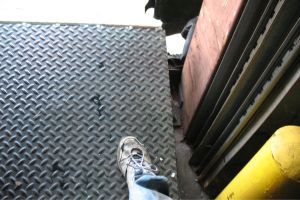
43. Walk to the back of the leveler and pull the release chain. Check to assure that the deck and lip rise properly.