Bottom Garage Door Section Replacement
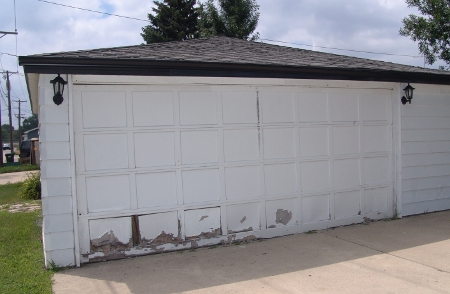
Of all the sections in garage doors, the bottom one needs to be replaced most often. Since this section is closest to the garage floor, it absorbs the most amount of water and is eaten more frequently by little critters.
| 1. Measure your old garage door section. You should measure its width, height, and depth. Also, examine the shape of the top of the section. Various types of doors use different designs to connect the sections. | 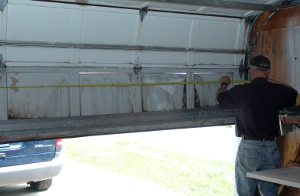 |
 | 2. Measure your new garage door section. Make sure that the dimension and design are the same as your old section. |
| 3. Unplug the power cord to the garage door opener. Some older openers are hardwired, and you will need to remove a fuse or flip the circuit breaker. |  |
 | 4. Disengage the opener from the door. Some door openers have a neutral position for the trolley disconnect. On older openers, you may need to remove the L-shaped drawbar arm. |
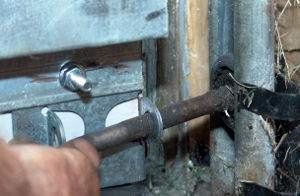
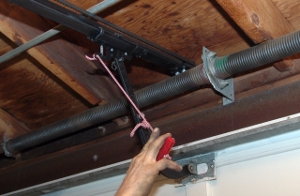
| 5. Place the hook of a come along on the top of the track, as shown. Depending on your garage, you may need to place the hook in a different sturdy location. | 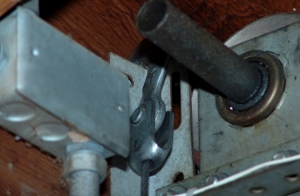 |
 | 6. Place the other hook of the come along on the outside hinge that is second from the bottom. Tighten the come along, but do not start to lift the garage door. |
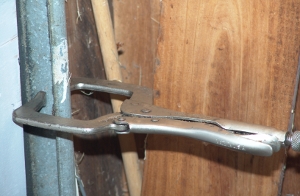
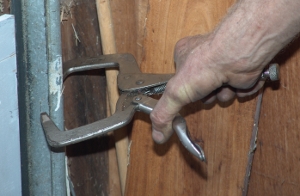
| 7. Vise grip the cable that connects the bottom bracket to the cable drum. Secure it to the track or flag bracket. Another option is to use a cable puller to secure the cable to the come along. This simple step will keep the cable from unwinding from the cable drum. | 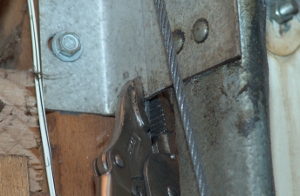 |
 | 8. Start to raise the garage door an inch or two off the floor with the come along. |
| 9. As you lift the garage door, the cable below the vise grip should begin to loosen. | 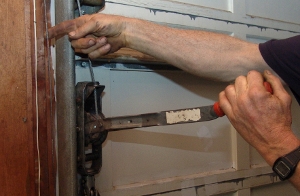 |
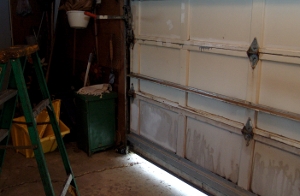 | 10. A gap should appear under your garage door. |
| 11. Move to the other side of your garage door. Vise grip the cable to the track or flag bracket. Secure another come along. Start to raise the door a few inches on this side as well. |  |
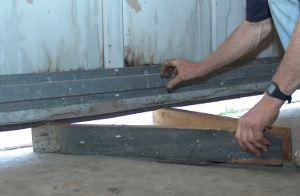 | 12. Alternate which side of the door you lift by switching between the two come alongs. Raise the door 4 to 6 inches, and slide a block of wood under the middle of the garage door that will close this gap. |
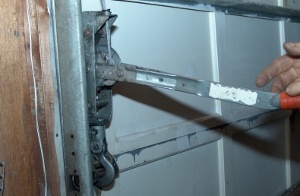
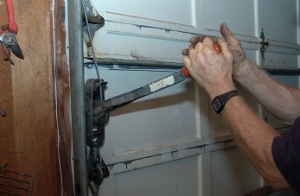
| 13. You are now ready to remove the bottom section. Start to remove the bolts on the bottom of the hinges that hold the bottom section to the next section. Start from the outsides of the garage door and move to the middle hinge. | 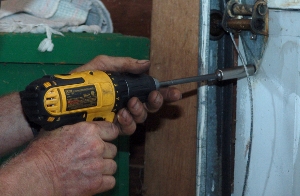 |
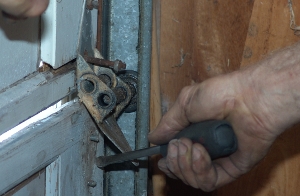 | 14. Depending on the condition of your old section, you may need to pry the bottom of the hinges off the bottom section. |
| 15. If you cannot remove a bolt, break it with a vise grip. When you remove the last bolt on the middle hinge, the bottom section will no longer be held by the garage door. | 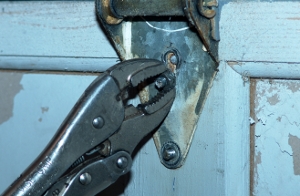 |
 | 16. Hold the bottom section to keep it from falling. Slide support out from the middle of the garage door. |
| 17. Lower the section to the floor, and lay the section on the ground. |  |
 | 18. Remove the cables from the bottom brackets. You may need to use a screwdriver to pry the cable off. |
| 19. Set your old section on horses. | 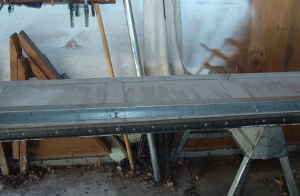 |
 | 20. If your old section had a strut on it, remove the strut. |
| 21. If necessary, grind off any bolts. | 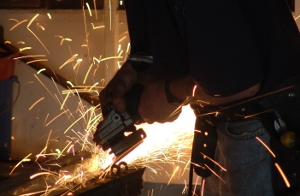 |
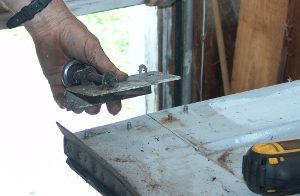 | 22. Remove the bottom fixtures from the old section. |
| 23. Again, grind off any bolts as necessary. | 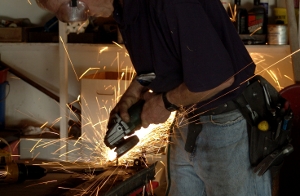 |
 | 24. Cut up your old section as desired. You can set it aside or throw it in the garbage. |
| 25. Set your new section on the garage floor under the other sections. | 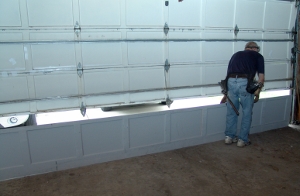 |
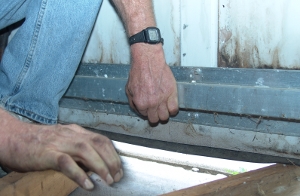
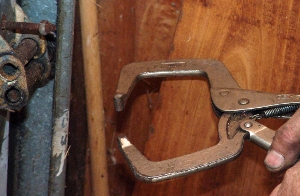
 | 26. Put a vise grip, C-clamp, or another tool on the track on both sides of the garage door. This will keep the new section from falling over. |
| 27. Level the section on the floor. |  |
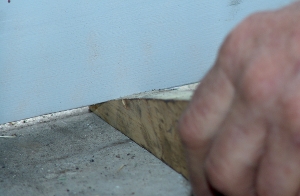 | 28. If it is not level, wedge something other the section. |
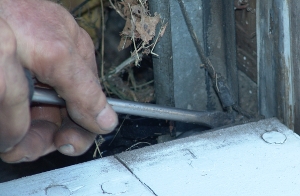
| 29. If you need a wedge to level the door, you may want to trim your section. On this garage door, I did not trim the bottom section. Instead, I installed 1-3/8" astragal to cover the gap. If you decide to trim the section, measure the largest distance from the floor to the bottom of the new section. | 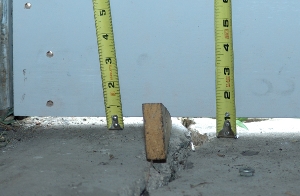 |
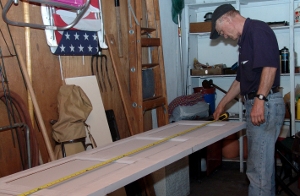
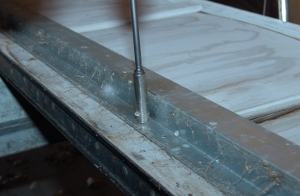
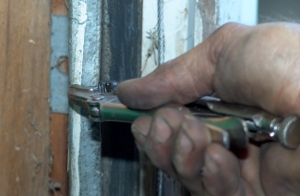
 | 30. You will need to use a drafting compass. Separate the point from the pencil by slightly more than the distance you measured in the previous step. If the compass does not lock securely, use a vise grip to keep the point and pencil at this distance. |
| 31. Draw a line across the bottom of the section with a pencil from the compass. Keep the point of the compass along the floor at all times with the pencil directly above the point as shown. | 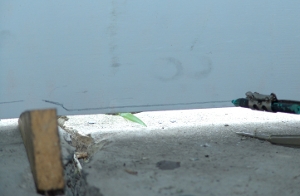 |
 | 32. Remove the C-clamps and vise grips that held the section in place. |
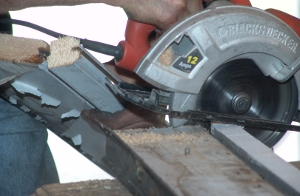
| 33. Set the new section on the horses with the inside of the door facing up. | 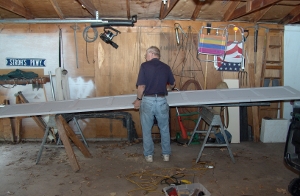 |
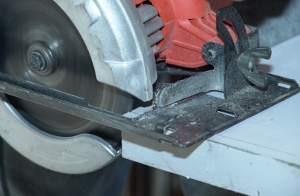 | 34. Cut the section along the line that you drew before. |
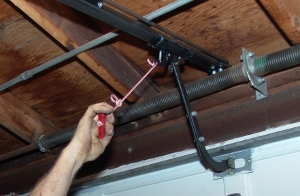
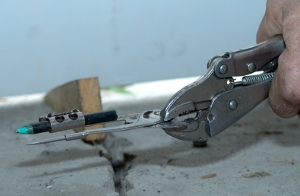
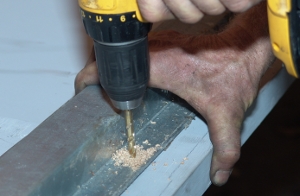
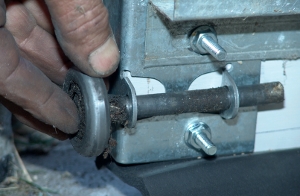
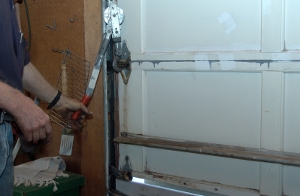
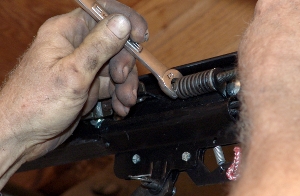
| 35. Pre-drill the section for the bottom brackets. | 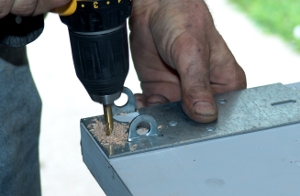 |
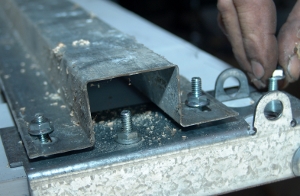
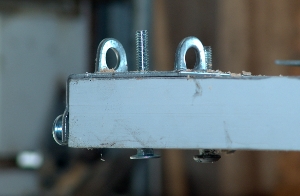 | 36. Insert the carriage bolts from the other side of the section, as shown. Do this for both sides of the section. |
| 37. If your old section had a strut on it, place the strut on it now. Pre-drill the holes at the bottom brackets as necessary. | 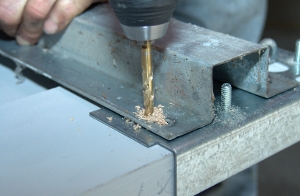 |
 | 38. Put flange nuts on the carriage bolts on both sides of the garage door. |
| 39. Measure the distance from the bottom of the section to the strut at the bottom bracket. Measure this distance in the middle of the section. If the middle of the strut is not at this point, make a mark with a pen where the strut should be. | 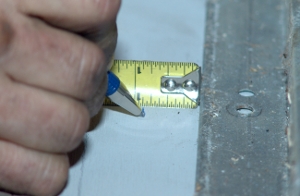 |
 | 40. Slide the middle of the strut to this mark. Pre-drill the holes. |
| 41. Turn the section over and hit the carriage bolts into the section with a hammer. | 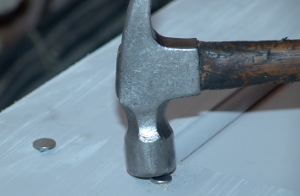 |
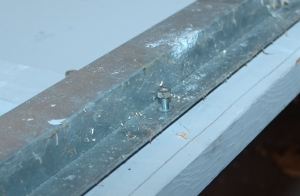 | 42. Turn the section back over and put nuts on the carriage bolts. |
| 43. Secure the bolts for the bottom brackets and the strut. |  |
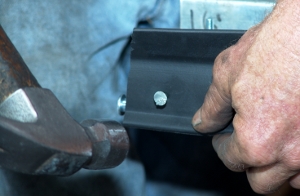 | 44. If you decide to put astragal on the bottom of the door, do so now. |
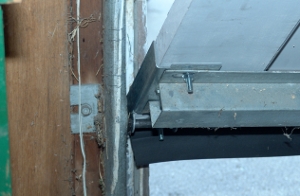
| 45. Place the nails for the astragal about 6 to 8 inches apart, though this distance is not very important. | 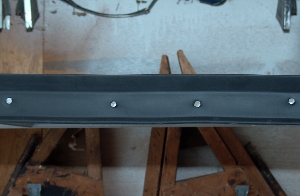 |
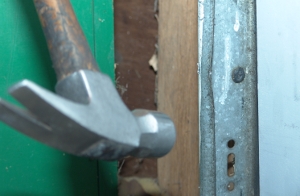
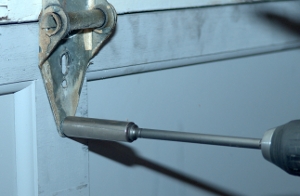
 | 46. Go to the left side of the door. Bend the edge of the track out. In a few steps, you will need to raise the section and slide the roller into that gap. |
| 47. Set the section on the floor. Move to the right side. Slide the cable on the bottom bracket. | 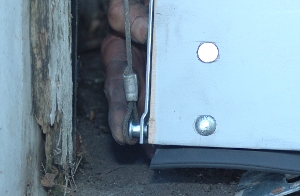 |
 | 48. Install the roller in the track and bottom bracket. |
| 49. Vise grip the track near the top of the section. | 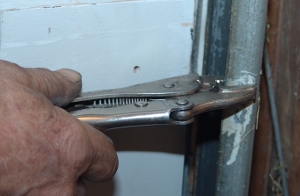 |
 | 50. Walk to the left side of the door, holding the section up. Install the cable on the bottom bracket. Slide the roller in the bottom bracket. |
| 51. Walk back to the right side of the garage door, making sure that the section does not fall. Remove the vise grip from the track. |  |
 | 52. Walk to the left of the garage door. Hold the section up. If you do not hold on to the section, it will likely fall. Lift up the left end of the section and slide the roller into the slot that you made from bending the track. Lower the section to the floor. |
| 53. Vise grip the track near the top of the section. | 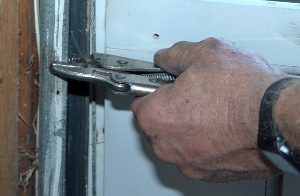 |
 | 54. Hammer out the bent part of the track. |
| 55. Clamp the track at the top of the right side of the section to keep it from falling. | 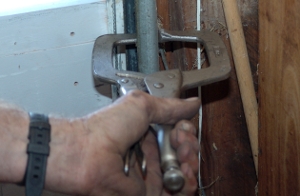 |
 | 56. Lower the rest of the garage door onto the new section with the come alongs. |
| 57. Pry the bottom section with a screwdriver to position it directly below the other sections if necessary. | 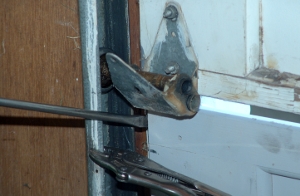 |
 | 58. Seal the gap between the sections by lowering the door if you did not do so already. Secure the hinges to the bottom section. |
| 59. Remove the come alongs from the garage door. |  |
 | 60. Remove the C-clamps and vise grips that held the section in place. |
| 61. Remove both vise grips that held the cable in place. | 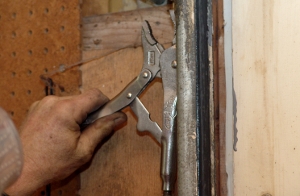 |
 | 62. Reengage the garage door opener. |
| 63. Plug in the power cord for the opener. |  |
 | 64. Adjust the force and travel as needed. |
| 65. Congratulations! You have finished replacing the bottom section of your garage door! You can now paint the section to make it fit in with the rest of your garage door. | 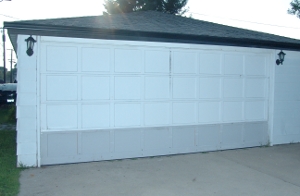 |